What is Swapfile.sys
Swapfile.sys is a new virtual memory file in Windows that acts as both pagefile.sys and hiberfil.sys, but only for the Windows store applications. Windows uses swapfile.sys to store and hibernate Windows Store apps for the better performance of your system.
If you look at the files closely in your computer’s C drive, there is a lot of stuff that you are unfamiliar with. There are usually hundreds of Windows files present on our computers, and it is quite hard for an average person to know about all of them. That’s why we pick out such files and try to explain what they actually do and are these kinds of files even necessary to store or not?
We explain such unknown Windows file in our Windows explanatory series. It includes Vulkan Run Time Libraries, msvbvm50.dll, msvcp140.dll and many more.
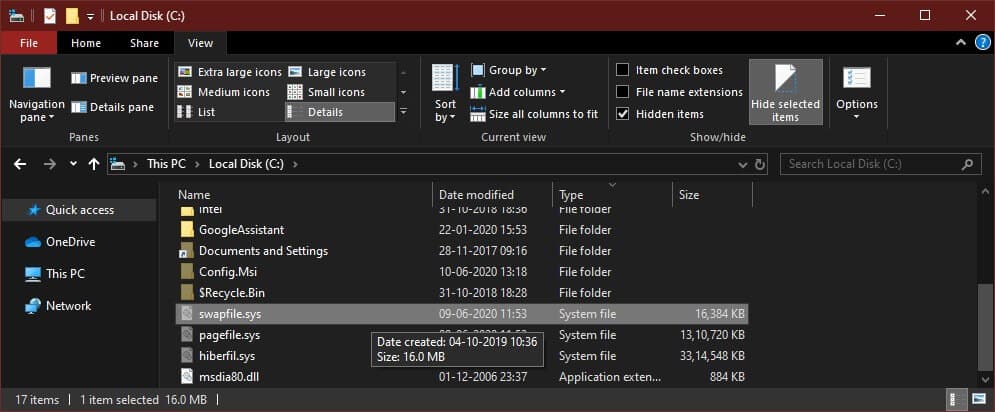
As we know, our computer’s performance does not rely completely on the physical RAM capacity. In fact, Windows is programmed to make use of virtual RAM to store the less-frequently used data. You will find this virtual RAM file with the name pagefile.sys in the root of your system, i.e., C:/ drive. We have already covered all about it before as well. But, this time, we notice there are two other similar files along with pagefile.sys which are hiberfil.sys and swapfile.sys.
So, what is Swapfile.sys? Many people say that swapfile works the same as pagefile, but is it so? If yes, then why do our computers even use it? There are a lot of misconceptions about the swapfile.sys file. Hence, we will be covering all the details related to it in this article. Let’s begin!
What is Swapfile.sys? What is it for?
| File Name | swapfile.sys |
| File Size | 16 MB |
| Description | It is a new virtual memory that acts as both pagefile.sys and hiberfil.sys |
| Location | C:\swapfile.sys |
| Is it a virus | No |
| Can be deleted | Yes |
Windows 10 has support for both Paging and Swapping, but what does it mean? While the paging file, that is pagefile.sys, stores the data that has not been used for a long time, and might not be used anytime sooner. On the other hand, swapping file, that is swapfile.sys holds the data about the applications that have recently taken out of the computer’s memory. And, what’s recently taken out, have higher chances to be used much sooner than the files present in pagefile.sys. But, as of now, Windows has patched up things and it now uses the swapfile.sys file a little differently.
Since Windows 10 allows you to access and download some applications directly from the Microsoft Store, these applications function slightly differently from other software on our computers. Hence, to optimize your system for better performance, Windows uses swapfile.sys to store and hibernate these Windows Store apps. When Windows 10 moves these Modern app’s data in the swapfile.sys, it basically hibernates them so that such apps do not affect your PCs performance by any means.
Now, you might be thinking if pagefile.sys and hiberfil.sys are already present to do all this stuff, why is there even the need of keeping a separate swapfile.sys. The answer is pretty simple. While the pagefile.sys allows the computer to use its hard drive as some extra RAM space. And, hiberfil.sys is used to put some unnecessarily heavy data that is not used often into hibernation to minimize the boot timings. On the other hand, swapfile sys basically acts as both pagefile.sys and hiberfil.sys, but particularly for the Windows Store applications.
To understand other functions of the swapfile.sys file, let’s consider a small instance. Let’s suppose, you are doing heavy multitasking on your system, and you barely have any RAM space left. While you work on one program, there are chances that you will minimize some other tasks as well. So, is that a wise decision to put these program’s data into pagefile.sys? Obviously not, because we are going to use that data anytime soon, so swapfile.sys is the right place to store that data as it will quickly swap the files for you. While you work on one task and minimize the other, the not-being-used data will go to swapfile. And, as soon as you start using the other app and minimize the first one, it will swap the data to offer you the maximum possible performance.
What Happens if You Disable Swapfile.sys?
In a way, the swapfile.sys works somewhat similar to pagefile.sys, but for handling the recently used data. Both the files work as an emergency backup for your system RAM. For instance, if there is no backup memory left, the system RAM will start to fill up more and more. And, at one point, the next incoming apps won’t get enough memory space to work properly. As a result, severe application malfunctioning might be seen in this situation.
Well, if you try to disable it on your computer, there are very high chances of facing multiple apps crashing on your computer. As of now, it is much used for handling Windows store applications. So, if you disable the file, some of the Windows Store applications might refuse to launch. And, if they do, who knows how long they will run without the swapfile.sys.
For instance, let us suppose, you only have around 4 GB RAM on your system. On a working system, there will hardly be around 2 GB RAM left to use. Now, if you try to launch a Windows Store application that has a base RAM footprint of around 2GB. It will take up all that left up 2GB of memory space. Now, as there is no extra RAM space or emergency backup available. There is no choice left for the Windows system rather than killing the apps and saving up memory space to keep the entire system safe from crashing.
How to Disable Swapfile.sys?
You can easily disable the Swapfile.sys on your system even if you are not an experienced user. But, before you proceed with the process to disable it, you should know that both the swapfile.sys and pagefile.sys work in conjunction. Thus, if you disable any of them, the other one will get disabled as well.
Step 1. Click on the Start button on your taskbar.
Step 2. Now, type Control Panel and hit Enter to search for it.
Step 3. Click on the Control Panel icon from the list of results.
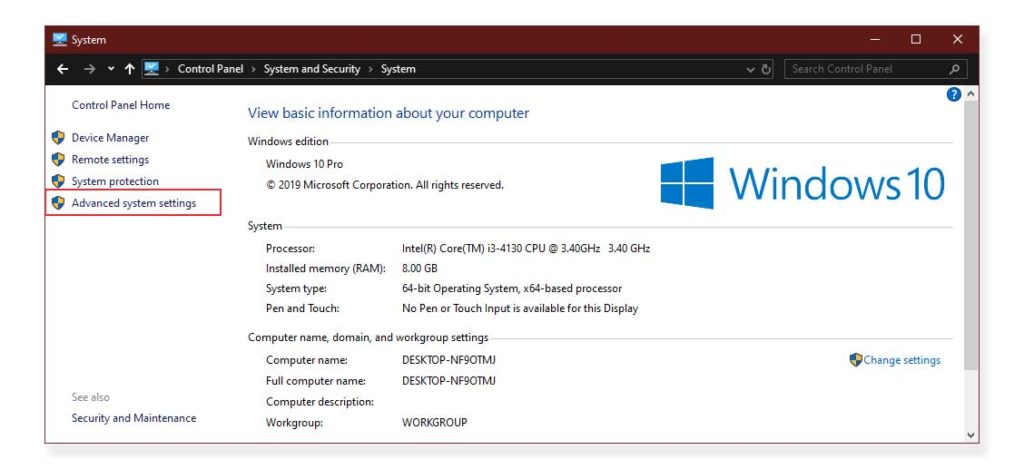
Step 4. Inside the Control Panel, look for System and click on it.
Step 5. From the left-hand side menu, go to Advanced System Settings.
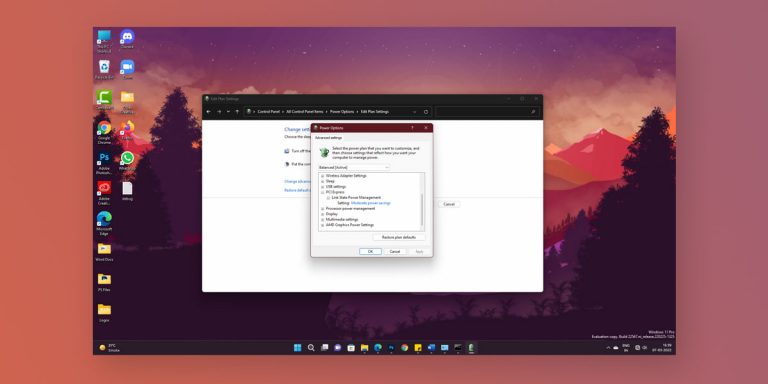
Step 6. It will open the System Properties window on the screen. Select the Advanced tab from the header menu of that window.
Step 7. In the Performance section, click on Settings.
Step 8. Select the Advanced Tab. In the Virtual Memory section, click on the Change button.
Step 9. On the top section of this window, you will see a checkmark beside the setting “Automatically manage paging file size for all drives”. Click on the checkmark to remove it.
Step 10. Moreover, on the same window, there is a “No Paging File” option, select it as well.
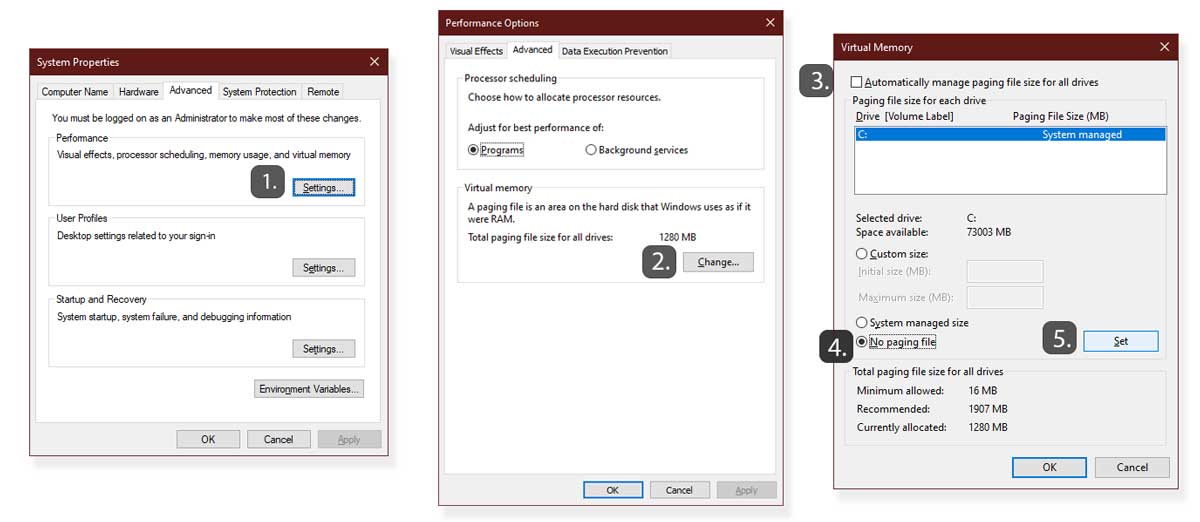
Step 11. Click on Set.
Step 12. It will pop-up a warning, click on Yes. Then, click Ok to confirm.
Step 13. Lastly, Restart your computer to apply these changes.
Also Read: How To Increase Virtual Memory In Windows 10
How to Disable Swapfile.sys while keeping pagefile.sys enabled?
If you have tried to disable the swapfile.sys file using the above method, it is obvious that your PC is not using the Pagefile.sys as well. But actually, the pagefile.sys is quite a useful file to keep on systems that have lesser RAM capacities. So, if you are in this league as well, you must learn how to disable swapfile.sys while keeping pagefile.sys enabled.
You can do it quite easily by editing some entries in your system registry. But, make sure to follow the procedure properly. Because if anything goes wrong in these steps, you might end up ruining your system entirely.
Step 1. Firstly, right-click on the Start button on your computer’s taskbar.
Step 2. Now, click on Run. You can also use the shortcut Windows Key + R to open the Run window.
Step 3. In the search field, type regedit, and hit the Enter key.
Step 4. It will open the Registry Editor on your computer.
Step 5. On the left-side menu, double-click on HKEY_LOCAL_MACHINE.
Step 6. Similarly, double-click on System.
Step 7. Go to CurrentControlSet and double-click on it.
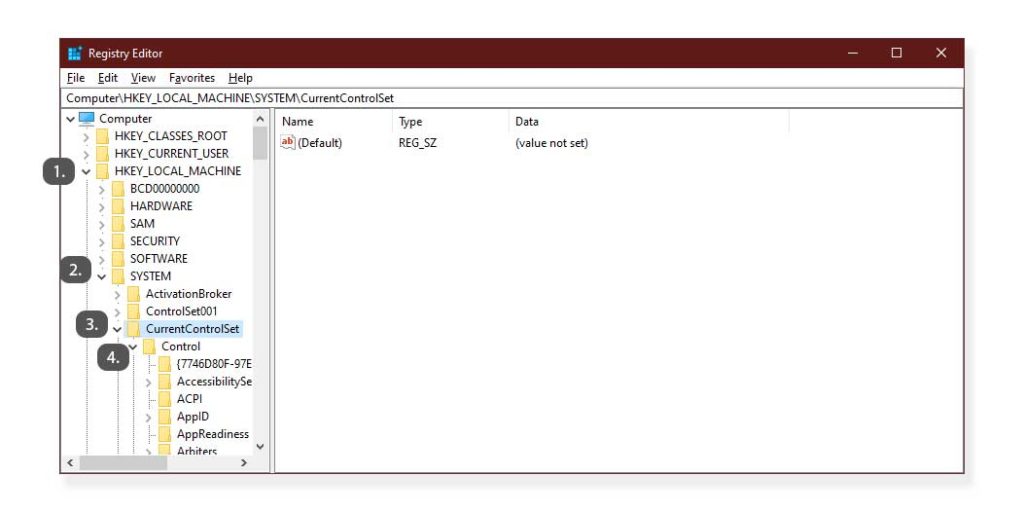
Step 8. Here, again double-click on Control to expand it.
Step 9. Navigate to Session Manager and expand it.
Step 10. Now, click on the Memory Management option.
Step 11. Here, on the right-side frame, right-click on the blank area and click on New.
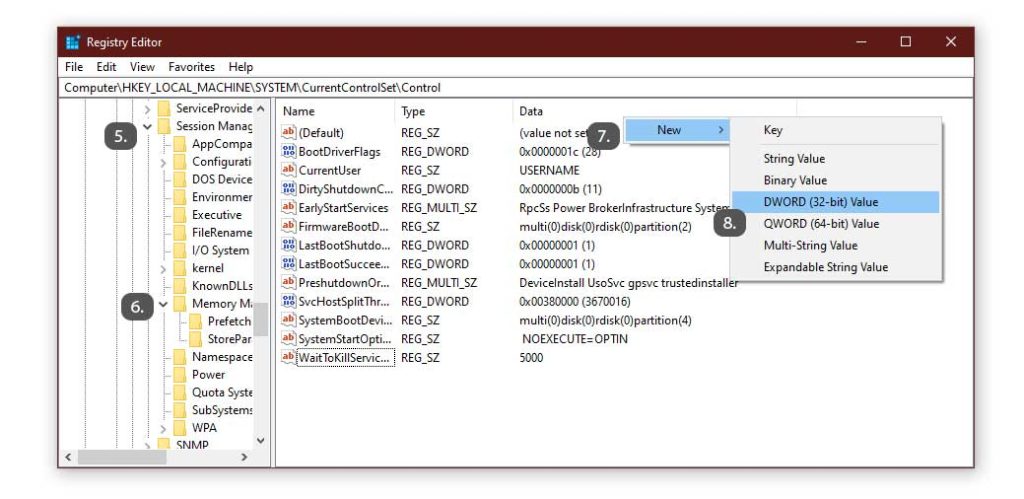
Step 12. Click on DWORD (32-bit).
Step 13. Set the name as SwapfileControl and Hit the Enter Key.
Step 14. Exit, and reboot your PC to apply the changes.
This method will help you to disable the Swap file on your computer without affecting the pagefile.sys by any means.
Conclusion
We hope all your doubts regarding the swapfile.sys have now vanished away. Although we have mentioned the ways to disable it on your computer. We recommend you not to make any such changes to your computer if not needed. These methods are only for those people who already have massive capacities of RAM on their systems, and don’t feel the need for such management files.
However, if your computer has less amount of RAM capacity. We recommend keeping these files intact and letting Windows handle the memory management tasks itself. Hence, this was all from our side, in case you want to share your queries or suggestions with us, the comments section is all yours.