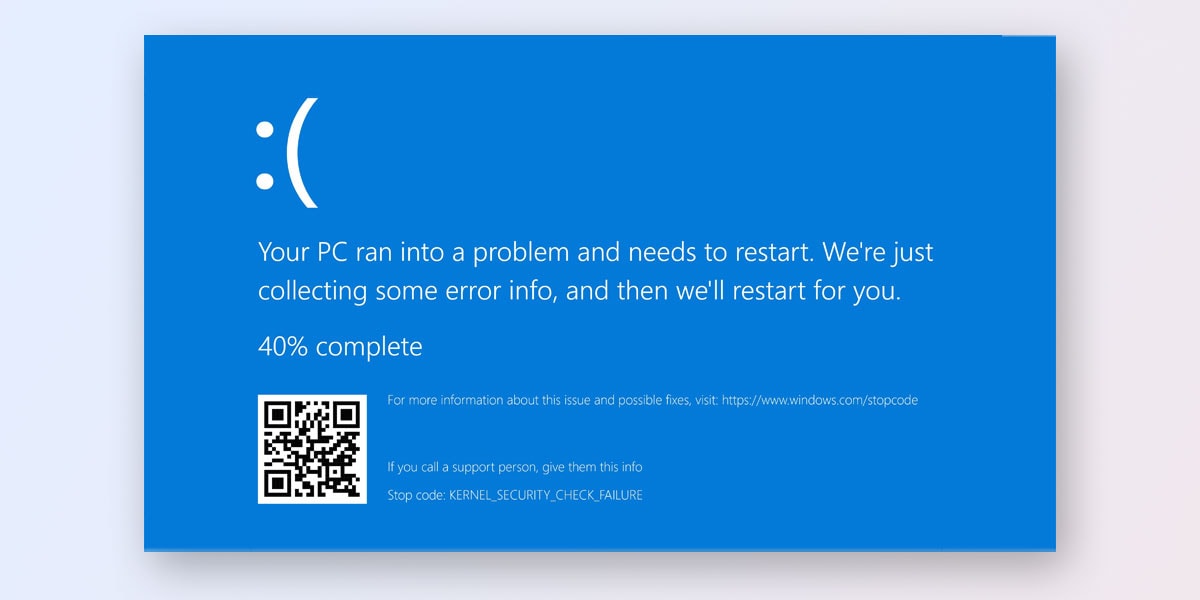
Often regarded as the screen of death, the Kernel Security Check Failure is something we all have encountered in the past. To make it clearer, this issue leaves you stranded on a blue screen. The Kernel Security Check Failure primarily occurs when you have any software-related issues or there’s an issue with the boot process altogether.
However, there is no single probable cause for this as it can be a result of anything from a corrupt file or an outdated driver. Many Windows 11 users have reported the same issue regarding the Kernel Security Check Failure. In this article, we will walk you through all the probable causes and also How to Fix Kernel Security Check Failure in Windows 11.
What Causes Kernel Security Check Failure in Windows 11?
Understanding the root cause of any problem is imperative in any troubleshooting process. Once you know what may have caused a problem with your system’s functioning, it becomes easier to prevent the issue from occurring in the future. Similarly, you will be well equipped with deal with these problems the next time they arise.
Some of the common reasons that can cause “kernel security check failure” error in Windows 11 are:
- Incompatible Hardware
- Outdated Drivers
- Outdated Software
- Memory Related Issues
How to Fix Kernel Security Check Failure in Windows 11
Just as there are multiple reasons that can cause the kernel security check failure in Windows 11, there are several fixes against the same. To make things easier for you, we have laid down 10 ways to fix Kernel Security check failure error in Windows 11
1. Run Windows Memory Diagnostic Tool
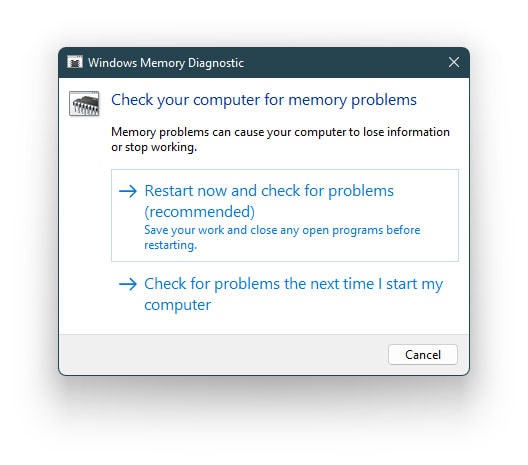
For those who don’t know, the modern-day Windows OS comes equipped with multiple built-in tools and features that are designed explicitly to detect, diagnose, and fix any issues with your computer. Similarly, the Windows Memory Diagnostic Tool is one feature that can come in handy in such situations
To run the Windows memory diagnostic tool on Windows 11, follow the given steps
- Go to the Search Menu
- Type Windows Memory Diagnostics in the search bar
- Here, you will see two options
- Select the 1st option which reads Restart Now And Check For Problems
Note: Ensure that you save your work before implementing this tip
- Once the test is done, restart your system
- Upon system restart, check to see if the issue has been resolved
2. Run SFC Scan
The System File Checker is used to identify corrupt Windows files and replace them with a cached copy of the same. You can either run the SFC command using CMD or PowerShell. Running an SFC scan is an effective way to deal with Kernel Security Check Failure. To run an SFC scan, follow the given steps
Note: The SFC scan is practically similar to the Disk Checker tool. However, in order for the chk disk command to succeed, it is recommended that you run an SFC scan BEFORE you implement the disk checker.
- Go to the Start Menu
- Here, type CMD
- Right click on Command Prompt & Select Run as administrator
- Insert the following command in CMD and press Enter
sfc /scannow
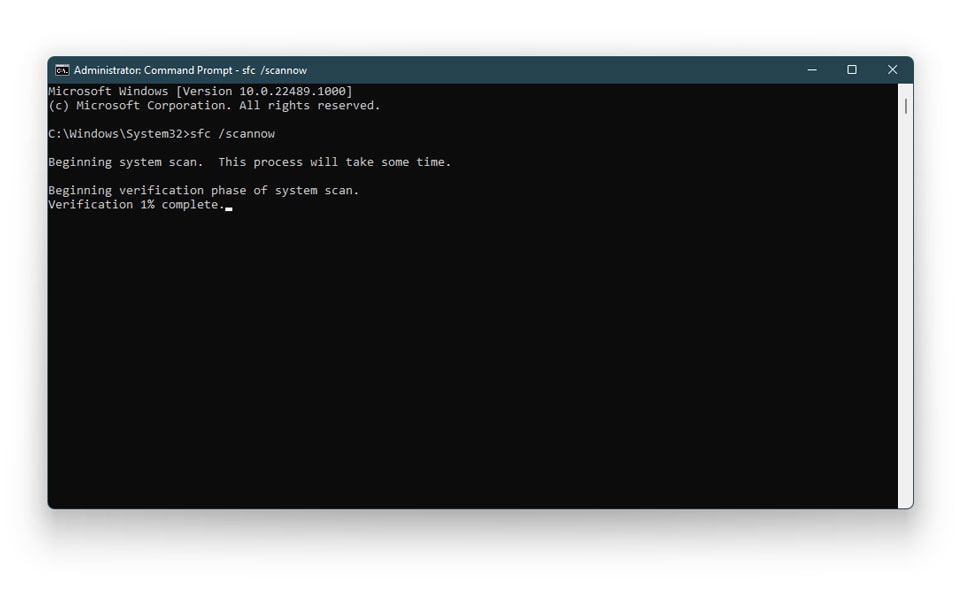
The scan will now be initiated and will take some time to complete. You will be able to track the progress of the scan on screen. Every time the scan finds a corrupt file, it will automatically replace it. Once the scan is done with, restart your PC to check if the issue has been dealt with
3. Run CheckDisk tool
As the name suggests, the CheckDisk tool is primarily aimed at detecting and diagnosing any problems with your system. To do so, this tool scans every disk on your system to find out the problem and also everything that might be causing the problem. To run the check disk tool on your system to detect the cause of the kernel security check failure, follow the given steps
- Go to the Start Menu
- Here, type CMD
- Right-click on Command Prompt & Select Run as administrator
- Insert the following command in CMD and press Enter
chkdsk C: /f
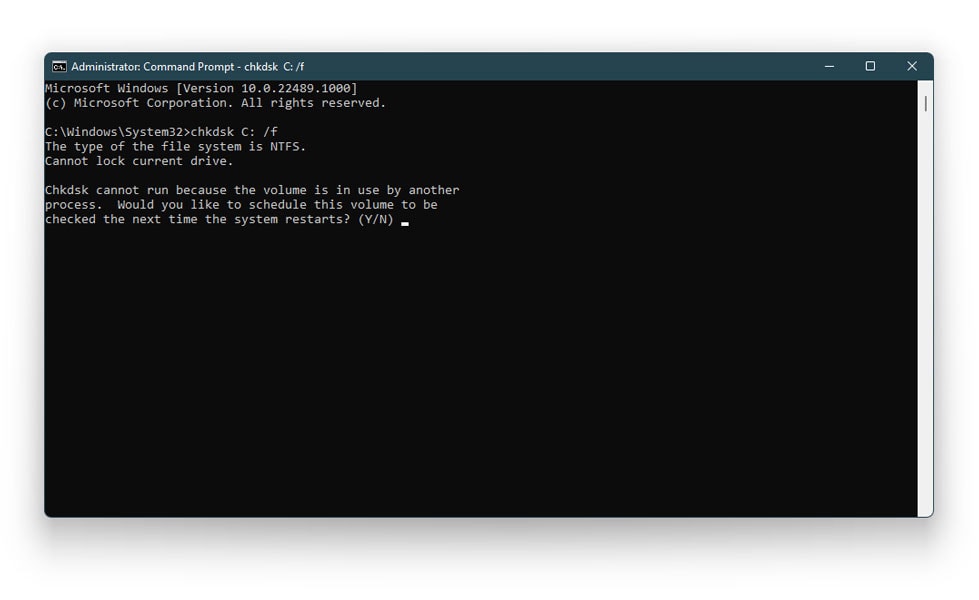
- You will now see a message in the CMD window that will prompt you to restart your system
- Press Y to confirm
- Upon restart, check if the kernel security check failure is no longer a failure.
Note: The CheckDisk tool is much more comprehensive than an SFC scan. Hence, it is recommended to run it either with the SFC scan or immediately after it.
4. Update Device Drivers
Outdated drivers are the majority of the reasons why you face issues with your system. Although Windows automatically updates the drivers, you will need to check for yourself once in case there are any updates your system missed. There are two different ways using which you can update your device drivers in Windows 11. We have listed them all.
Update Drivers using Device Manager
- Go to the Search Menu
- Type & Select Device Manager
- Under Device Manager, locate the driver you want to update (ex – Display Adapters) & Double click on it
- Now, right click on the Display Adapters & Select Update Driver
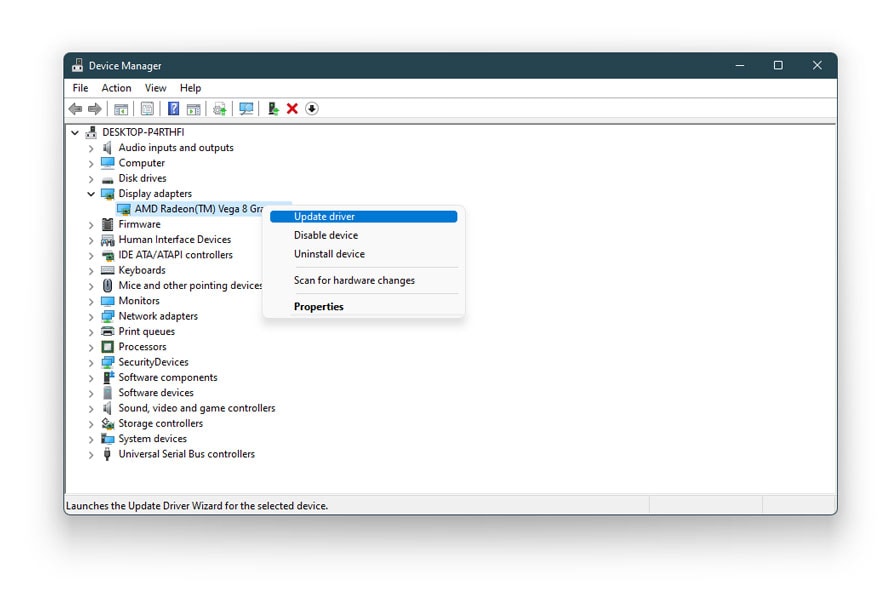
- You will now see two options on your screen
- Tap on the 1st option Search Automatically for Drivers
- Windows will now search for possible drivers and install them on your system
Follow the same process to update any driver using the device manager
Update Drivers using Windows Update
- Right click on the Start Menu
- Select Settings > Go to Windows Update > Windows Update
- Select Advanced Options
- Here, go to Additional Options and then select Optional Updates
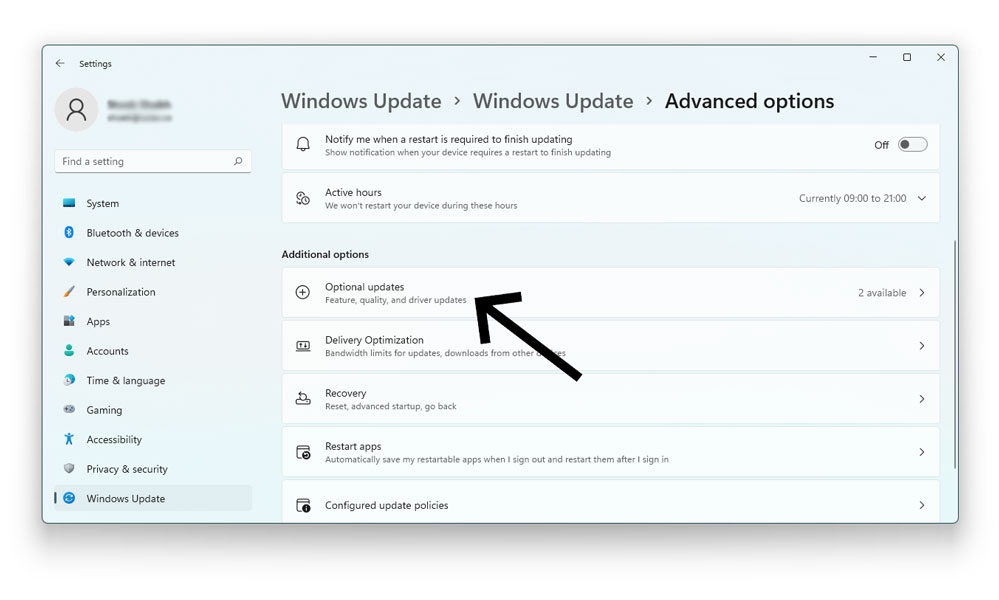
- Click on Driver Updates to see the list of updated drivers present
- Check the boxes next to the drivers & Select Download & Install
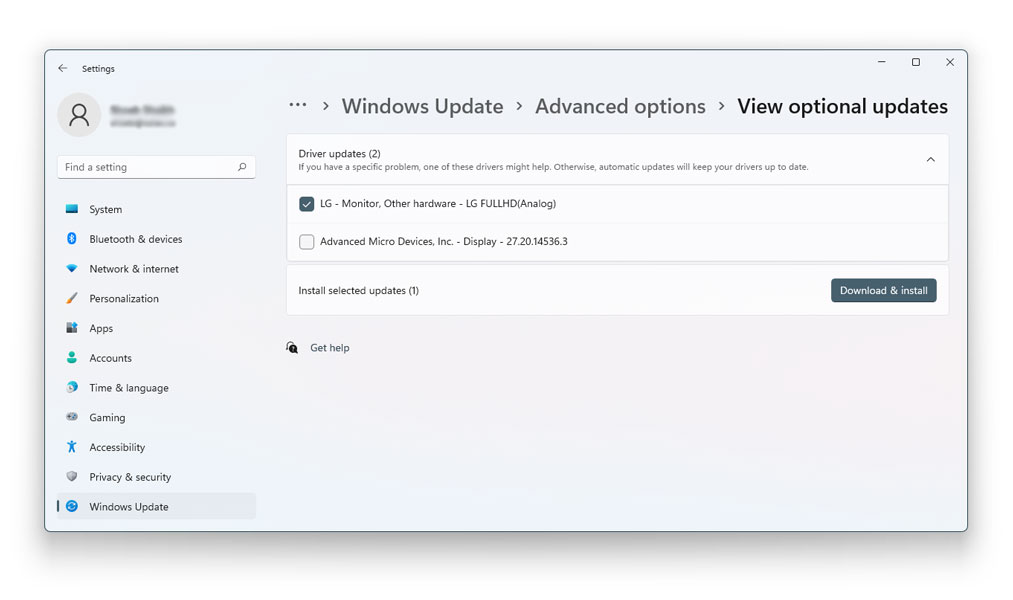
- Windows will now download and install the updated drivers.
Recommended: Top 10 Best free Driver Updater Software for Windows
5. Scan PC for Virus
If you are facing issues with everything you run on your system, there might be severe malware infection somewhere in your system. If there’s a bug present, you’ll notice a sizeable downgrade in your system performance. Scanning your PC for viruses from time to time is a precautionary measure that can keep you on alert regarding every potential threat. A full system scan is more than capable of handling this issue.
To scan for viruses, follow the given steps
- Go to the Search Menu
- Type & Select Windows Security
- Now, tap on Virus & threat protection
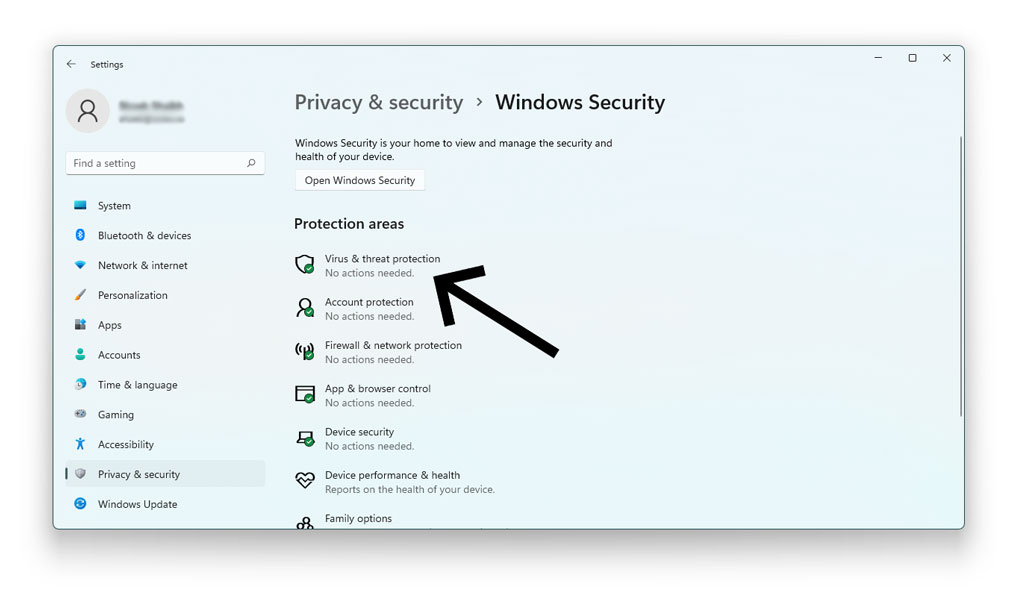
- Click on Scan Options
- From the options given, select Full Scan
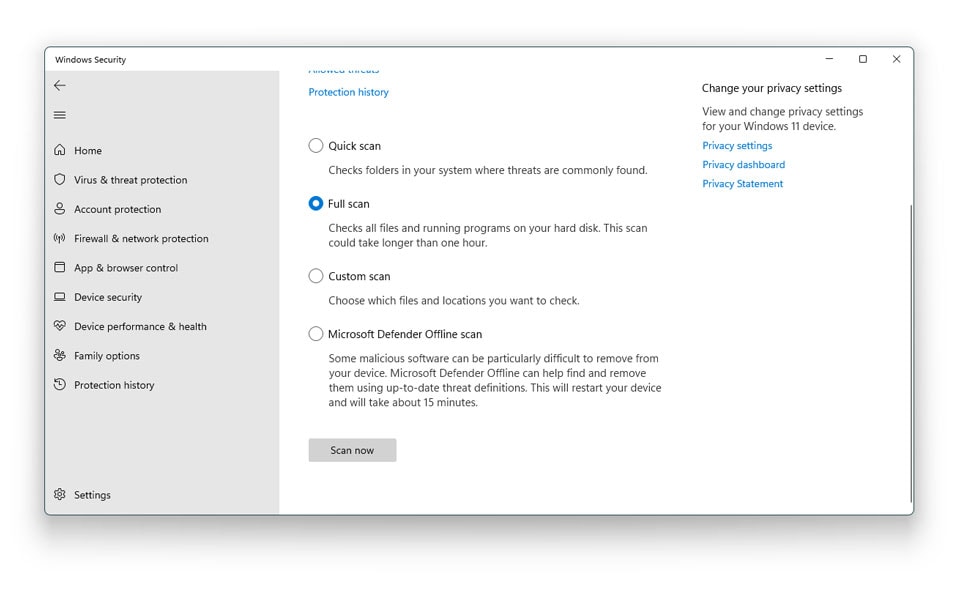
- Next, click on Scan Now at the bottom to start the scan
- Wait for the scan
Ensure that you have no applications running in the background as they will only slow down the scan
6. Enable Legacy Advanced Boot Menu
If the above methods fail to fix the issue, your computer will restart with a black screen. Here, enabling the legacy advanced boot menu can help you fix kernel security check failure.
- Insert a Windows 11 bootable drive & Restart your PC.
- On the Windows setup, click on Repair your computer
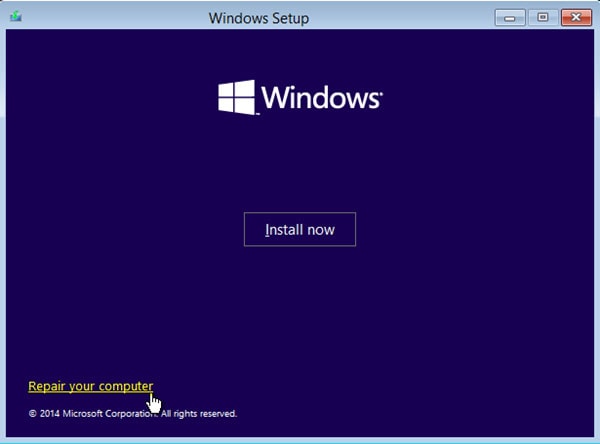
- Then, click on Troubleshoot > Tap on Advanced Options > Go to Command Prompt
- Type the following command and press Enter
BCDEDIT /SET {DEFAULT} BOOTMENUPOLICY LEGACY
- Once the command is executed, type EXIT to close command prompt
- Now, go back to “Choose an option” page and Click on Continue to start Windows normally
After enabling the legacy advanced boot menu, your PC will restart normally without the error.
7. Boot Windows 11 into Safe Mode
One of the most popular ways of dealing with system errors is by booting Windows 11 in safe mode. Similarly, booting into safe mode can help fix the kernel security check failure in Windows 11. To boot Windows 11 into safe mode, follow the given steps
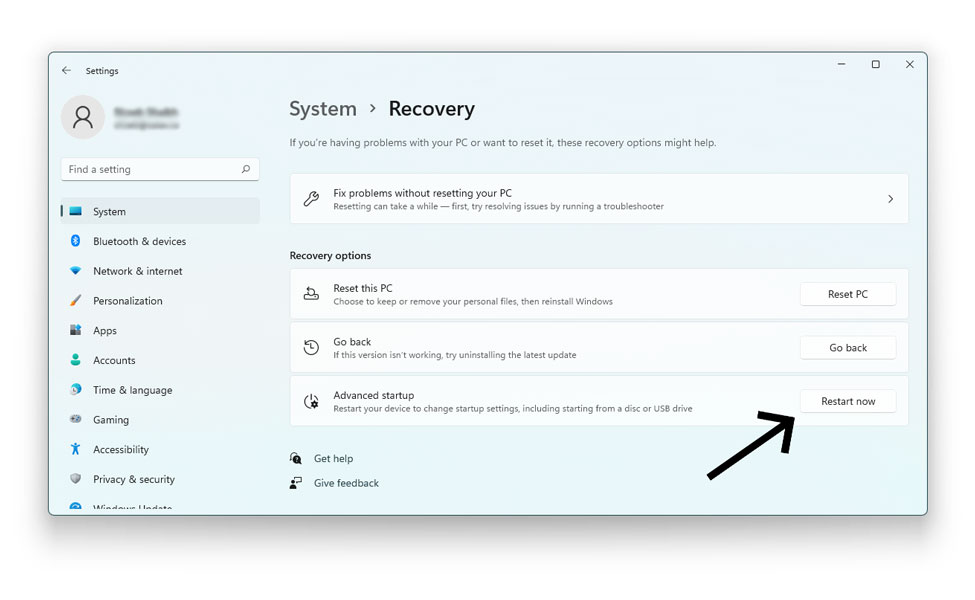
- Go to Settings > System > Recovery
- Under Advanced startup click on Restart now
- Now on the blue screen, click on Troubleshoot > Tap on Advanced Options > Go to Startup Settings
- Select Boot into Safe Mode with Networking
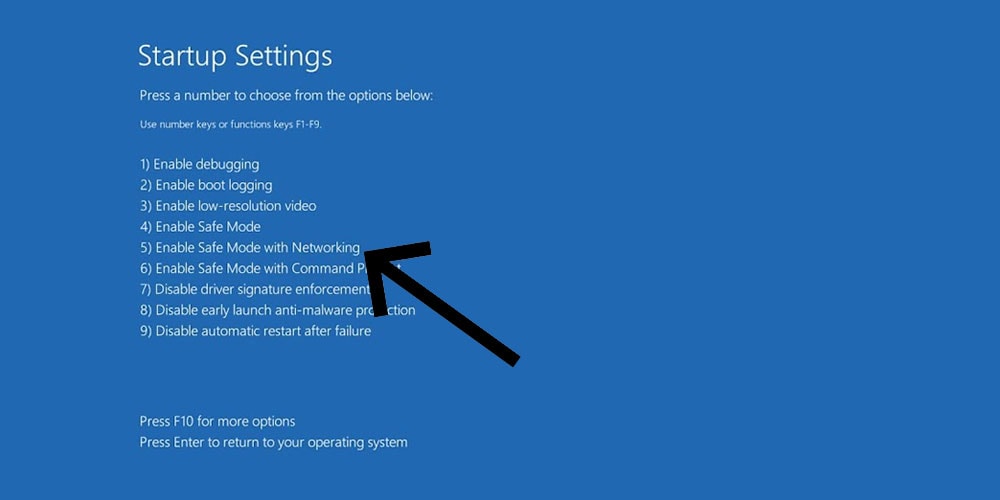
- Restart Your PC
- Your Windows 11 will now boot into safe mode
To see if Windows has successfully booted into safe mode, check if the words “Safe Mode” are visible at the bottom right corner of your screen. Your system will automatically exit safe mode upon restart.
8. Perform Windows 11 Startup Repair
The startup repair tool is designed to detect, diagnose, and repair any problems that might tamper with your system’s overall functioning. Similarly, performing a startup repair will automatically detect and tell you what is causing the kernel security check failure.
- Click on the Power Button icon
- While holding down the Shift Key, click on Restart to launch the Windows RE
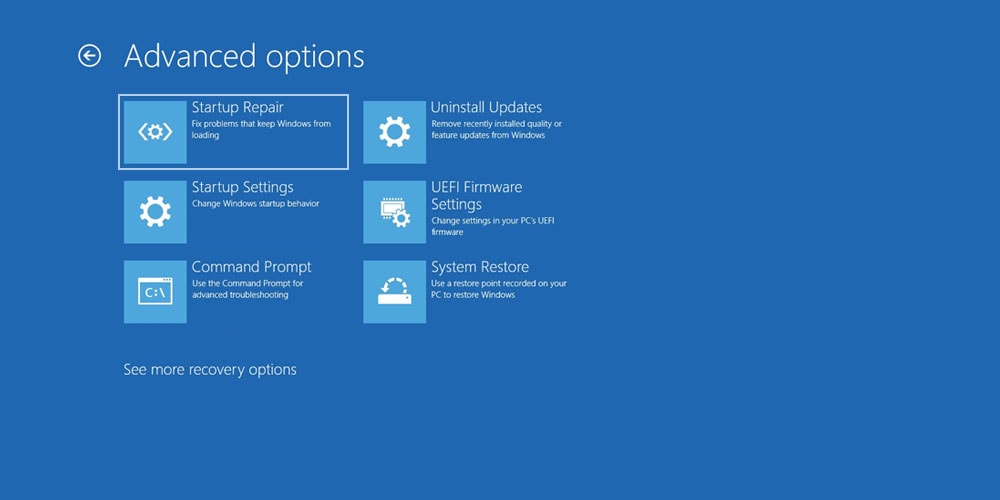
- On the blue screen, tap on Advanced Repair Options > click on Troubleshoot
- Tap on Advanced Options & Go to Startup Repair
- Select an account with admin privileges
- Enter your password & Click on Continue
This will now run the Windows Startup Repair Tool. The Startup Repair Tool will now perform a thorough scan of your system detect and diagnose the root causes of the problem
9. Update Windows 11
If you haven’t updated your system in a while, then your outdated version could be the reason behind the Kernel Security Check Failure in Windows 11. If you haven’t guessed already, an easy fix to this will be simply updating Windows 11. At times, your current version may be infected by a potential bug or malware which is likely to tamper with it. Running an update is likely to fix the issue.
Follow the given steps to update Windows 11
- Right click on the Start Menu
- Go to Settings
- Select Windows Update & then click on Windows Update
- Here, locate and click on Check for Updates
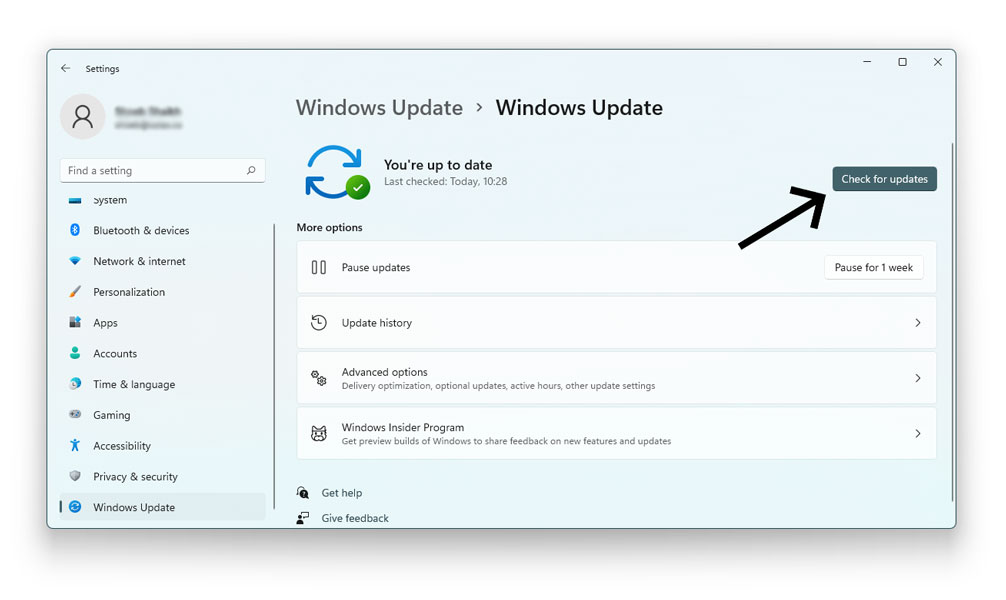
- Now, Windows will look for potential updates and install them automatically
- Once the updates are done, restart your PC to see if the issue has been resolved
Tip: Updating Windows regularly is vital to ensure the smooth functioning of your system. Therefore, we suggest you keep checking for updates regularly so as to miss out on any new features or bug fixes.
10. Reset Windows 11
Note that resetting Windows 11 will completely wipe out everything present on your system. Therefore, ensure that you backup all your important data BEFORE you reset Windows 11. Perform a system reset using the given steps
- Right-click on the Start Menu
- Tap Settings > System > Go to Recovery
- Click on Reset PC
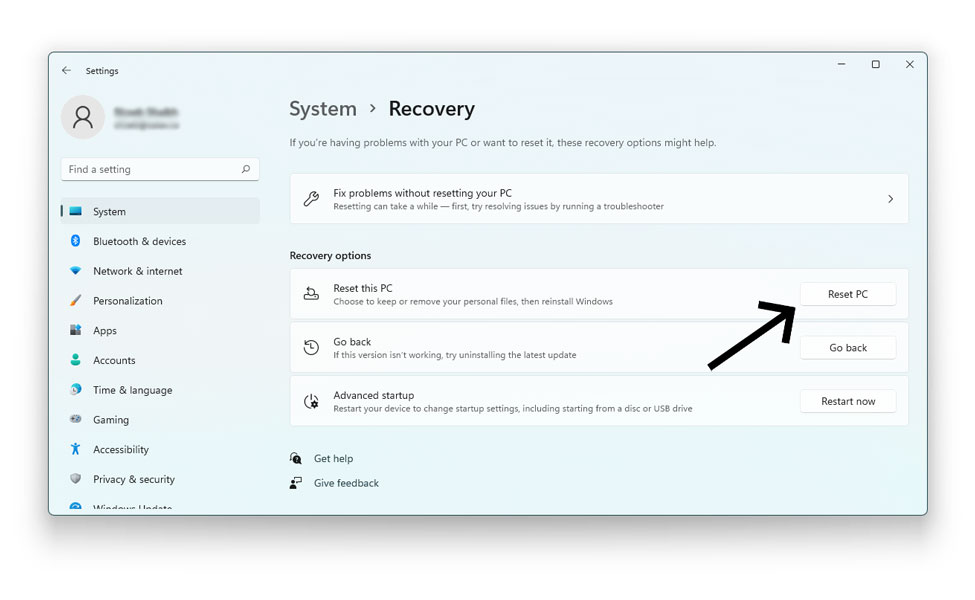
- From the options present, select Remove Everything
- Windows will now wipe out everything present on your system
Restart your PC and ensure that you fill in all the details (time, date, language) correctly.
Also read:
Conclusion
No OS is foolproof. You are likely to encounter issues with functionality anytime anywhere. Therefore, having knowledge about every possible issue is imperative in getting rid of the issue. Once you are educated about what causes the problem, you are ready the next time the issue occurs. But if none of the fixes works for you, then it’s time you visited your nearest repair shop at once.