Updates are an integral part of every system software. It is vital that we constantly keep on updating our system software in order to reap maximum benefits. At times, running on an outdated version of any software tends to put your PC at risk of bugs, errors, or crashes. Therefore, we need to be on the constant lookout for updates and one must update their PC as and when there is an update available.
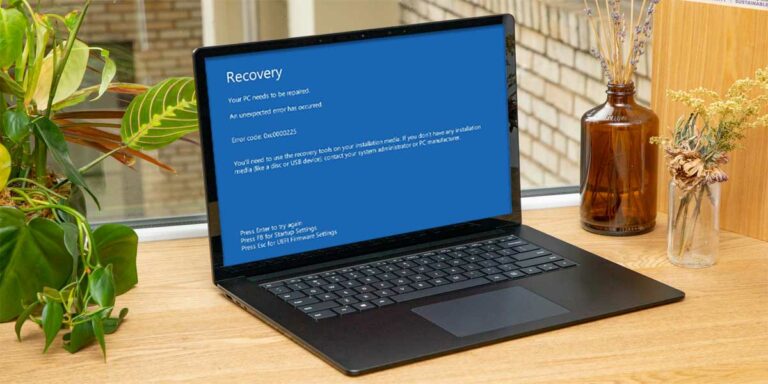
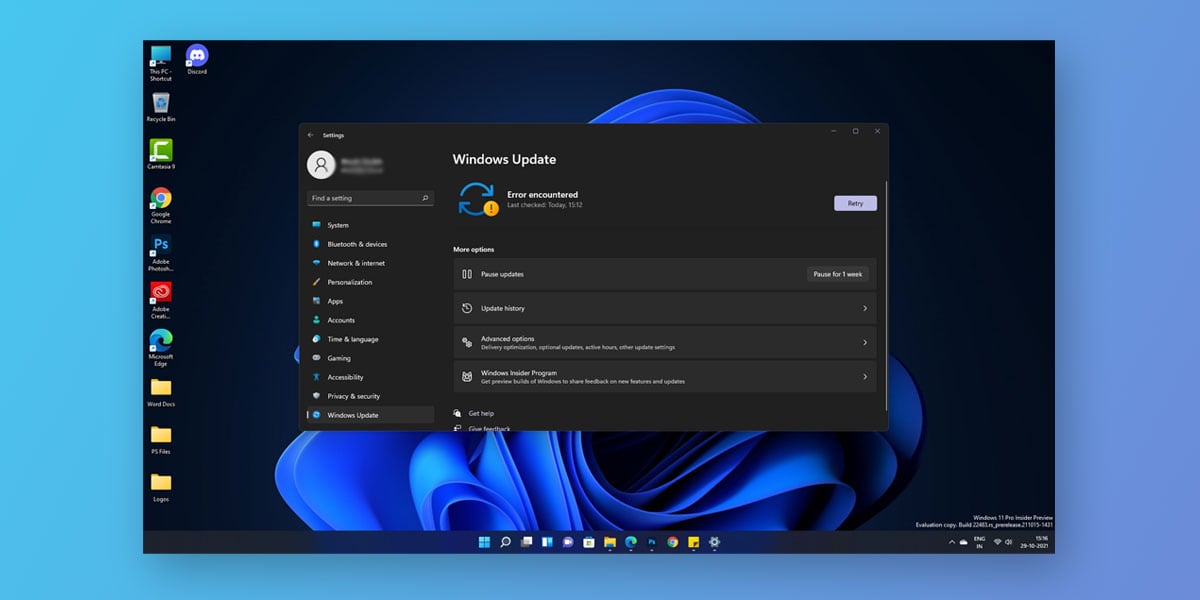
Similar is the case with Windows. Now and then, Windows tend to roll out new updates which must be installed the minute they are out. However, the majority of the Windows 11 users have complained of failed Windows update with the windows 11 update error 0xc1900130 popping up on their screens.
This error, if not dealt with, can stop you from making the most out of your system’s functionality altogether. If you too have encountered the 0xc1900130 update error on your Windows 11 system, then this article is for you. This article will walk you through all the possible causes for 0xc1900130 error followed by every possible fix you can implement to sort this issue.
What is Windows 11 Update Error 0xc1900130?
| Error Code | 0xc1900130 |
| Error Message | There were problems installing some updates.. |
| Error Cause | Interrupted network connectivity |
| Common Solution | Windows Troubleshooter |
Windows update errors are relatively common especially if you have a sloppy Internet connection. Similarly, the windows 11 update error 0xc1900130 is a result of poor Internet connection and generally arises if your system loses Internet Connectivity while downloading the Windows 11 update. An interruption in the network causes the updates to pause/stop leading to the windows 11 update error 0xc1900130 appearing on your screen.
Causes of Error Code 0xc1900130
As we mentioned earlier, one of the primary reasons why you encountered this error is because of poor or interrupted Internet connectivity. If your internet isn’t up to the task, it can cause the updates to be NOT downloaded successfully.
Another likely scenario is the third-party antivirus that may see the newly downloaded update as a potential threat. Antivirus software are configured to automatically scan and quarantine malicious files. If your system deems the new update as a potential threat, then you will need to have a concrete antivirus in place to tackle the bug or issue that is blocking your access to the system firewall.
How to Fix Error 0xc1900130 in Windows 11
Just as there are a couple of possible reasons why you encounter this failed Windows update, there are also possible fixes. These fixes tend to tackle each issue individually and ultimately grant you relief from the problem. Therefore, here is a list of a few possible solutions to fix windows 11 update error 0xc1900130.
1. Restart Windows 11 PC
A quick restart is a way to go if you think there are any minor bugs or issues within the system. Restarting your Windows 11 PC is the easiest way to flush your system of bugs (if any) and correct any issues that might be interrupting your updates. Restart your PC and then try reinstalling the updates. Restarting your PC is essential for the Windows updates to take place
If you still see the windows 11 update error 0xc1900130, then continue applying the below-mentioned fixes
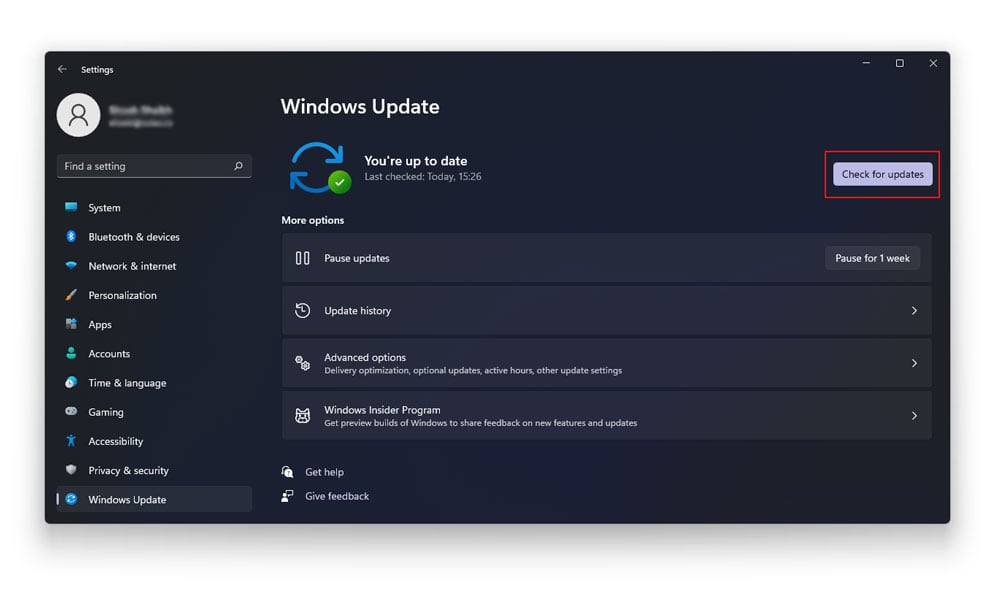
2. Re-Run Windows Update
If you encountered an error the first time you ran your Update, then you might as well give it another shot. Sometimes, re-running your Windows update can also help solve the error. To run Windows Update, follow the given steps
- Close all Running applications
- Right-click on the Start Menu & Click on Settings
- Go to Windows Update
- Tap on Check for Updates
- Windows will now automatically check for updates and start installing
- Wait for the installation to finish
- Once the installation is done, restart your PC to see if the changes have taken place
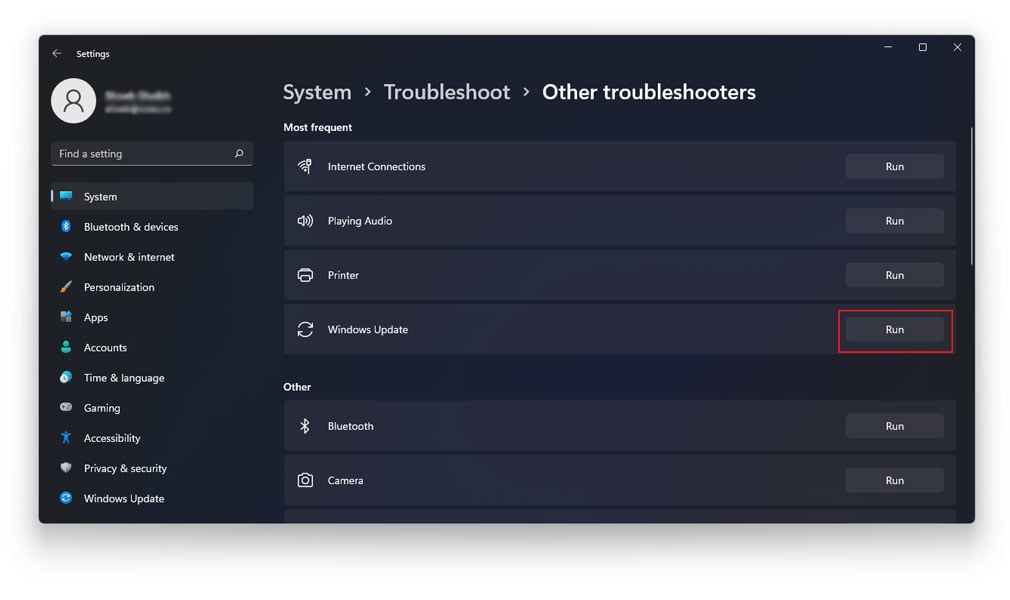
3. Run Windows Update Troubleshooter
Running a troubleshooter allows you to get a quick diagnosis of what went wrong with your update process. Hence, running the Windows Update Troubleshooter could come in handy in figuring out why you keep receiving the windows 11 update error 0xc1900130. To run windows update troubleshooter, follow the given steps
- Close all running applications
- Right-click on the Start menu & Tap on Settings
- Under System, Click on Troubleshoot
- Now, click on Other troubleshooters
- Locate Windows Update & Click on Run
The Windows Update Troubleshooter will now automatically look for any issues that might be interrupting with your Windows update. Once the diagnostics are done, restart your PC to see whether the issue has been resolved.
4. Start all required Windows Update Services
In order for your updates to work, you will need to ensure that all windows update services are enabled. Before you install the latest Windows update, make sure all required Windows Update Services are enabled. To enable the same, follow the given steps
- Close all running applications
- Go to the Start Menu
- In the search bar, type Cmd & Right click on Cmd
- Click Run as Administrator
- Insert the following commands inside cmd
(Press Enter after inserting each command)
sC config wuauserv start= auto
sC config bits start= auto
sC config cryptsvc start= auto
sC config trustedinstaller start= auto

Running the above commands into your command window will automatically start all required update services.
5. Reset Windows Update
If none of the above-mentioned fixes have worked out for your, you might as well opt for resetting windows update. Majority of the users reported their problem fixed after they reset their Windows update. To reset Windows update, follow the given steps
- Close all running applications
- Go to the Start Menu
- In the search bar, type Cmd & Right click on Cmd
- Click on Run as Administrator
- Insert the following commands inside cmd
(Press Enter after inserting each command)
net stop wuauserv
net stop cryptSvc
net stop bits
net stop msiserver
- Now, enter the following command and press Enter
ren C:WindowsSoftwareDistribution SoftwareDistribution.old
- This command renames the folder in order to clear it
- Next, type in the following command and press Enter
ren C:WindowsSystem32catroot2 Catroot2.old
- This command renames Cartroot folder to reset it
- Now, type in all the commands given below to restart the services
(Press Enter after inserting each command)
net start wuauserv
net start cryptSvc
net start bits
net start msiserver
- Once all the commands have been executed, close cmd
- Restart your system
- Check if the issue has been resolved
Conclusion
As we mentioned at the beginning of the article, there could be numerous reasons as to why you have a failed windows update. Majority of the time the issue can pertain to poor Internet connectivity. However, there are fixes designed explicitly to tackle every issue individually. All fixes mentioned above are mentioned as per the severity of the problem. Hence, it is vital that you tread serially.