Having waited for almost two years, the latest Spider-Man movie is out. No one is as excited as you. However, the joy is short-lived as all the cinema halls in your city are closed at the onset of the current pandemic. This leaves you frustrated and disheartened. At the same time, you also know that you need to see the movie before your friends drop those annoying spoilers we all hate.
Given the fact that the film isn’t going to release on an OTT platform anytime soon, you’re left with the only option, Torrent. As a result, you start scouting the web to get your hands on a copy of the movie. However, the question you face is how to open a torrent file on windows 11. Not knowing how to open a torrent file on windows 11 will only add to the frustration.
If you, too, are looking for how to open a torrent file on windows 11, we have you covered. This article will walk you through all the steps involved in opening torrent files on your Windows 11.
How To Open Torrented Files On Windows 11?
Downloading stuff off the Internet has never been easier until now. Now, all you need is the right torrent client to get your download started. However, there are quite a few steps involved in how to open torrent files on Windows 11. Therefore, here is how you can open torrent files on Windows 11 by simply tracing the given steps
Step 1. Download and Install a Torrent Client
Note that a torrent is a third-party application required to download stuff off the Internet (movies/games/music/TV shows). Therefore, you will first need to download a torrent client before proceeding with the download. Here are a few torrent clients for you to choose from.
Best Torrent Clients for Windows 11
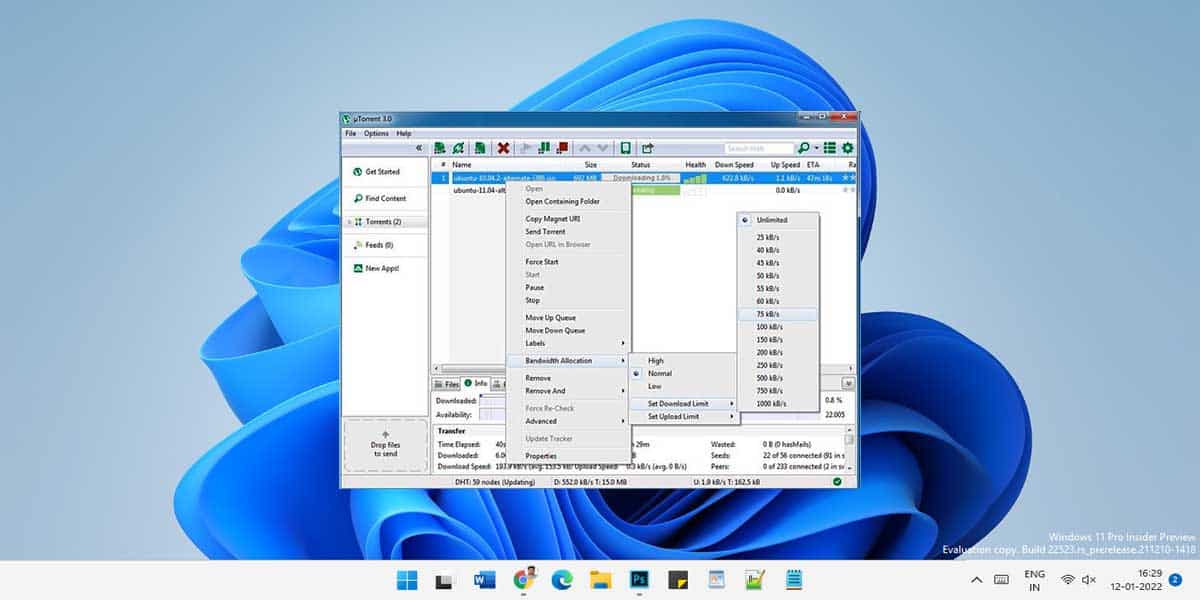
1. Utorrent
This is one of the most popular torrent clients available globally. With its help, you can easily download anything off the Internet.
- You can download uTorrent by referring to the given link: Utorrent
- Once downloaded, launch uTorrent by selecting the downloaded file
- Follow the instructions on-screen to complete the installation

2. BitTorrent
- Download BitTorrent from the given link: BitTorrent
- Launch the BitTorrent icon
- Check the ‘I Agree‘ section
- Wait for the installation to finish

3. qBitTorrent
- Download qBitTorrent from the given link: qBittorrent
- Launch the qBitorrent application
- Follow the instructions on the screen

Steps to Download and Install a Torrent Client on Windows 11
- Once you have downloaded either one of the above-mentioned torrent clients, you will need to configure it.
- Although most clients come with tuning, they also allow you to customize the tuning for a much better experience.’
- Select a location to save your Torrent file (downloads, desktop, drive)
- Once the installation part is taken care of, you can download the torrent file.
- To do so, browse through any popular torrent website and choose the file you want to download
- You can choose the desired location on your system to save the downloaded file.
- To add a file to the torrent client, simply double click on the download file, and it will be automatically added to the torrent client for download.
Step 2: Install a Windows VPN to download torrent file
It is vital that you have a VPN installed on your Windows 11 if you are looking to download files via torrent. Note that a VPN grants you an additional layer of security when browsing the Internet by masking your IP address and automatically encrypting the Internet Traffic. This keeps your ISP from finding out that you are using a torrent website. You can download free 24-hours VPN for your device or a paid one based on your preference.
Step 3: Visit a Torrent Site

Once you have to download and install a torrent client, the next step is adding files to that torrent client. To do this, visit any torrent site from where you want to download content from. When on the torrent site (check best torrent website which still works), you can select the file which you want to download and add it to the torrent client directly. To do so, simply click on the “magnet” icon next to a selected torrent file. Doing so will automatically add the selected file to the torrent client. Select OK to start the download.
Step 4: Download Torrent File
The final nail in the coffin is moving on to finally download the torrent file. To download the torrent file, trace the given steps:
- Visit a torrent website from where you want to download content
- Browse and select the file which you wish to download
- Click on the “magnet” icon next to a selected torrent file
- Select “Add File To Torrent” in the dialog box that appears
- The Torrent client window will now appear on your screen
- Click OK to start the download
- Wait for the download to finish
- Press Windows + E to open file explorer
- Navigate to the path wherein you have downloaded the torrent file (Downloads)
The Bottom Line
There is nothing as easy as downloading content off the Internet using a torrent client. Our guide will give you a detailed layout on how to open a torrent file on windows 11. For this, you can make use of the different torrent clients present on the Internet. However, ensure that you get a VPN installed on your Windows 11 since torrenting is illegal in most countries.
