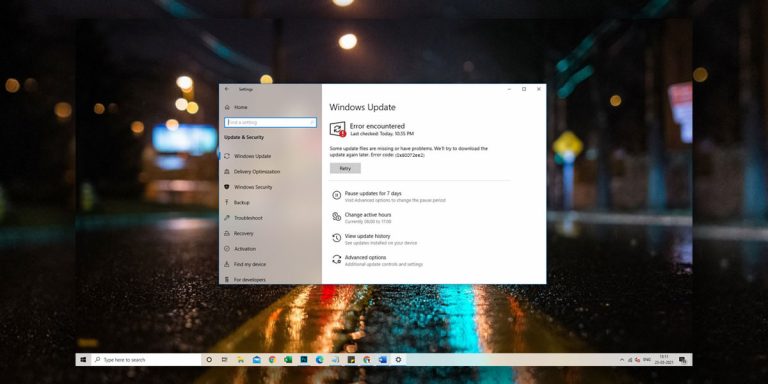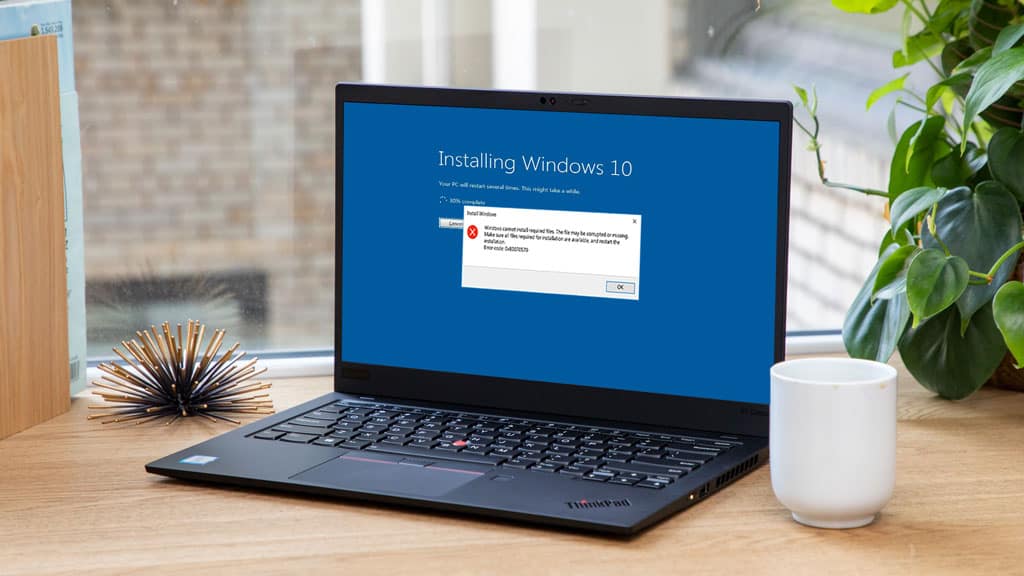
Windows might seem like a perfect operating system for most people. But, the reality is that the experience is only smooth until you start facing the errors. Yes, just like no other software is perfect, neither is Windows 10. At certain times and scenarios, you might end up encountering errors while using your computer for various possible reasons.
However, one thing that you will notice every time is that there is always a code associated with each type of error. While the code becomes a useful key for determining the issue at the developer’s side, it is quite helpful for the users, since an individual can look up for the solutions on the web easily without describing the whole situation.
So, in today’s article, we will be discussing one of the most common windows 10 error 0x80070570. Hence, if you are struggling with the “Windows cannot install required files” error, stay tuned to this article. We will also be providing you with the fixes that you can try out to remove this Windows 10 error altogether. So, let’s begin!
What is Error 0x80070570?
| Problem Event Name | 0x80070570 |
| Error Message | Windows cannot install required files. The file may be corrupt or missing. Make sure all files required for installation are available, and restart the installation. Error code: 0x80070570. |
| Error Cause | Corrupt Files |
| Common Solution | Disk Partition |
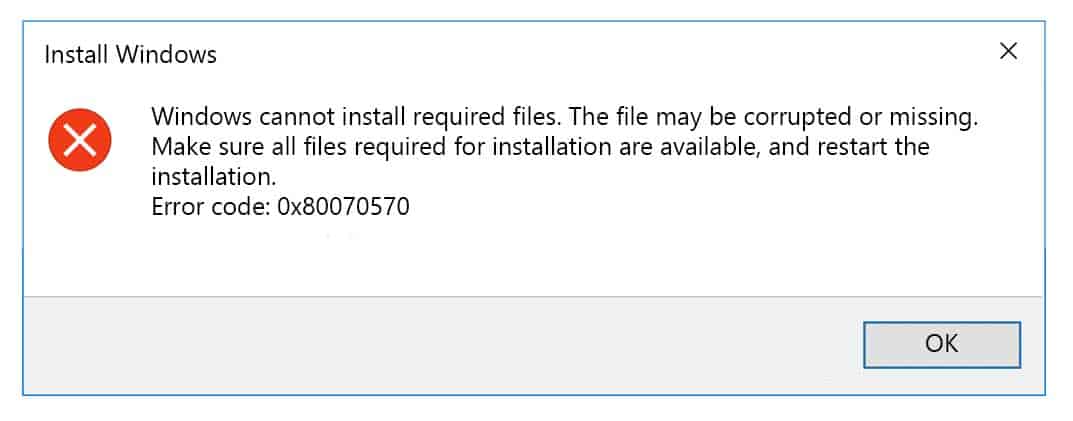
So, the windows 10 error code 0x80070570 appearing on your computer is more of a file or drive related issue. Usually, there are specific files present on your system that are damaged. And, when you try to manipulate the damaged or corrupt files, like delete or move them to some other destination, the above popup will appear. So, what are the potential causes?
Causes of error code 0x80070570
There are most commonly two scenarios when this error code appears on your system. Firstly, during the installation process of Windows systems, most people have to deal with the blue screen of death. The reason behind that is the build you try to install has some potentially corrupt files that Windows is unable to manipulate and install the patches. Secondly, the error might also appear in the case of moving files from one drive to the other. However, the reason still remains to be the same here as it only occurs when the files are damaged, and Windows can’t recognize them properly. In both scenarios, you will end up with the Windows error code 0x80070570.
How to Fix error 0x80070570 in Windows 10?
So, let’s quickly take a look at each of the methods that can help you fix the error 0x80070570 windows 10 problem. Note that each of these methods includes necessary and important steps that should be performed carefully. If followed incorrectly, things might get worse.
1. Disable your antivirus
Usually, it is not recommended to turn off your antivirus system, but for this particular error, you might have to do so. Most people do install third-party antivirus software that has access to perform unnecessary disk scans, just for the sake of being an active antivirus system.
However, this might seem reasonable to some people, but these antivirus systems can also block you from performing specific actions. Even if you are using the Windows Defender only, try out to disable the real-time protection for once and see if the error 0x80070570 goes away or not.
2. Defragment Disk Partition
If the root issue is going on with the drive itself instead of any particular corrupt file on your system, defragmenting the disk can simply improve the performance of your drive while fixing the issues at the same time.
Step 1. Go to the Control Panel.
Step 2. Click on System and Security settings.
Step 3. Under the Administrative Tools section, you will find the option that says, “Defragment and Optimize your Drives”. Click on it.
Step 4. A new window will pop up where you can choose any disk from the partition and start defragmenting it.
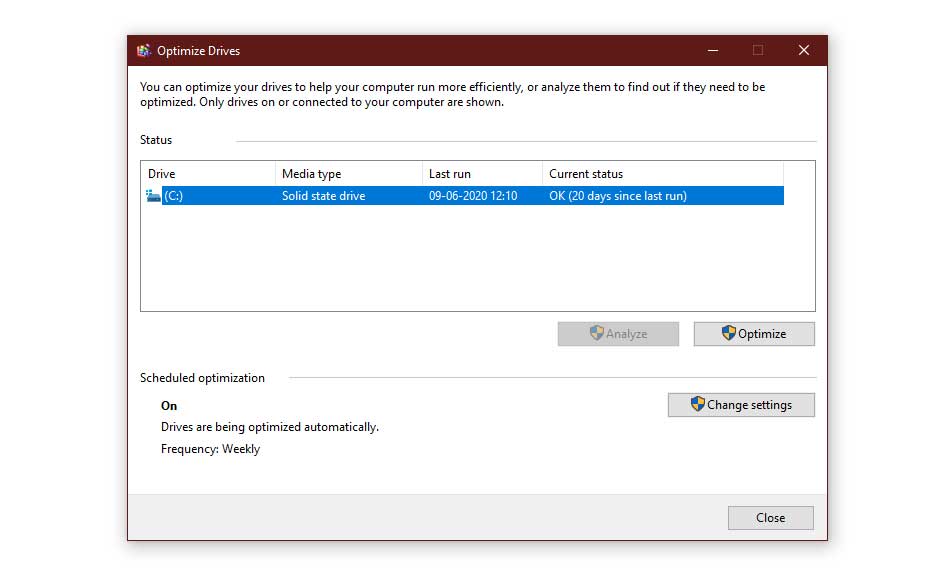
Step 5. Once the process is done, close the window and restart your PC and check weather the problem is resolved.
3. Check hard drive for any errors
If you believe that the “Windows cannot install required files” issue is occurring because of a particular hard drive on your system, there are ways by which you can check for that and Windows will automatically repair it for you as well.
Step 1. Click on This PC and right-click on the drive which you want to check for errors.
Step 2. Go to Properties.
Step 3. In the header menu, click on Tools, and then click on the Check option under the Error Checking section.
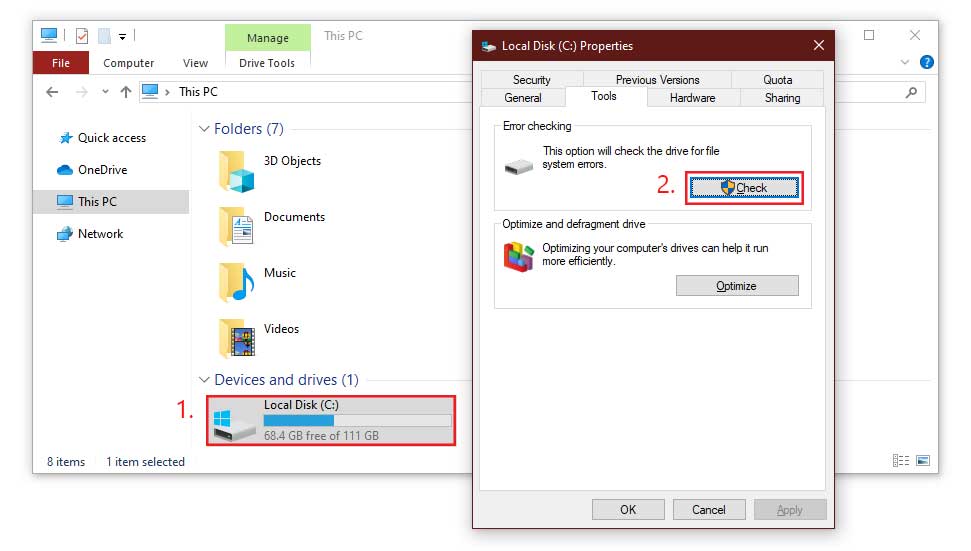
Step 4. After that, Windows will handle the rest of the work and repair the drive on its own.
However, if nothing comes out of this, you can do an in-depth check for the errors using the command prompt as well.
Step 1. Use the combination Windows Key + X to open the Power menu, and choose Command Prompt (Admin).
Step 2. In the command prompt, enter the following command:
chkdsk /f X
*You have to replace the name of your Drive with X in the command*
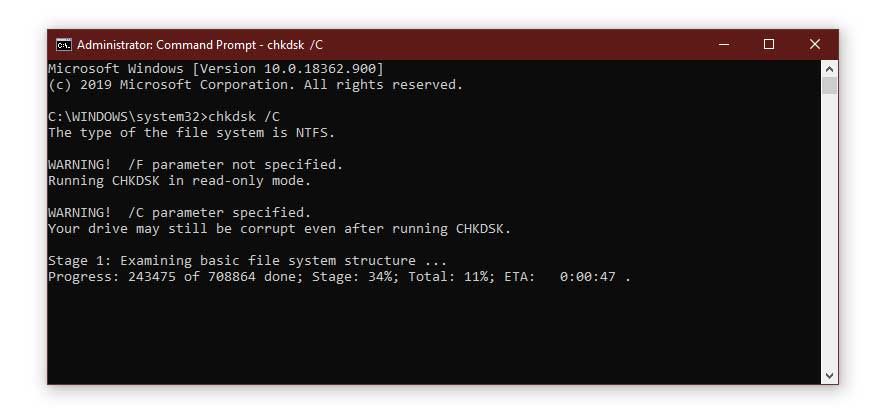
Step 3. The process might take some time, so be patient and let the computer do the job. Once the process is finished, you can do the same for other drives if you wish.
4. Copy your Windows to your hard drive
If you are trying to install Windows 10 on any system using the DVD even in 2022, then there are high chances of failure and experiencing the Windows 10 error code 0x80070570.
In that case, moving the installation files firstly to your hard drive can potentially solve the issue for you. On the other hand, you can skip all these methods and use a media creation tool instead, since it is the easiest method to install Windows 10 on any system without any anomalies. If you have an SSD, don’t worry, you can move your Windows to the SSD as well.
5. Move your data to a different directory
Generally these errors occur when we try to delete any specific file from our computer’s storage drive. Hence, the easiest method you can do here is to Cut the files and Paste them in some other directory on your computer and then Delete them.
If you are unable to manipulate the files in any way, there might be some anomaly in the directory itself. In that case, please refer to Method 2 and 3 to fix the issues with your hard drive.
6. Delete $ directories
In case you are using some older version of Windows, and struggling with the error at the time of Windows 10 installation, deleting $ directories can help you quite significantly.
Usually, these files are present on the root directories such as the C:/ drive on the partition. But you can only access them when you enable the option to view hidden files first.
If you are unable to delete them from Windows, a better option is to boot your PC using a Linux bootable flash drive and delete the $ directories from your computer. After that, try again to install Windows 10.
7. Delete all files SoftwareDistribution directory
If you are currently using Windows 10 and facing the issue while installing the updates on your computer, there might be some issues going on with the SoftwareDistribution directory. Clearing away all the files from the directory can be a helpful step to fix the windows 10 error code 0x80070570.
Step 1. Press Windows Key + X to open the Power Menu.
Step 2. Now, select Command Prompt (Admin) from the list.
Step 3. Here, on the cmd window, execute the following commands one by one:
net stop wuauserv
net stop bits
Step 4. Keep the cmd window running in the background and navigate to the following path:
C:WindowsSoftwareDistribution
Step 5. Delete all the files from this directory.
Step 6. Then, again go to the cmd window and execute the following commands:
net start wuauserv
net start bits
Step 7. Lastly, reboot your PC and check if the 0x80070570 error is resolved or not.
8. Use Ethernet connection and disconnect USB devices
A lot of users have also reported that this issue might get triggered because of faulty drivers too. So, make sure to disconnect all the externally connected unnecessary USB hardware components from the computer.
Also, the 0x80070570 error can occur because of a poor connection between your computer and the server. Hence, make sure you have an active internet connection with a good speed as well. For the best connection establishment, using Ethernet cable for accessing the internet is the best you can do here.
9. Perform a Startup Repair
Most people do face a similar error at the time of start-up. To fix that, we can use the in-built troubleshooter tool of Windows as well.
Step 1. First of all, Go to the Start Menu and go to Power Options.
Step 2. Now, while holding the Shift key, click on the Restart button.
Step 3. Once the computer boots up again, you will enter the Advanced Startup options.
Step 4. Click on the Troubleshoot option, and go to Advanced options.
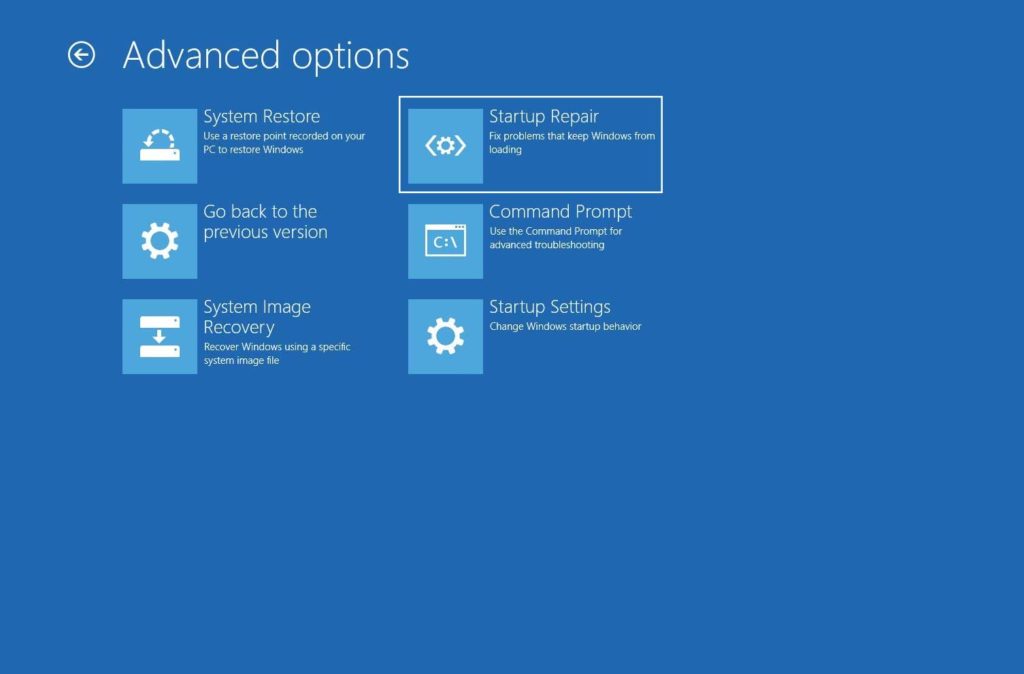
Step 5. Here, Click on the Startup Repair option and patiently wait until the process finishes.
10. Enable and disable RAID in BIOS
If the Startup Repair method didn’t work well for you and you are still facing this 0x80070570 error at the time of booting up, you can simply fix the issue by tweaking some settings of the motherboard. All you need to do is turn off the RAID feature by entering the BIOS, and the issue should get solved for you quickly. If you want to know how to access the BIOS, simply restart your PC and as soon as it starts booting up, spam one of the following keys, Delete, F2, F4, F10, Esc.
Related errors:
Conclusion
No matter whatever the reason why you are facing the windows error 0x80070570 on your system. We believe that using the fixes mentioned above, you will surely be able to remove this error from your computer entirely. You could also try activating windows using CMD if you’d like. In case you have any suggestions for the readers or any queries to ask, feel free to comment down below. Also, don’t forget to let us know which method helped you out and worked to fix the issue on your computer; your feedback is much appreciated.
