Windows 11 comes with a lot of utility tools that come in handy on numerous occasions. These built-in features are extremely important in improving your overall efficiency and productivity. One such handy feature is the File History.
As the name suggests, the File History helps you back up all your important files and folders into the chosen user directory. Using this feature, you can backup numerous items on your devices such as documents, videos, movies, files, contacts, and many more.
However, not many are aware of this feature. At times, we tend to accidentally delete a particular file or folder which is important to us. This can put us in a spot especially when you need the deleted file immediately. But with Windows 11, you can now backup and restore deleted files using File History feature.
In this article, we will walk you through how to turn on file history in Windows 11 and how to restore files using file history in Windows 11.
What is File History in Windows 11?
As we mentioned earlier, the File History is one of the handiest features in Windows 11. With this feature enabled, you no longer have to worry about losing your data or accidentally deleting any file or folder. In simple words, the File History is a backup tool in Windows 11 that lets you create a backup version of all the important stuff that is present on your system.
If any of your files or folders get damaged, corrupt, or deleted, you can use the backup versions of the same with the help of Windows File History. Once you find the backup version of a damaged file, you can restore the same for further use.
How to Enable or Disable File History in Windows 11
When you turn on File History in Windows 11, you will be able to create backup versions of important files in case they ever get damaged or corrupt. All you need to do is locate the backup version of the same and restore it for further use. To enable file history in Windows 11, follow the given steps
Note: In order to configure and run File History, you should have an external hard drive attached to your computer. Alternatively, you can use any network drive or folder which has enough space to work as a backup.
- On the Start Menu search & click on Control Panel
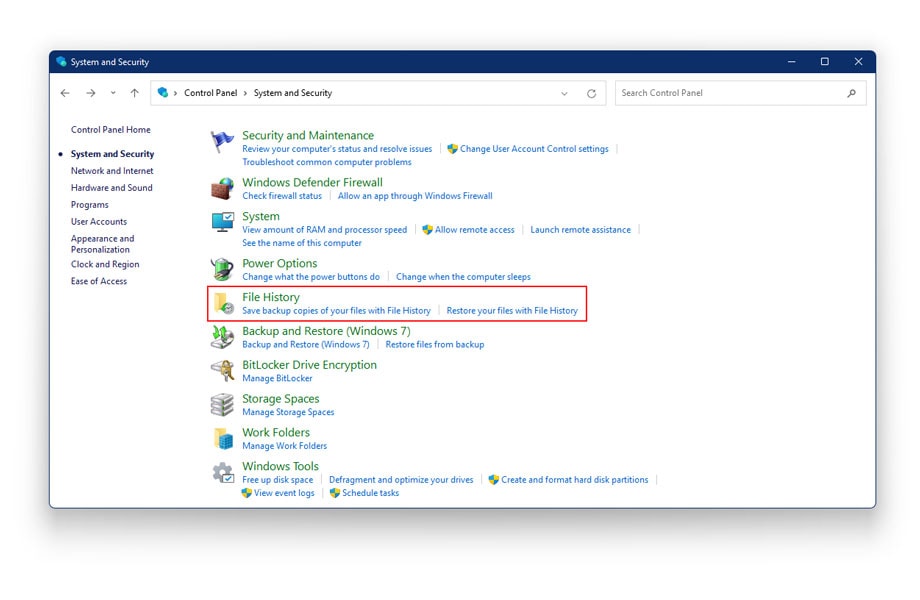
- Go to System And Security
- Locate and click on File History
- The File History Window will now scan the attached hard drive or the network drive/folder.
- Wait for the scan to finish
- Once the scanning is done, tap on the Turn On button right below the external hard drive
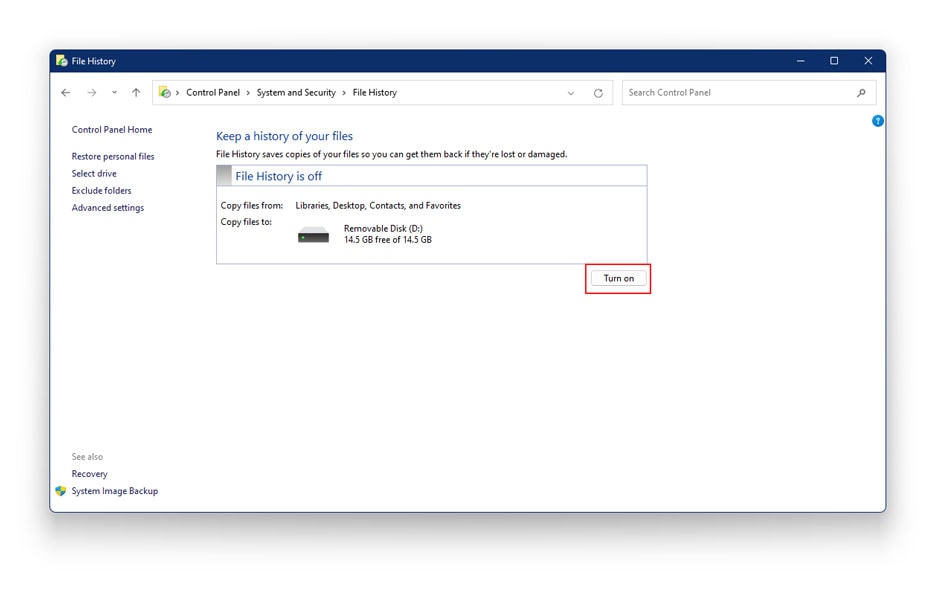
- This will turn on File History on your system. Once this feature is turned, it will automatically backup up files to the external hard drive
To turn off File History in Windows 11, tap on Turn Off button right below the external hard drive.
How to Restore Files from File History in Windows 11
As we mentioned earlier, you can create a backup version of all the important things on your system. Once you backup these files, you need to locate and restore them in order to access them. If you have file history enabled on your system, you can use the following steps to restore files from File History in Windows 11.
- On the Start Menu search & click on Control Panel
- Go to System and Security
- Locate and click on File History on the right navigation pane
- Now, click on Restore Personal Files on the left navigation pane
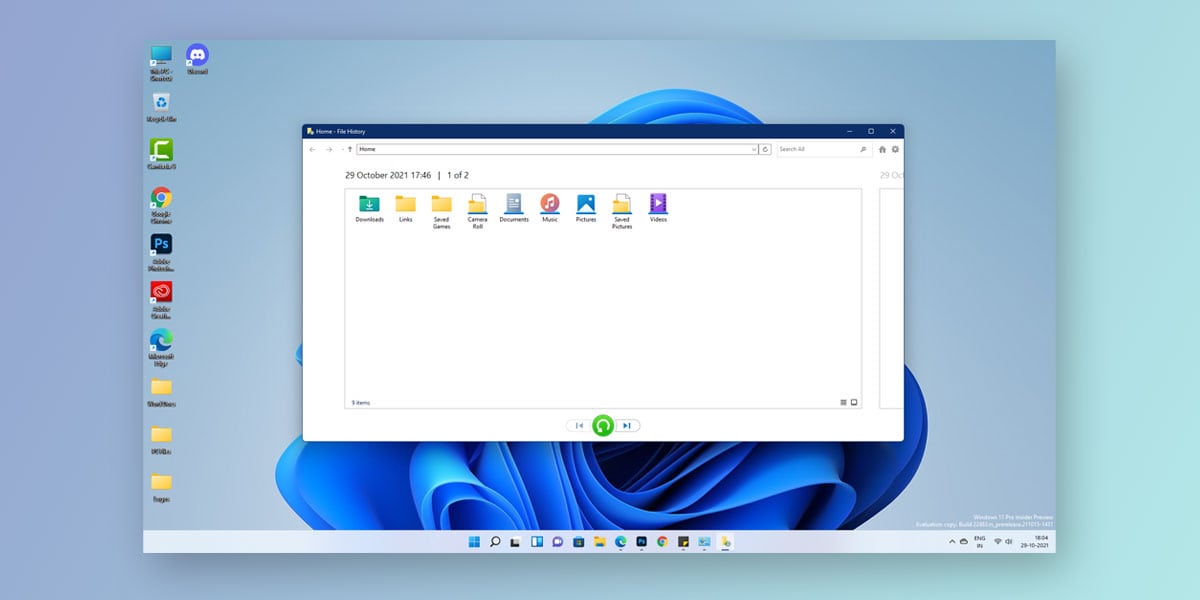
- Once all the steps are completed, a new window will appear on your screen
This window will contain information of all the folders that were backed up and restored by File History
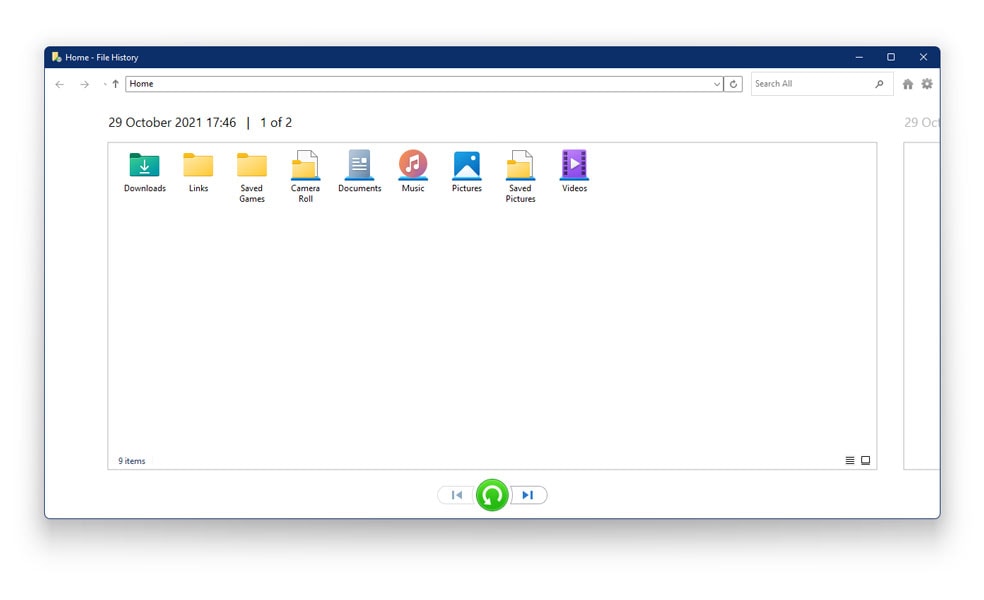
- Now navigate through all the files. Once you select the files you want to restore, click on the Restore Button at the bottom
- This will restore the file to its original location
Note: The File History feature restores all your backed up files to its original destination. Therefore, ensure that you know the file location when you hit the restore button.
Conclusion
With the File History feature, you no longer need to worry about misplacing files or dealing with a damaged or corrupt file. All you need to do is have an external hard drive in place and enable the File History on your Windows 11 system. Once all your files are backed up, all you need to do is select the files you need and restore them for further access.