Smartphones are one of the most powerful handheld gadgets of present times. Google’s Android Operating system, has made it possible to have plethora of features on your smartphone. Though these features are way sufficient for a layman, yet an advanced user who often likes to display his phone ostentatiously, cannot remain content with only the default features. For such users it is very necessary to have some additional features in their smartphone. While customizing at user level can be done by Icon packs, third party launchers and even through some apps.
These advanced users often customize their phone by themselves. Customizing the phone allows them to have added features that normally is not available on a usual smartphone. But the process of customizing a phone is not that straightforward. You need to have some prior knowledge and experience of the know-hows of Android.
First thing first, you should remember that in order to customize your smartphone at system level, it is required to root your phone. Let’s have a look at some of the customizations that you can make on a rooted Android device. We have not mentioned about following tricks as this can be done without rooting:
- Restrict background process of Apps (Without root)
- Remove Bloatware Apps without rooting.
- 10 Android Tips and Tricks that you can do without Rooting
[toc]
Cool things that you can do after rooting your phone.
The below tweaks are possible only with a rooted device. If you are not familiar with rooting an android phone, you might like to have a look at this post. Below listed are some of the many customization that you can make to a rooted Android device. Also, we have not listed installing Xposed as it’s necessary to have it installed to use many of the methods from below.
1. Change IMEI number of your phone
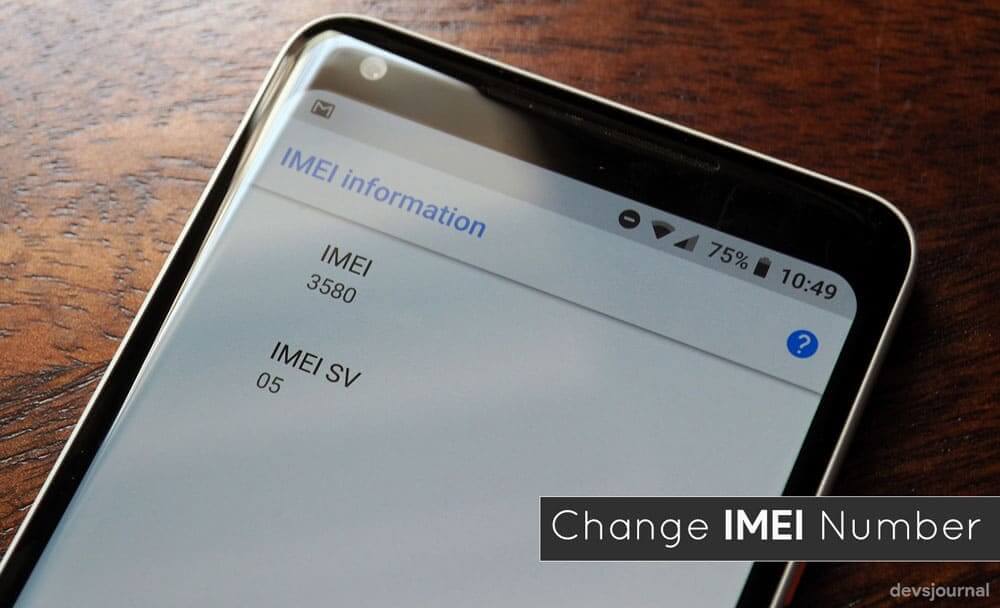
This cool tweak will help you to change the IMEI number of your phone and change the phone’s identity to reap bonus from some recharge apps. IMEI number of every mobile device is its identity to recognize that network on the cellular network and this identity is by default set by the maker of that device. But you can change this in your device for a temporary period of time. The following steps can be followed to change the phone’s IMEI.
- First of you you will need a rooted phone. If you have not rooted your phone yet, then root your phone first.
- After rooting , install the Xposed framework on your phone.
- Take a backup of your actual IMEI number.
- Now install the Xposed IMEI changer app by downloading it from playstore. This app will help you in changing the IMEI of your phone.
- Enable the Xposed IMEI changer in the Xposed framework.
- Launch the app and you will see the IMEI screen changer option where you will have an IMEI changer field, there type any of your desired IMEI numbers that you want to assign to your device.
2. Recover WIFI password using your device
Forgetting the wifi passwords is a common thing for most of us. This trick will help you in avoiding the intriguing situation of remembering a simple password. Below mentioned steps should be followed to remember wifi passwords. However, it should be mentioned earlier that these steps will work only on a rooted device.
- After rooting your device download and install the app Wifi Key Recovery on your android
- Now launch the app and you will see the popup regarding permission for superuser access grant it the permission.
- Now you will see all the wifi networks that you had connected with your android device and their passwords too along with them.
- Just copy the password and get login into that wifi.
That’s it . Your wifi password will be recovered. You can even change the password by visiting the admin panel of the network.
3. Remotely Turn Off Any Android By Sending SMS
This is a very cool tweak that you can do with your device. The app that you will install will allows you to remotely shutdown the Android device by sending a SMS to the device that you have configured with it. Of course, you will need a rooted Android device. Once your device is rooted, follow these steps –
- Download Remote Power Off zip file on your computer and extract it.
- Navigate to folder > System>App> Remoteturnoff.apk, and transfer the apk file on your Android.
- Install the app using the apk file that you have just transferred.
- You will get a screen that will ask for current password and to enter a new password. Remember that the current password is null. Type the new password and confirm it again and click on change secret code.
- You will then need to grant this app superuser permission.
That’s it! you are done, now you just need to send the secret code as an SMS to your the Android when you want to remotely turn it off.
4. Block Ads on Official Youtube App

While watching videos in YouTube, its really annoying to see the ads that Google displays in those videos. You might be pondering how to avoid these irritating ads while watching your favorite video. You can use the Xposed Adblocker module to do this. Ad Blocker can block advertisements in many aspects according to a pre-loaded-list. And the good thing is that it neither affects the system host files nor conflict with them . There is a Whitelist feature too which enables you to easily control the kind of videos where you want to see ads and where not.
If you don’t want to root your device, you can check our article on How to play YouTube videos in background. It also has an option to disable Ads, Annotations and more.
5. Increase RAM of your Android phone.

The Android OS in compared to iOS requires more RAM. So phones with higher RAM always gives the best performance. But, with more RAM , the price of the phone also increases.
To increase the RAM of the phone you will require the following prerequisites –
- SD card (4 or higher SD Card).
- Rooted smartphone Or Rooted Tablet.
- SD card reader.
- Windows PC.
Once you have all these, follow the below steps to increase the RAM:
- As you will have to partition your SD card, download Mini partition tool from here
- Open Mini Tool Partition on your PC and when the wizards opens, click on your SD Card and select Delete option. This will format your SD card completely. So it’s better to keep a backup of the files in your SD card.
- Once the formatting is done successfully, you will have enough space on your SD Card as unallocated then just Right click on SD Card and select “make” option. This will show you a popup message with options for making the partitions. Select the partition as primary and file system as FAT if SD Card is less than 4GB or FAT32 if your SD Card is more than 4GB.
- You should leave about 512MB for making the next partition and then select done. Now right click on unallocated space of your SD Card and again click “make” option. Select Primary partition but change the file system to Ext2, Ext3 or Ext4.
- Click on Apply Changes and the partition will be formed within some time.
- You will next have to install the Link2SD app from PlayStore.
- You will have to give root permission to the app once it is launched. Then it will ask you for the file system of the .ext partition that you had made before, choose the option as you had chosen during partition.
- Lastly, sort the apps according to size and start linking them.
It should be kept in mind that increasing RAM does not mean that you have added any hardware to your phone. It is not possible for an android user to add hardware to the phone.
6. Change Serial Number Of Your Android
The serial number identifies your device uniquely in the network. This identity is set by default by the manufacturer. But with an android phone, you can change this number. You will require a Xposed module to perform the task. Before initiating the procedure make sure to root your device and install Xposed framework. Once these have been done, follow the below steps.
- To change the serial number you will need the serial number changer module. Install this module in your phone and launch the app.
- Provide super user access to the app and reboot the device.
- Now we can give your custom serial number that you want to set on your device.
- Reboot your device once again.
You may go to Settings > About Phone > Status > Serial Number to find out if your serial number had changed or not.
7. Change MAC Address Of Your Android Device
If you want to browse the internet as anonymous, you will need to hide not only your IP address but also the MAC address. MAC address is used to track the device that is uploading or downloading over the internet.You can check the MAC address of your device by navigating to Menu > Settings > About device > MAC Address. Yes, you can of course change the MAC address of your phone. This can be done by following the below mentioned steps.
While mentioning the steps , we have assumed that your phone is already rooted. These steps will not work if your phone is not rooted. You can following this article for any information regarding rooting a device. Once you phone is rooted , you are good to go for the next steps mentioned below.
- Download and install the app BusyBox.
- Next, install the Terminal in your Android.
- Open the terminal and type su and press enter. This will ask for superuser access and you need to grant it.
- If you want to see your current MAC address, then type “busybox iplink show eth0″ and press enter.
- Now type “busybox ifconfig eth0 hw ether XX:XX:XX:XX:XX:XX” (without quotation marks). The XX:XX:XX:XX:XX:XX has to be replaced by your new MAC address that you want to assign to your device.
With that the MAC address of your device will be changed to the new one. You can check the new MAC address by just typing “busybox link show eth0” in Terminal.
8. Make Your Android Boot Faster

Long booting time of usually 1 or 2 minutes is one of complains that generally come from Android users. Normal Android phones do not have options to skip this long booting time. However, in a rooted device it can be achieved quite easily. Please mind that the procedure that we will discuss will not work in an unrooted device. So, it is mandatory to have a rooted device. After rooting the device, follow the following steps to decrease the booting time of your Android device.
- Download and install the app Root Explorer in your device.
- Now launch the app and then navigate to the folder System Folder -> Build.prop.
- And then tap on the file to open in and then choose any text editor to edit that file according to you.
- Now after opening the file, paste the simple code that is given below in it. The code should read ro.config.hw_quickpoweron=true
- Now after this, save the file and come out of the app.
That’s it. You are now good to go. The next time when you will power off your phone and boot it again, you will observe a considerably faster booting time.
9. Recover Deleted Files On Android
In order to recover deleted files from Android, it is not required to root your phone. However, a rooted phone makes the scanning process more powerful. There are several recovery tools that available in the internet to recover deleted Android files. The larger number of such tools have made it difficult to choose the perfect one from them. In this section, we will give you insights about a powerful tool that can be used in a rooted phone to recover deleted files. This particular app is named DiskDigger. Well, it’s a photo recovery app that helps you to recover your lost photos and images from your memory card or internal memory. This app also requires a rooted phone to explore its full functionalities. If the phone is not rooted, it will make “limited” scan for your deleted photos by searching your cache and thumbnails.
On your rooted phone, you will need to perform the following steps for recovering the deleted files
- Install DiskDigger and give superuser access to the app.
- Now in the next step, you need to select the partition in which you want to recover files.
- Now you need to wait for some moment until the app displays you the deleted files.
- Now just mark the files that you want to recover and then clock on “Recover” button, or hit the “Save” icon.
That’s it. You have recovered the deleted files.
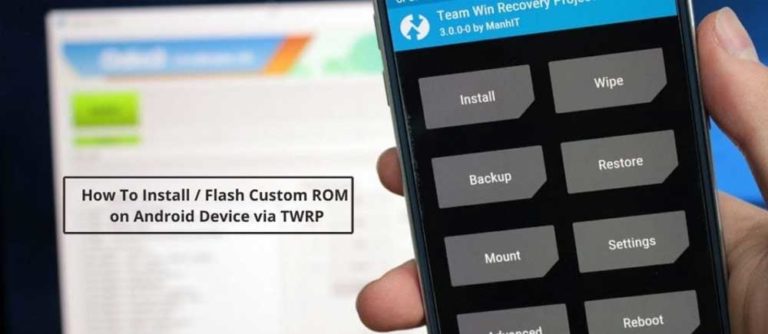
10. Create a Recovery Flashable ZIP for Android Apps
It is possible that some of your favorite apps may get deleted either during factory reset or while installing custom ROMs. In that case, you can backup your apps in a recovery flashable zip. Keep reading to know how to create a recovery flashable ZIP and get back your lost apps. When you factory reset your phone, all apps will get eliminated and you will have to install them one by one from the play store. This is quite a lengthy and time consuming process.
Don’t worry! You will now know a very easy process to get back all those apps that you used previously in just a few clicks. Remember, this trick works only on a rooted phone. So if your phone is not yet rooted, you will have to root it first and then follow the following steps:
- Download Recovery Flashable ZIP Template in your computer.
- Extract this zip file in your desktop and open the folder where files being extracted. Navigate to the System folder.
- Now in the system folder create a new folder and rename it to an app.
- Now copy your favorite apk file from your computer and paste in this app folder. Now move back to the root directory where you see “META-INF” and “system” folders.
- Select all the files and compress them as zip file.
That’s it! you are done, now your recovery flashable zip is ready that you can use to directly install all apps with a single flash.
Verdict
This article has mentioned several times that you will need to root your phone to customise it. Also you can install different root apps to get unique features on your Android. However, we do not recommend you to go for it if you are not fully aware of the risks rooting brings for. We have already mentioned that this post is just for educational purpose and the author does not take any responsibility of damage and loss of data.
Having said so, we believe that this post will give the right information about customizing your Android device. We would like to hear your feedbacks in the comment section.


![[Official] Download Minimal ADB and Fastboot Tool](https://devsjournal.com/wp-content/uploads/2016/04/Minimal-ADB-Fastboot-Tool-for-Android-1-768x384.jpg)