Apple’s iTunes has been a popular media player/library, and mobile device management utility for both macOS and Windows OS. Whenever a new music, movie, or podcast is available, you can find and download it on iTunes. When you have accessibility problems with your iOS or iPadOS device, you can connect it to your computer with iTunes to restore your devices data.
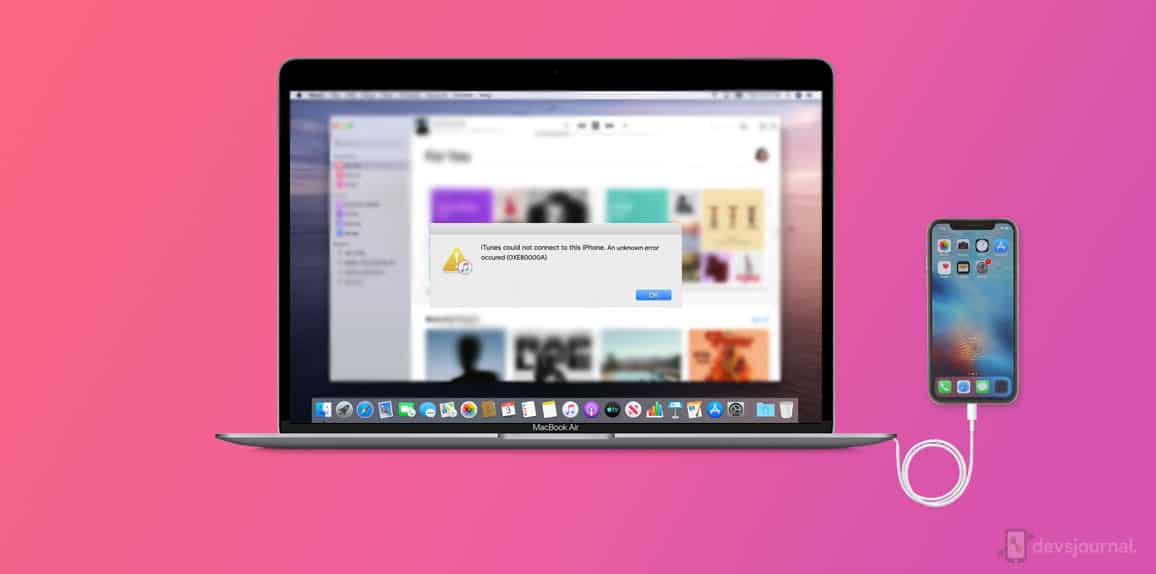
However, there are also times when iTunes itself fails. The most popular of these errors is the 0Xe80000a, this is an error that occurs when your iPhone or iPad fails to connect to your computer. If you have recently updated your iPhone, there might some chances of a corrupt installation of update. You should check article on common iOS problems after update to fix the update.
In this article, we will try to help fix this issue with your iTunes.
How to Fix iTunes Error 0XE80000A
Solution 1: End certain Apple Processes
For MacOS
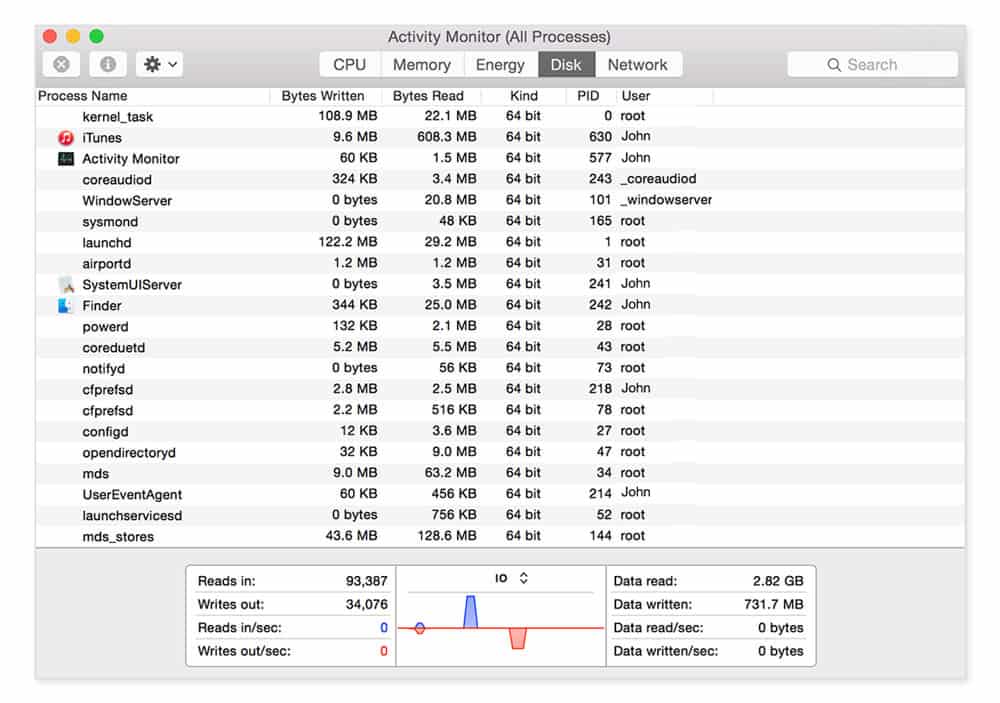
Navigate through Finder>Applications>Utilities>Activity Monitor. You can also use Spotlight to easily find it.
For Windows
Press Ctrl, Alt, and Delete key at the same time to launch the Task Manager.
Look for the following processes, then end them:
- iPodService.exe
- AppleMobileDeviceService.exe
- iTunesHelper.exe
Note that in the Activity Monitor, the file extension will be different. After ending the processes, reboot your computer.
Solution 2: Update your iTunes App
Sometimes, the app can fail because it is simply outdated. Perhaps that is why you get this iTunes error 0Xe80000a.
For MacOS
Step 1. Tap the Apple menu and open AppStore.
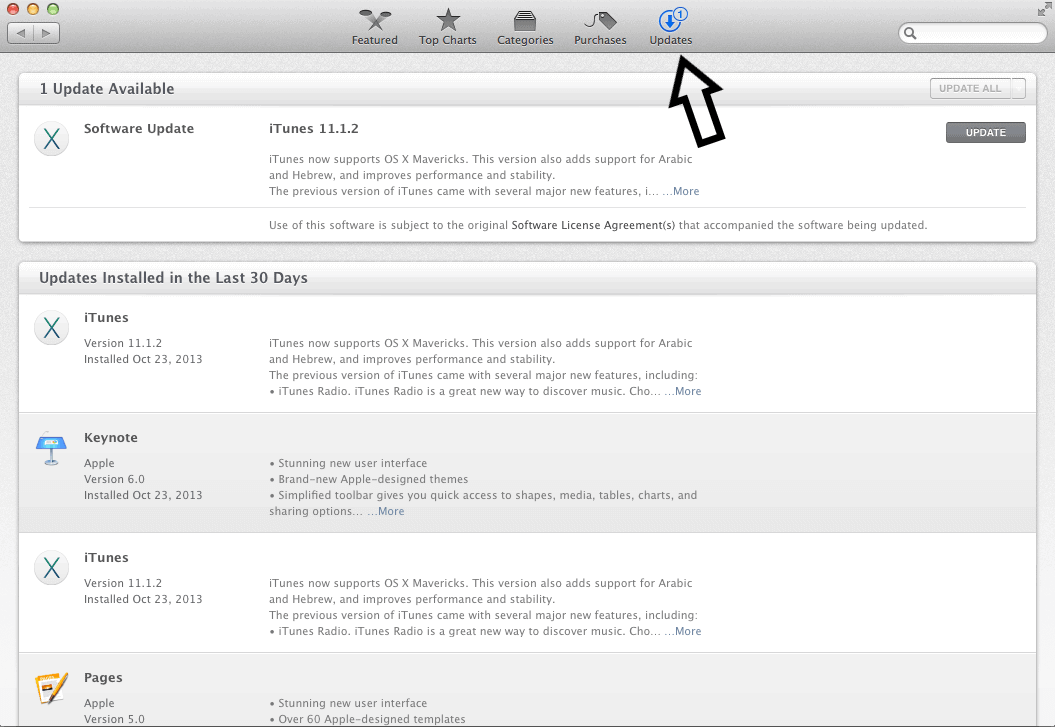
Step 2. Tap on the Updates tab to display all the pending software updates.
Step 3. Navigate to the “Software Updates” section at the top of the window, and click “More” to expand this section and locate the iTunes Update.
Step 4. Just go ahead and update the iTunes app, and install. As soon the process is completed, the option to update your iTunes app will be gone from the tab, and will come back once a new update is available.
For Windows
A new version of iTunes will automatically download once connected to the internet. However, you can also do this manually.
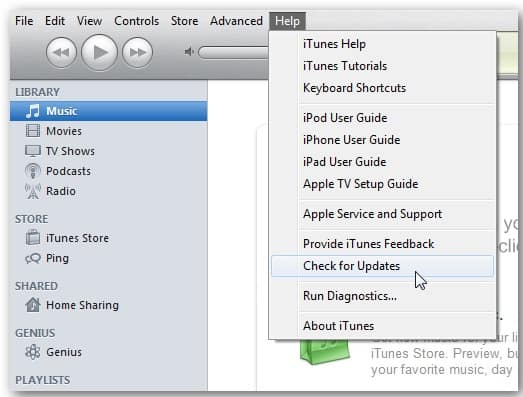
Step 1. Launch the iTunes
Step 2. From the menu bar at the top of the iTunes window, choose Help, then Check for Updates.
Step 3. Just follow the typical Windows prompt for installing software.
If Check for Updates doesn’t work for you, you can also download the latest version of iTunes app from the Apple website.
Solution 3: Resetting Lockdown Folder
The Lockdown folder is a hidden folder inside the computer that has iTunes app installed. This folder contains temporary data that is required to sync Apple devices with iTunes on the PC. Just like any other data, the data inside the lockdown folder has the tendency to corrupt. Resetting it may help fix the issue.
On MacOS
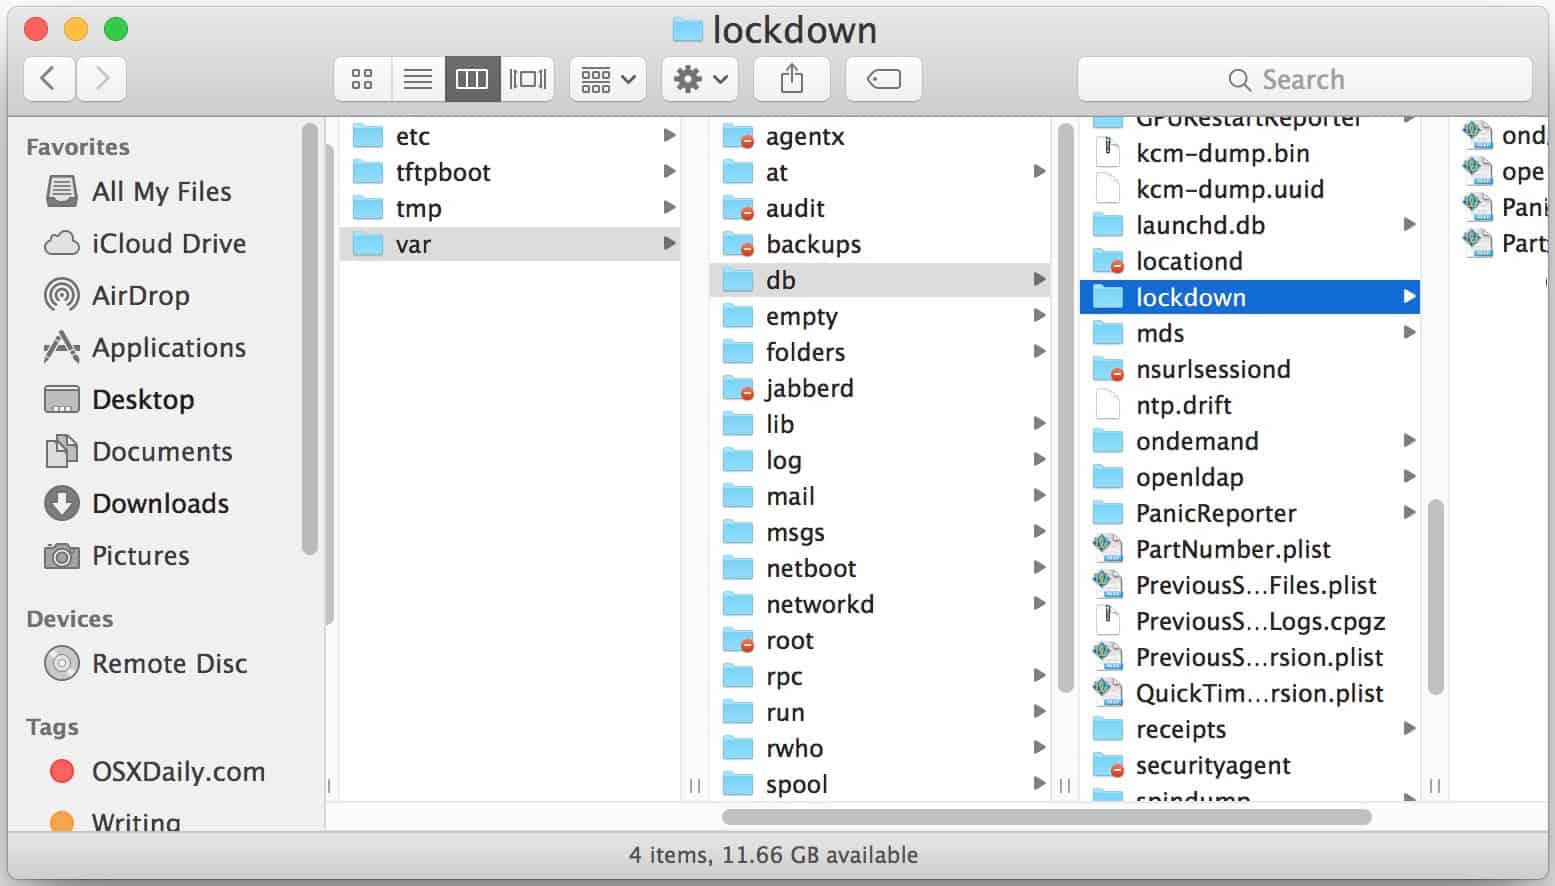
Step 1. Open the Finder and click Go, the Go to Folder.
Step 2. Type /var/db/lockdown in the input box, then press Enter key.
Step 3. Delete all the files inside the Lockdown folder. Don’t worry, the system will automatically refresh this folder with new files once a new iTunes sync is initiated.
On Windows
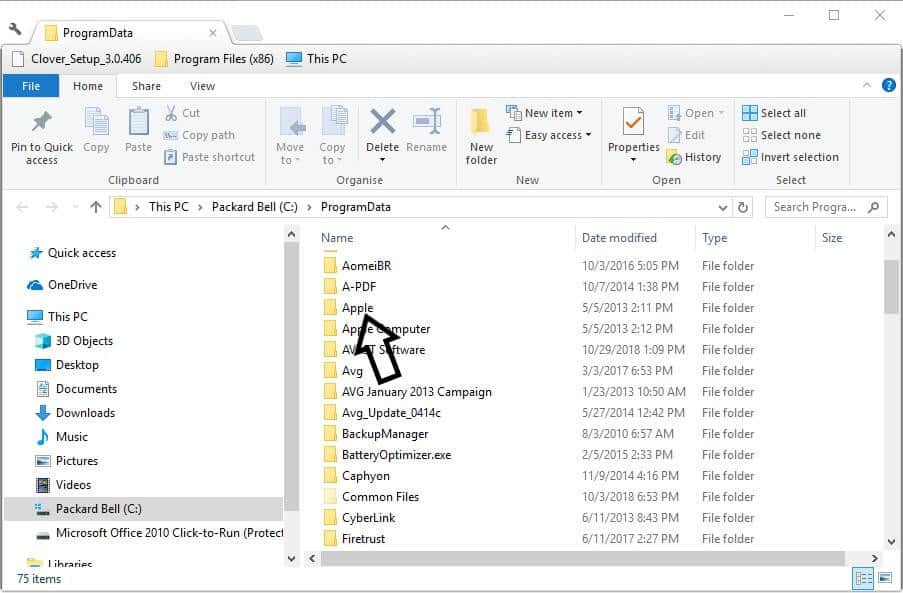
Step 1. Launch the File Explorer, go to the Program Data folder.
Step 2. Find the Apple folder, then right-click on the Lockdown folder.
Step 3. Delete the entire folder.
Before reinstalling the iTunes on your computer, it is best to uninstall all its related components to make sure no traces of the uninstalled app is left behind. Note that this will only apply to Windows PC, specifically to Windows 7, Windows 8, and Windows 10.
There is also a correct order for the uninstallation process. As with the following:
- iTunes
- Apple Software Update
- Apple Mobile Device Support
- Bonjour
- Apple Application Support 32-bit
- Apple Application Support 64-bit
Some system may also show two Apple Application Support or iTunes. This is normal. Uninstall both. Please, do not uninstall these applications in a different order to avoid creating more software issues.
After uninstalling, we will make sure nothing is left behind. We will need to remove more additional supporting files.
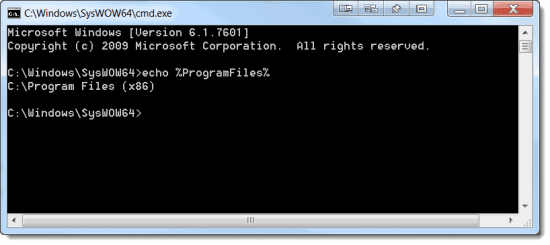
Step 1. Press the Windows and R key on your keyboard to run command.
Step 2. In the command window, enter %programfiles%, then click OK to open the Program Files folder.
Step 3. Delete the following folders, if they exist:
- iTunes
- Bonjour
- iPod
If you can’t delete the iPod folder and is getting “Cannot delete iPodService.exe: It is being used by another person or program” prompt, follow the additional steps below:
- Close or force stop the iTunes and iPod Updater utility.
- Press and hold the Control, Alt, and Delete keys on your keyboard.
- Select Start Task Manager.
- Click the Processes tab, then locate the iPodService.exe in the list. Click and choose End Process.
- Quit Task Manager.
This should finally let you delete the iPodService.exe. Continue with the process below.
Step 4. Locate and open the Common Files folder then click on Apple folder.
Step 5. Delete the following folders, if they exist:
- Mobile Device Support
- Apple Application Support
- CoreFP
Step 6. On a 32-bit version of Windows, right-click the Recycle Bin, and select Empty Recycle Bin.
If you are running a 64-bit version of Windows, open the Local Disk (C:) on your computer, or where your programs are installed on. Locate and open Program Files (x86) folder.
Step 7. Find and delete the following folders, if they exists:
- iTunes
- Bonjour
- iPod
Step 8. Open the Common Files folder, then locate the Apple folder.
Step 9. Find and again delete the following folders, if they exists:
- Mobile Device Support
- Apple Application Support
- CoreFP
Step 10. Finally, open the Local Disk (C:) in Computer, right-click the Recycle Bin, then select Empty Recycle Bin.
Solution 5: Reinstalling iTunes
If updating your iTunes app doesn’t help, it is time to reinstall the iTunes app. The iTunes error 0Xe80000a may also very well likely caused by a corrupted software file. Uninstalling and installing the iTunes app may help resolve this issue. Make sure to backup your iTunes music first though. There are many tutorials online on how to do this.
You can’t uninstall iTunes from macOS because it is required and protected by the OS. However, you can still delete it using the Terminal app.
Step 1. Launch the Terminal app by navigating through Finder>Applications>Utilities>Terminal. You can also use the Spotlight to search for the Terminal for easier access.
Step 2. Inside the Terminal, Type cd /Applications/ and hit Enter to bring you to the Applications directory.
Step 3. Now, type sudorm –rfiTunes.app/ then hit Enter again. This will delete your iTunes app.
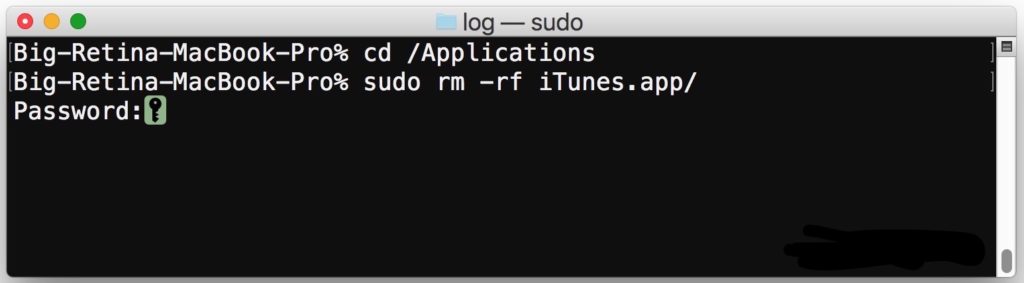
Step 4. Input your admin password if asked to finalize the process.
To reinstall the iTunes app on Mac or Windows PC, you can go to Apple’s official iTunes website and download the app.
Alternatively, you can also go to the Mac App Store or Microsoft Store and look for the iTunes app to install.

Solution 6: Update your Computer
Doesn’t resolved the 0xe80000a issue? Perhaps, your computer just needs an update. Follow the following how.
For MacOS
Click on Apple menu> System Preferences> Software Update.
You can also do this using the About This. Click Apple Menu> About This Mac> Software Update.
For Windows 7
Step 1. Select Start then type Update in the search box, and then select Windows Update.
Step 2. In the left pane, select Change settings>Important updates>Install updates automatically (recommended).
Step 3. Under recommended updates, turn on Give me recommended updates the same way I receive important updates. Select OK.
For Windows 8.1
Open Settings>Change PC settings>Update and recovery>Windows Update. Click Check now to get the latest version of the OS.
For Windows 10
Select the Start button, select Settings>Update & Security>Windows Update.
Solution 7: Replace USB Cable
If you are facing a connection issue with your iPhone and Mac then you can try the solutions given on Fix: iPhone Keeps Connecting and Disconnecting from Mac. And if any of these solutions didn’t fix the 0Xe80000a error, then perhaps it is time to replace the USB cable you are using. You can also check for the port if it is dirty or damaged.