Apple is known for integrating every single product and services they have to each other. This makes them a great choice for people who work on different devices but still want to always pick up where they left no matter what device they have. However, there are also times when it just fail.
If you are having issues with your iPhone that keeps connecting then disconnecting with your Mac, then you came to the right place. There may have been many reasons why this is happening, so we will try to narrow down the possible problem by giving you few possible solutions.
This issue is happening because your iPhone can’t establish stable connection with your Mac. This is possibly because of faulty lightning cable, or use of non Apple-certified cable. But we couldn’t be so sure.
The following are the solutions you should consider to properly assess, and possibly also fix the issue.
How to fix iPhone Connecting and Disconnecting Issue?
1. Check for a loose or faulty Lightning cable
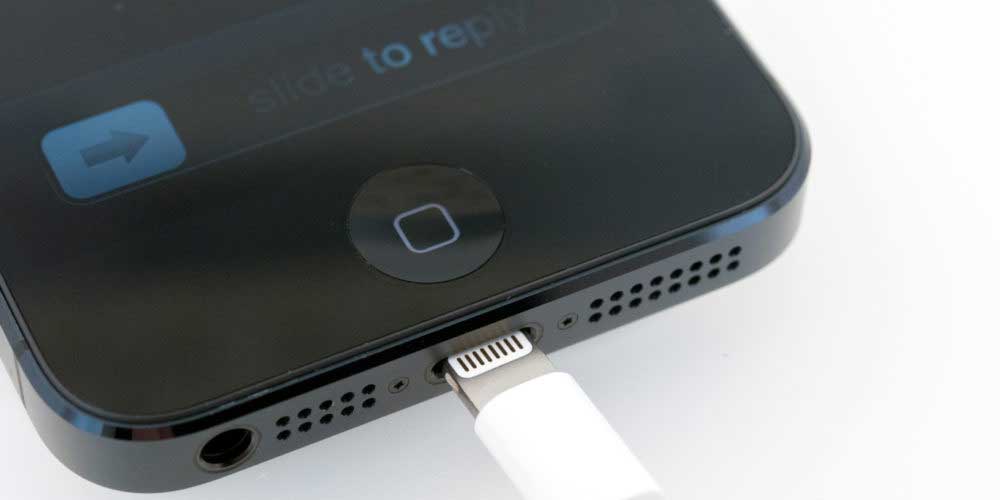
Most of the time, this problem could be solved by simply changing the Lightning cable. Faulty or non Apple-certified Lightning cable may cause this issue. Try replacing cable to assess the situation.
You can try to plug in and out the lightning cable from the Mac. But if it still doesn’t work, try cleaning the 8-pin Lightning port on the iPhone just in case it has some gunk building up on the electrodes. You can also try cleaning the pins on the Lightning cable itself with a mix of water and isopropyl alcohol.
2. Restart your iPhone and Mac
If the Lightning cable works just fine but the problem still persists, you can try restarting both your Mac and iPhone. It may possibly a minor bug, and a quick restart could fix the issue.
Steps to Force Restart iPhone
For iPhone 6S Plus or earlier
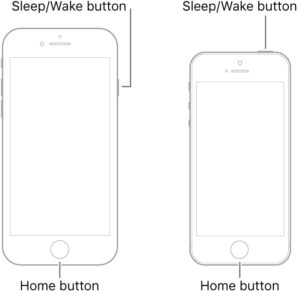
Press the power and home button at the same time until the Apple logo appears on the screen.
For iPhone 7 and iPhone 7 Plus

Press and hold down the volume button and the power button at the same time, then release when you see the Apple logo on the screen.
For iPhone 8 and later iPhone models (iPhone X, iPhone XS, iPhone XR, iPhone 11, iPhone 12, or iPhone 13)
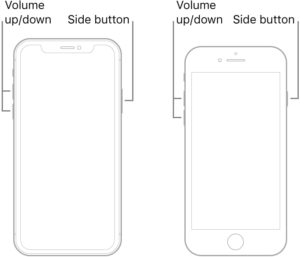
- Press and quickly release the Volume up button.
- Press and quickly release the volume down button.
- Finally, press and hold down the side button until the Apple logo appears on the screen.
For Mac
Click on the Apple menu, then select Restart. You can also press the power button to prompt a Restart button. Another way to do this is by pressing Control + Command + Eject (Control + Command + Power button).
3. Kill the process using Activity Monitor
Apple’s Activity Monitor comes in handy if you want to monitor what’s running on your Mac. This, however, can also be used for fixing issues by force-closing suspected program or process. Now, if your iPhone keeps connecting and disconnecting from your Mac, you can try doing this process. This basically force stop all the USB port. If you are transferring files or doing work that requires USB port, it’s best not to go forward.
Steps to kill the process using Activity Monitor
Step 1. Click the Apple logo on the upper left corner of the screen, then choose System Preference.
Step 2. Next click on Users & Group option.
Step 3. Unlock the Lock by tapping the Lock at the bottom left corner of the windows. This will allow you to edit the settings. Enter Mac password to authorise.
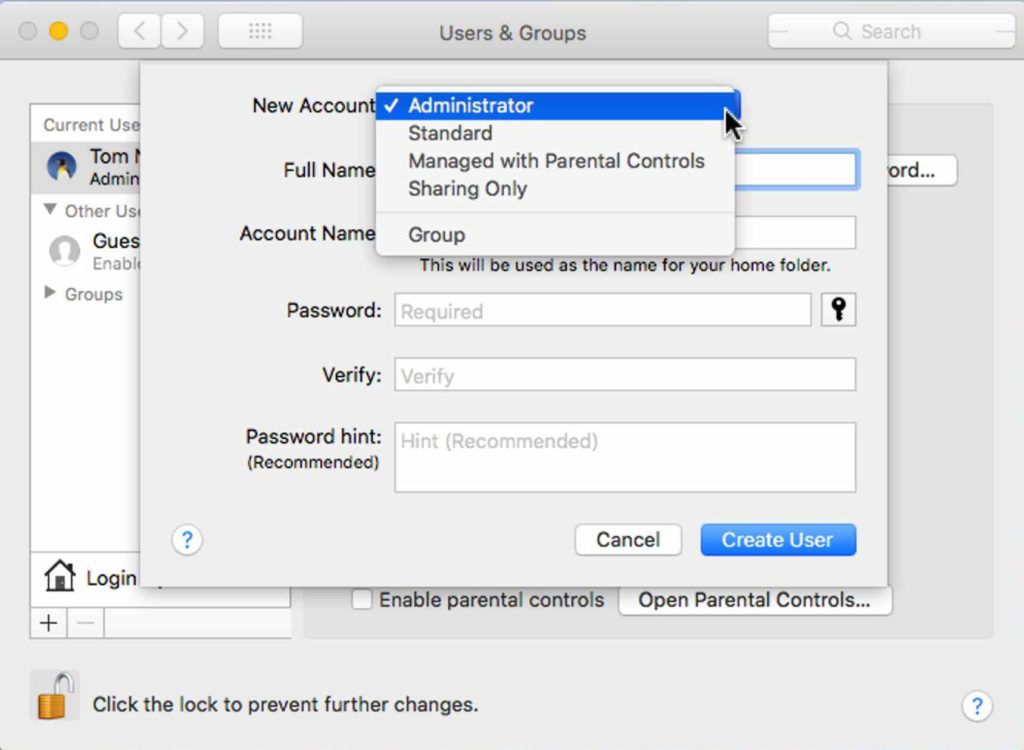
Step 4. Finally, click on (+) icon to add new user. Select the admin type as “Administrator.” Just enter your new username and password to save your new admin account.
You can also do this via Terminal
Step 1. Launch “Terminal” from the Spotlight.
Step 2. Type the following command: sudo killall –STOP –c usbd then hit enter.
4. Reset NVRAM and PRAM
If you are experiencing hardware connectivity issues on your Mac, it is always advisable to reset the NVRAM and PRAM. Don’t worry, this process will not delete your data, but instead fix underlying issues on both hardware and software.
Steps to Reset NVRAM and PRAM
Step 1. Disconnect your iPhone from the cable, then shut down your Mac.
Step 2. Now, turn on your Mac again, and hold down the Option + Command + P + R keys for about 20 seconds. Release the keys when you hear the Mac startup chime.
Step 3. Your Mac will then restart like normal. Try connecting your iPhone again to your computer.
5. Reinstall macOS
Reinstalling the macOS will fix all the existing software issues on your Mac. It will be fresh as new, discounting all the hardware issue (if there’s any). This method will only erase and replace the contents of the partition where the macOS is installed so all your personal data is safe. However, we still advise that you do backup before doing. It’s better safe than sorry.
Steps to Reinstall macOS
Step 1. Go to the Apple menu, then click restart button.
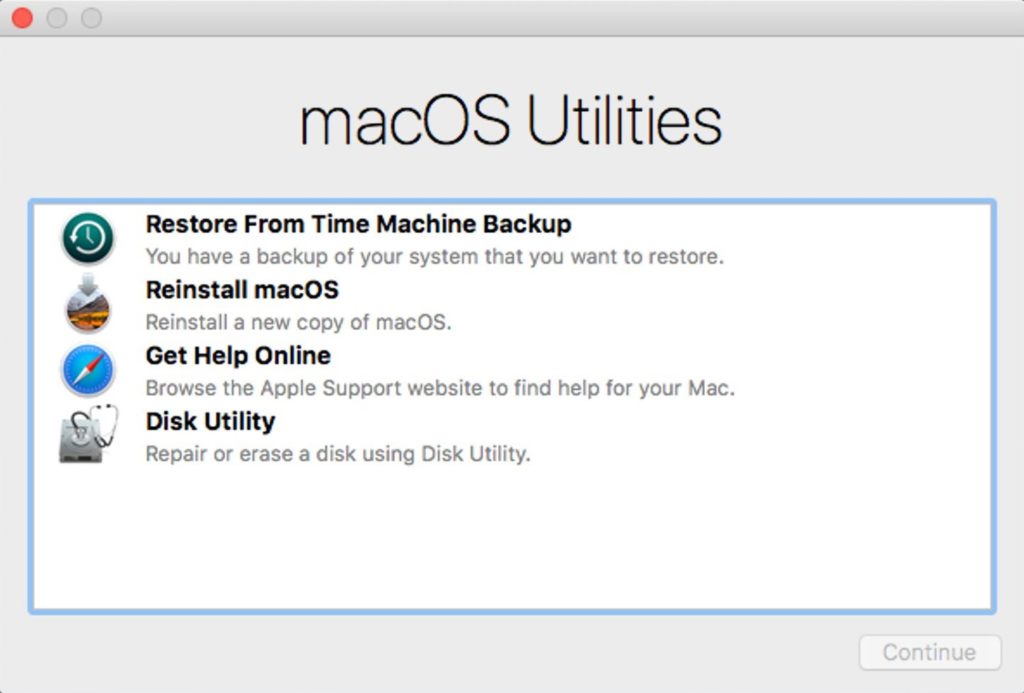
Step 2. Now, while your Mac is restarting, quickly press and hold Command + R key until the macOS utility appears on the screen.
Step 3. On the options, choose “Reinstall macOS.”
Step 4. Follow the instructions on the screen to reinstall the macOS.
Note that you will need a stable Wi-Fi connection to do this as the computer will be requesting and downloading the OS data from Apple server.
Step 5. Restart Mac as normal.
6. Create new Admin account
Creating new admin account will not overwrite your current admin account. This will, however, create a new admin account with default settings which will fix problems on your Mac just in case you accidentally click or delete something from your existing system. We also advise that you use a different Apple ID as your existing Apple ID registered to the main admin account may restore the same settings. You can change your primary Apple ID under System Preference > Profile.
Steps to create new admin account on Mac
Step 1. Click the Apple logo on the upper left corner of the screen, then choose System Preference.
Step 2. Next click on Users & Group option.
Step 3. Unlock the Lock by tapping the Lock at the bottom left corner of the windows. This will allow you to edit the settings. Enter Mac password to authorise.
Step 4. Finally, click on (+) icon to add new user. Select the admin type as “Administrator.” Just enter your new username and password to save your new admin account.
7. Update iPhone and Mac
If everything but all doesn’t work, it is time to check if your iPhone and Mac has new update. An update fixes known issues on the devices, so if this is a major bug, a software update will be able to fix this issue.
Before updating, make sure your iPhone or Mac has at least 50% battery, and is connected to stable Wi-Fi or data connection. You can also use Ethernet cable on Mac to speed up the procedure.
Steps to update iPhone

Step 1. Go to “Settings” app, then tap “General”.
Step 2. Select “Software Update.”
Steps to update Mac with macOS Mojave and later
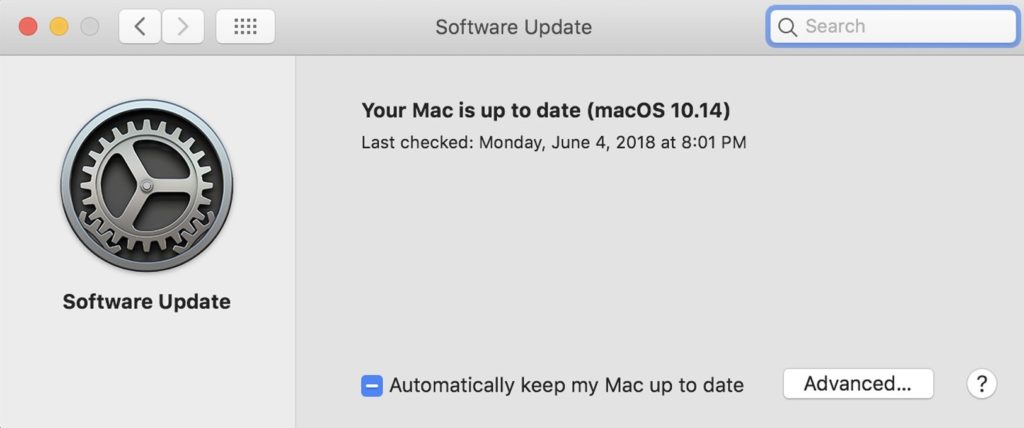
Step 1. Click on the Apple menu, then click System Preferences.
Step 2. Select Software Update.
Step 3. If it detects new update there should be a pop-up asking you to “Update Now”.
Steps to update Mac with earlier versions of macOS
Launch the App Store, then navigate to the “Update” tab, and then click “Update All.”
8. Reset Location & Privacy
We came to the last possible fix, resetting Location & Privacy on your iPhone. But before doing that, you need to first disconnect your iPhone from your Mac computer. This action will restore all the location and privacy settings to default. This means, you will have to grant your iPhone again an access to location and privacy settings.
Steps to reset Location & Privacy on iPhone
Step 1. Launch the Settings app on your iPhone.
Step 2. Select General, then tap Reset.
Step 3. Look for the option Reset Location & Privacy, then do the reset.