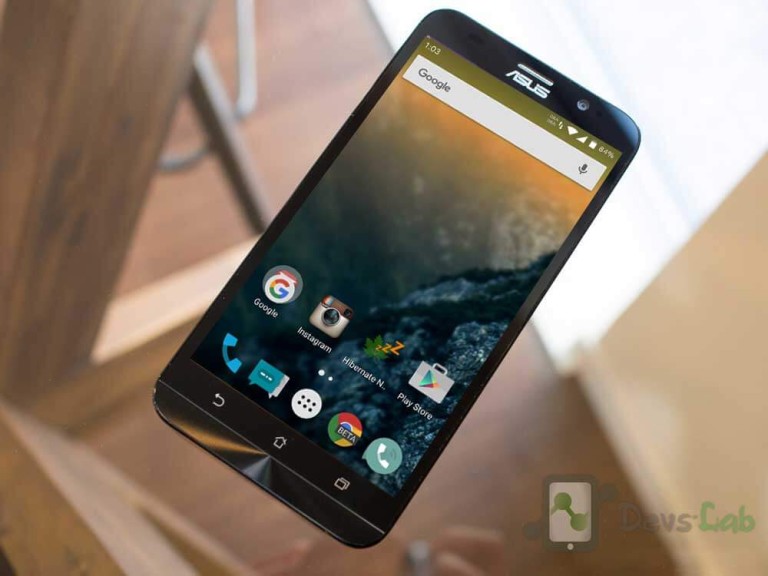
Asus Zenfone 2 Laser ZE550KL announced on August 2015 comes with an Octa-core CPU which seems enough to power your daily needs & manage to offer decent battery life. But, if you are a gamer or use your device lot, you’ll experience slowing down because of heavy Apps like Facebook, Messenger etc. Most people remove those Apps to improve performance. While some try the other way i.e rooting their device. If you don’t know about rooting, you can refer our Everything about rooting guide. Most of the guides available online are mostly hard to follow or doesn’t work. Before rooting Asus Zenfone 2 Laser , read the disclaimer. So, lets get started with rooting Zenfone 2 Laser.
Disclaimer:
You device’s warranty may be void after following below mentioned instructions. If any thing goes wrong and you end up with a bricked or semi-bricked device then neither our site or any of these app developers will be responsible. So, try these instructions at your own risk.
Also Read:
Prerequisite for rooting Zenfone 2 Laser:
- Additionally, you must have a windows PC.
- Install USB drivers for your Asus Zenfone 2 Laser ZE550KL.
- Goto Settings -> About and tap multiple times continuously on “Build number” to active “Developer options” and then goto Settings -> Developer options and enable “Usb debugging” option.
Update: Working On Latest Update Of Marshmallow
Download Rooting Tools:
- Minimal ADB Fastboot Tool
- ADB USB Drivers
- Asus Android USB Driver
- SuperSU Pro v2.78 or Alternet Link(Super Su.zip)
- ze550kltwrp.img (TWRP Recovery)
- ze550kl bootloader unlocker.apk (Bootloader Unlocker App for 5.0 or Below)
- For Marshmallow Users Only Link1 or Link2(New Bootloader Unlocker App)
Note: Its Not Compulsory to Unlock Bootlader For Marshmallow Users.
[toc]
How to Root Asus Zenfone 2 Laser (ZE550KL)
How to unlock Bootloader
Step 1: Download all the above tools & transfer all the Apk files in your device.
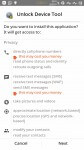
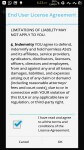
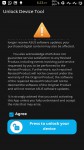
Step 2: Now Install ZE550KL Bootloaderunlocker.apk in Your Device. Follow Below Screenshot Instruction.
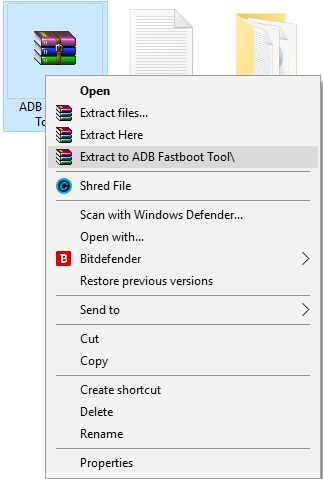
Step 3: Extra ‘ADB Fastboot Tool.rar’
How to Install TWRP Recovery
Step 1: Move ze550kltwrp.img into extracted ‘ADB Fastboot Tool.rar’ folder.
Step 2: Now in ADB Fastboot folder open command windows by Pressing Shift+Right click –> open command windows here. See In Below Image For Easy Understanding.!
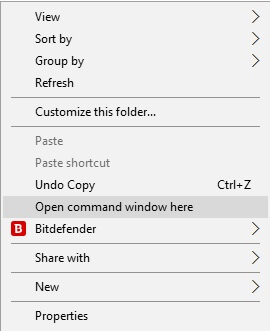
Step 3: Now Enter the Following command in Command Window. (click Ok if Prompt on Your Device)
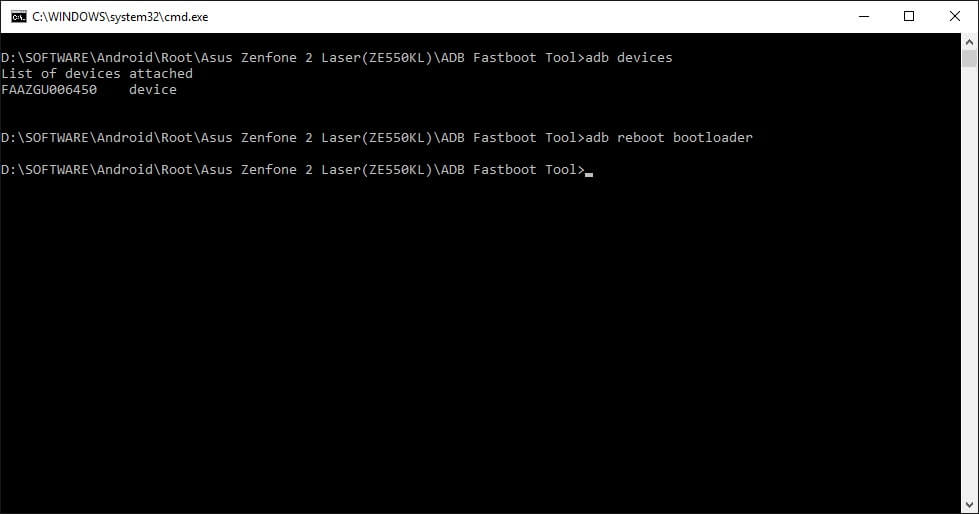
adb Devices

It will return your device code which confirms you have installed all the files properly.
Step 4: Now to reboot your device into Fastboot mode which allows flashing files, enter the below command in command prompt. or else you can Manually Reboot To Fastboot Mode By Switch off Your Phone And Press Volume Up + Power Key Together.
adb reboot bootloader
Step 5: Now to flash the TWRP recovery, just enter the below command.
fastboot flash recovery twrp.img
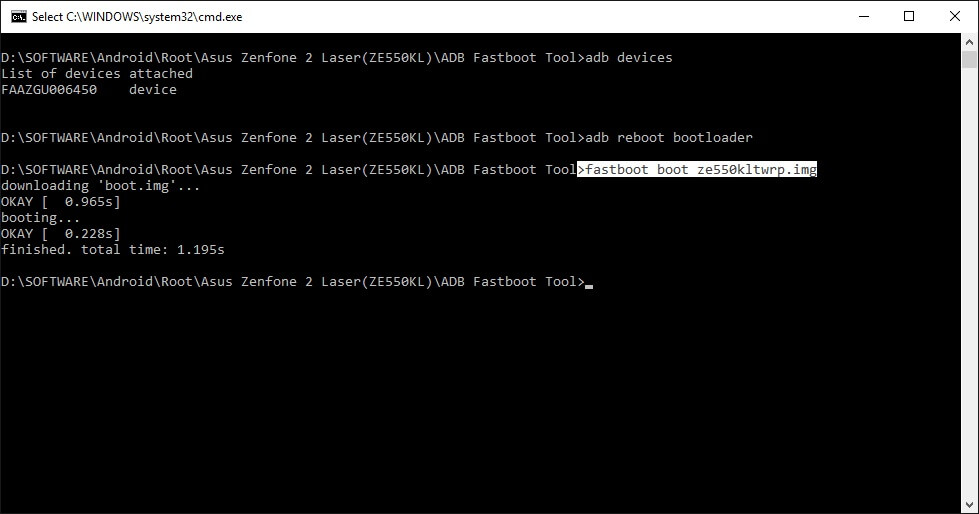
Once the flashing process gets completed, your device will automatically reboot into TWRP recovery.
Rooting (SuperSU)
First Install TWRP Recovery Using Above Steps 1 to 8.
Step 1: Place The Downloaded SuperSu Pro.zip File into Your Device SD Card or Internal Storage.
Step 2: Boot Into Recovery And Select Install. Now Locate SuperSu Pro.Zip File in Your Device And Flash it.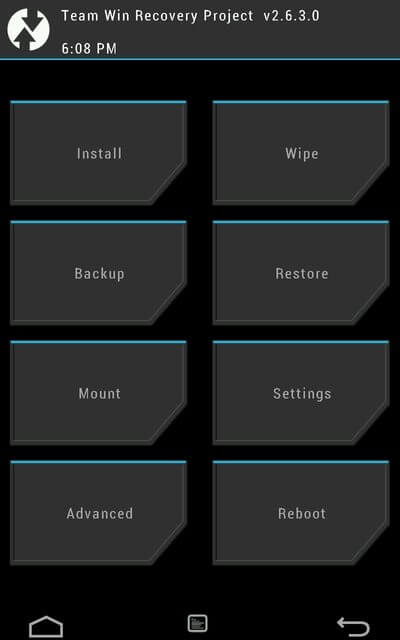
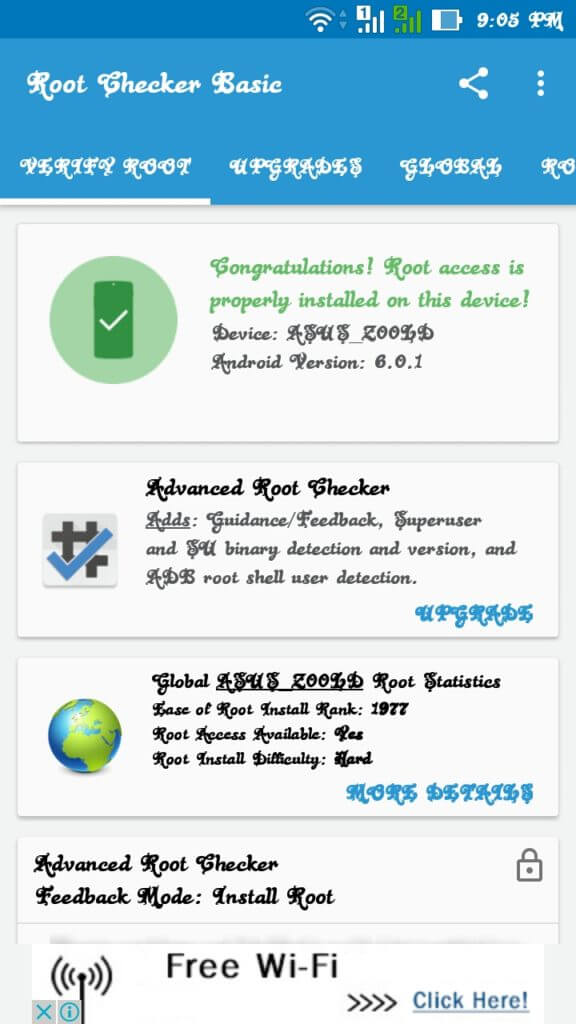
Step 3: Most Important Part Of Rooting is Patience wait For Minimum 5 Minutes to Boot Your Device. Hurry.. You Done it Well. Check Your Device Root Status By Any Root Checking App. 😀
Now you can flash different mods, custom roms, kernels & lot more. If you are a Xposed lover, you can refer our guide of Installing Xposed Framework & installer in Marshmallow. If you are new to rooting, you can check best apps for rooted Smartphones. You can checkout few mods for improving battery life & performance.
![[Solved] Unable to Mount (Error) “/asdf/recovery/” in Android Recovery](https://devsjournal.com/wp-content/uploads/2016/12/Solved-error-in-asdf-recovery-in-Android-768x443.jpg)

Hi, I am having resurrection remix os nougat in my phone Where I am using two networks one is jio and another one is Vodafone , If I change the data connection to Vodafone the cellular network is disappearing, Kindly help me on it.
keep the data sim in sim slot 1
How long it will take to boot after rooting? Mine is already 20 mins. still booting.
Hi Everyone. I solved the SuperSu installation problem downloading the last apk from internet (2.79) and installing it manually.
Just google “SuperSu latest version zip file”.
Now my phone is rooted.
thank you so much. It worked. as you said unlocking bootloader wasn’t needed for marshmallow.
Thanks once again
why is it saying remote:unlock phone to use this command ….i am on marshmelllow
Not working….
APK only not installing first step failed!!
Hello Admn, I followed all the steps mentioned above. My device is visible when I pass ADB devices command. But once in to FastBoot Mode, my device is not getting identified. The Cmd Prompt is showing . Can you help here?
Get asus USB driver for pc.. Connect you ph. Open device manager and update driver.
super su saying binary update needed and if i update it shows installation failed and reboot
from where to extract adb fastboot tool
it’s not working
thank you so much!!!
I have installed Unlock Tool. It was showing network error but i was having a secure connection…please help..having marshmallow…
THANK YOU VERY MUCH
Hi,
I got Asus zenfone 2 laser 550KL running Android 6.0.1(v21.40.1220.1998_20). Installed the new bootloader unlocker for Marshmallows & went to fastboot, installed TWRP (v2.7) and installed inbuild (TWRP’s Su binary). After reboot it does not start but gets stuck at home screen (Asus In search of incredible logo with loading sign). Kindly help. Let me know what should I do next.
If You’re On Marshmallow Firmware Version 1877,1943 or 1998, you don’t need to unlock your bootloader. The good part is it won’t void your phone’s warranty.
This seems the problem of bootloader also called soft brick , i assume you are able to boot in to recovery (twrp) try after wiping factory data (factory reset + dalvik cache).Try this and let me know the status.
thankyou..