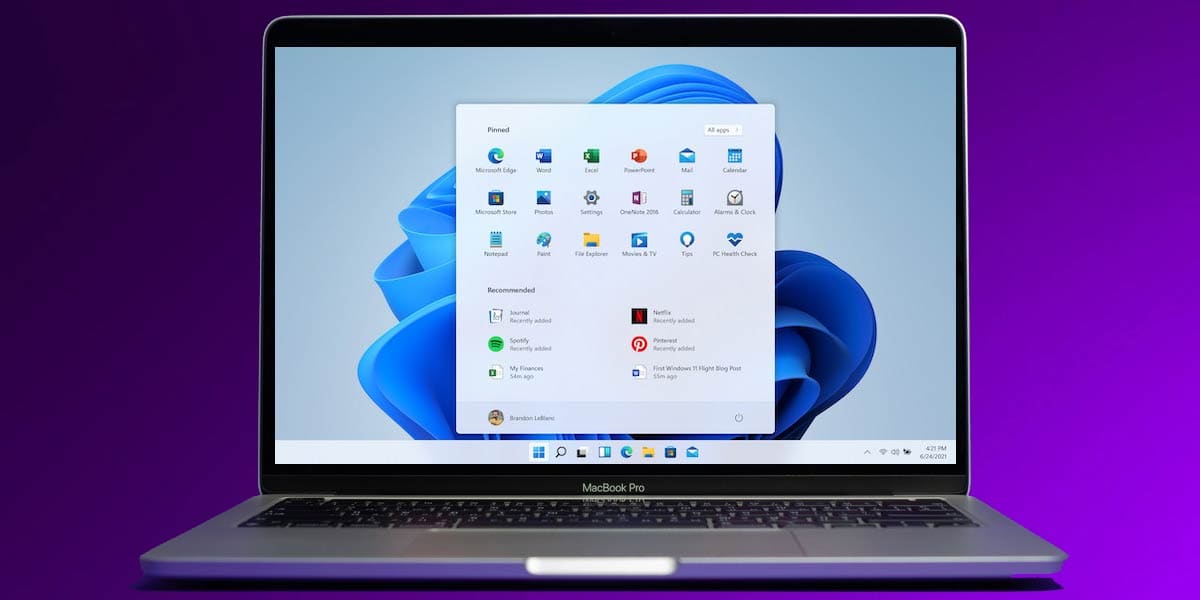
For every Mac user out there, the prospect of running a Windows OS seems intriguing, especially with Windows 11 ushering in tons of exciting features, widgets, layouts, menus, and more. Be it for the features or otherwise, the thought of operating a Windows 11 OS on your latest M1 chip is not one to be overlooked.
Unfortunately, as you might already know, M1 Macs can’t run Windows 11 directly. While that sure is a bummer, what if we said there’s a way to still run Windows 11 on Mac M1 chips? In this article, we will explore the score of Parallels in running Windows on M1 Macs. Without further ado, let’s get started!
Can You Run Windows on Mac M1?
First and foremost, let’s get one thing out of the way- there is no way to directly run Windows 11 on Mac M1 chips without tweaking or installing anything extra. Having said that, there are ways to bypass the stringent limitations of the Apple ecosystem. Windows 11 requires a physical TPM chip, and when it comes to the M1 Mac, it is equivalent to the T2 chips from Apple.
Here’s where Parallels come in: they can cleverly emulate TPM modules on your Mac system, letting you run Windows 11 without a hitch. Using Parallels 17, you can install Windows 11 on Mac M1 chips but note that you can only run the Windows 11 Insider Preview version for ARM on M1 Macs. Unlike Intel Macs, here you cannot run the standard x86 version of Windows 11, although there is reason to believe that Parallels will soon make room for this as well.
Windows ARM is similar to the Windows standard version minus the full-fledged compatibility of the latter. Since it only works with ARM or Advanced RISC Machine chips, many softwares and apps might not be compatible unless they gel with ARM. Moreover, as Boot Camp does not work with M1 Macs, the only way to run a version of Windows 11 on Mac M1 chips is through Parallels.
What are Parallels?
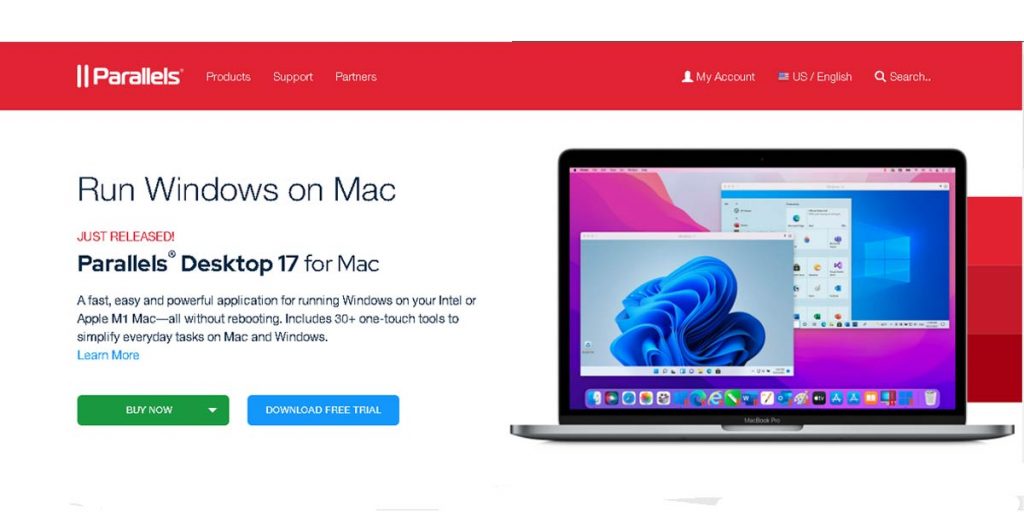
Parallels is essentially a virtual machine program. It runs a separate OS within a simulated computer, termed as a virtual machine, on your M1 Mac. Using Parallels, you can run Windows apps alongside Mac apps through a mode termed as Coherence.
This is an alternative to Boot Camp, which demands the installation of Windows on a separate partition on the M1 Mac’s SSD or HDD. With Boot Camp, you can only use one OS at a time, and switching between two operating systems will require a reboot. Parallels, unlike Boot Camp, make transitioning between Windows and Mac OS more flexible and fluid.
Prerequisites for Running Windows on M1 Mac
First and foremost, of course, you will require Parallels 17. This version supports Windows 11 on macOS Catalina, Monterey, and Big Sur. The home version of Parallels 17 costs around $80, or else if you already have an older version, you can pay $50 to upgrade it. They provide a free trial for a specific period so that you can check them out. Make sure you download it from the official Parallels website.
Second, you will require a license to Windows 11, purchasable from Microsoft’s official site, following your OS installation. As of November 2021, if you want to install Windows 11 on Mac M1 chips, you must download Windows 11 on ARM preview builds from Microsoft. For that, a Microsoft account registered with the Windows Insider Program will be required since M1 chips cannot run the Intel version of Windows 11 on Parallels 17.
How to Install Windows 11 on M1 Mac?
Now that we know all that is required and what they mean let’s get right to the steps to run Windows on M1 Macs. Follow the steps one after the other, and before you realize it, you will be able to install Windows 11 on Mac M1 chips. Here’s how to go about it:
- Download and install Parallels 17 or on your M1 Mac. Permit Parallels Desktop to access the Mac’s Desktop, Documents, and Download folders during the installation process, for it to function correctly.
- Register for the Windows Insider Program and download a copy of Windows Client ARM64 Insider Preview that will be provided in a VHDX disk image file.
- Open the Parallels app and double click on the VHDX file that was just downloaded, and follow the on-screen instructions on Parallels to successfully install Windows 11.
- Once the installation process is complete on your M1 Mac, you will see an ‘Installation Complete’ pop-up message. Click inside that window to continue.
- If you are using a trial version of Parallels, it will ask you to register with a Parallels account. Else, you will see the Windows 11 desktop, and you will be ready to go.
- To switch to the seamless mode that lets you use Windows and Mac apps side-by-side, specifically focus on the ‘Windows 11’ window and select View and Enter Coherence in the menu bar. Alternatively, you can also press Ctrl + Command + C on your keyboard.
- If you want to exit Coherence mode, click on the Windows logo icon in the Dock, select View, and then Exit Coherence in the menu bar. Alternatively, you can press Ctrl+Command+C once again.
- Once you are ready to buy a Windows 11 official license, run the Settings app in Windows 11 and then select ‘System’ in the sidebar. Tap on ‘Activate Now,’ followed by ‘Open Store,’ and you will be able to purchase your desired Windows license from the Microsoft Store.
Conclusion
That’s all there is to know on how to install Windows 11 on M1 Macs. Make sure you read through the steps thoroughly and follow them intently for the best results. It might seem like a daunting process, but once you take your time and get the hang of it, running Windows on M1 Mac will be a breeze. You might even be able to help out your friends and family members who are still confused about the workarounds of installing a Windows OS on M1 chips.
We hope this article helped you understand the ways to bypass Apple’s limitations. Good luck, and happy browsing!
![How to Enable Drag and Drop in Windows 11 [5 Methods]](https://devsjournal.com/wp-content/uploads/2021/09/How-to-Enable-Drag-and-Drop-in-Windows-11-768x384.jpg)