We see no hope Google officially releasing its AI-powered virtual assistant for Windows anytime soon. So what about your hope of getting Google Assistant on Windows?
Well, the wish could’ve gone into vain, but with the inception of the Google Assistant SDK, it’s now feasible to run Assistant basically on any platform, viz., Windows, Mac, or Linux machine.
Not to mention, don’t expect any fancy GUI or one-click installation process. Initially, the method may also appear to be a bit daunting to some users since the process of getting Google Assistant on Windows involves playing with command-line instructions.
There is no need to fret either. Below we have the detailed guide on how you can get Google Assistant up and running on your Windows 10 without hitting a snag.
Prerequisites:
- Python 3
You can’t proceed with the method until your Windows machine has the Python installed. It’s fairly simple to download it on Windows; all you need to do is, get the latest Python version by clicking here and double tap on the downloaded .exe file to install the program.
How-to-do:
- Check the Add Python 3.8 to PATH box and tap on Customize Installation.
- On the next screen, make sure that all the options under Optional Features are checked and then click on Next.
- The “Add Python to environment variables” also needs to be checked.
- Lastly, click on the Install button and wait until the installation gets done. It may take up to a minute or two.
Upon completion, tap on Close and reboot your PC.
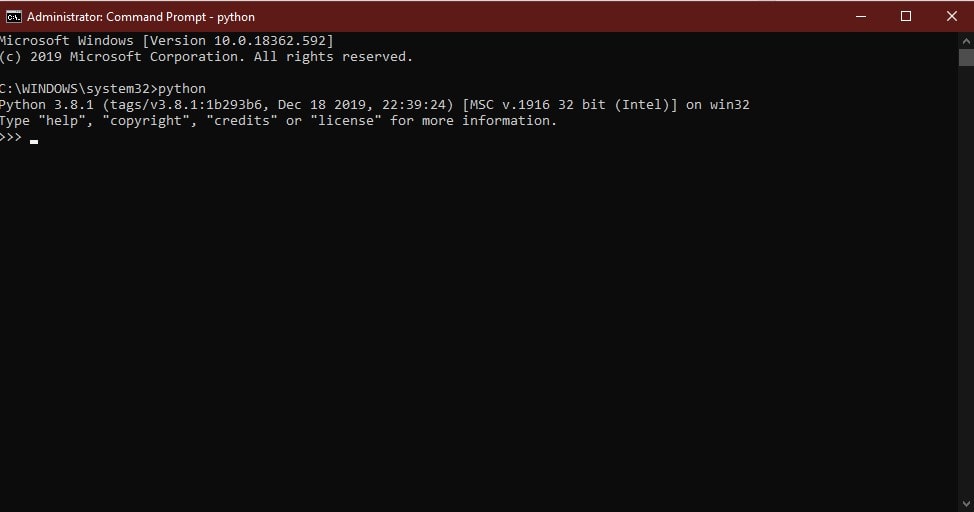
Now to check, if Python got installed correctly, head over to Windows search bar and type “cmd” then right-click on Command prompt app and select “Run as administrator.”
Now type “python” (excluding quotation) and hit enter, if it reverts the current Python version which you’ve just installed, it means everything is up to mark and now you can move onto the following method.
How To Install Google Assistant on Windows 10
To make it easy, we have broken down the whole task into three easy to implement parts. Follow the steps carefully.
Step 1: Configure the Google Assistant API
1. Before you get going with the Google Assistant, you will be required to enable access for its API.
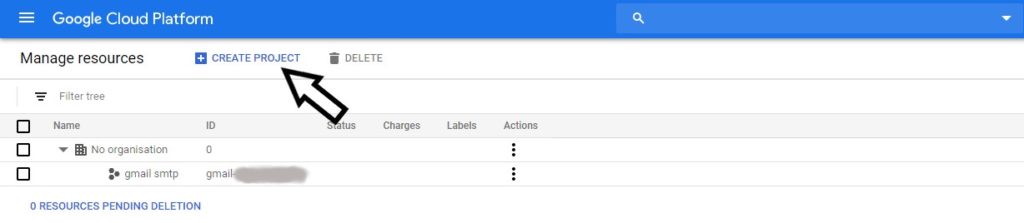
2. Head over to the Projects page of Google’s Cloud Platform and click on the + Create Project button. Sign in to your Google account, if you asked to do that.
3. Choose your country name from the drop-down menu and check the “Terms of Service” box and hit Agree and Continue.
4. Type MyGoogleAssistant as your “Project name” or maybe something else if you want to change it. Underneath it, click on Edit, and enter your “Project ID” – anything appropriate.
5. Tap on Create and wait until you see the notification on the screen with a message “Create Project: Name of your project.”
6. Next, click on the hamburger menu at the top left, and navigate to APIs & Services >> Library.
7. On the search bar type “Google Assistant API” and open the result that appeared.
8. Now, tap on the blue Enable button and select Create Credentials.
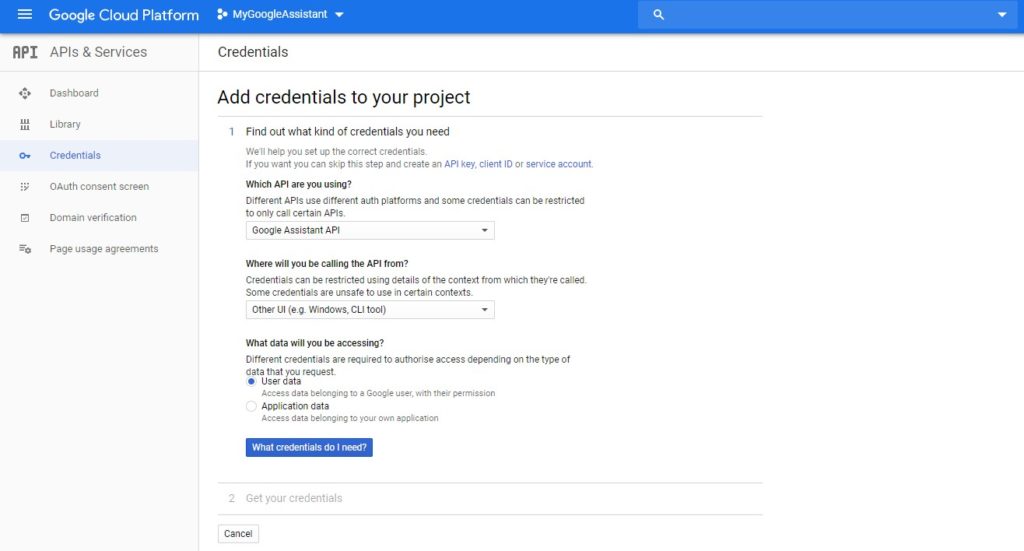
9. Under the “Add credentials to your project” page, you will be required to choose the following options from the drop-down menu.
Choose “Google Assistant API”
Choose “Other UI (e.g., Windows, CLI tool)”
Select “User data”
10. Now to proceed, click on the “What credentials do I need?” button.
11. Select Set up consent screen, and you’ll be redirected to another tab (don’t close the previous one).
12. Choose the “Application Type” to External. Under “Application name” type the project name and then scroll to the bottom and click on Save.
13. Now get back to the “Add credentials to your project” page and refresh it. Now again, you will be required to choose the same options which you did earlier in the step.
14. Under “Create an OAuth 2.0 client ID,” name the Client ID (anything you want) and click on Create OAuth Client ID.
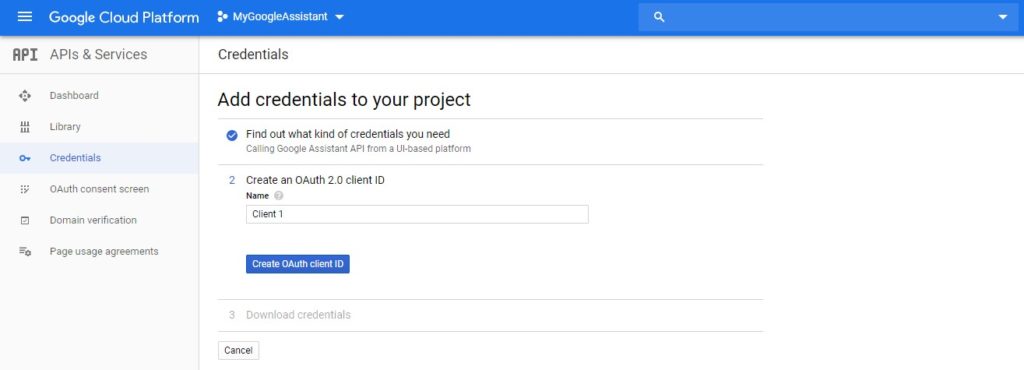
15. Click on “Done” and not on “Download” because we only require “client secret” that we will download on the next step. And now, you’ll be able to see your Client ID under the list of “OAuth 2.0 client IDs.”
16. On the right, click on the small down arrow icon that says “Download JSON” to get the file on your system.
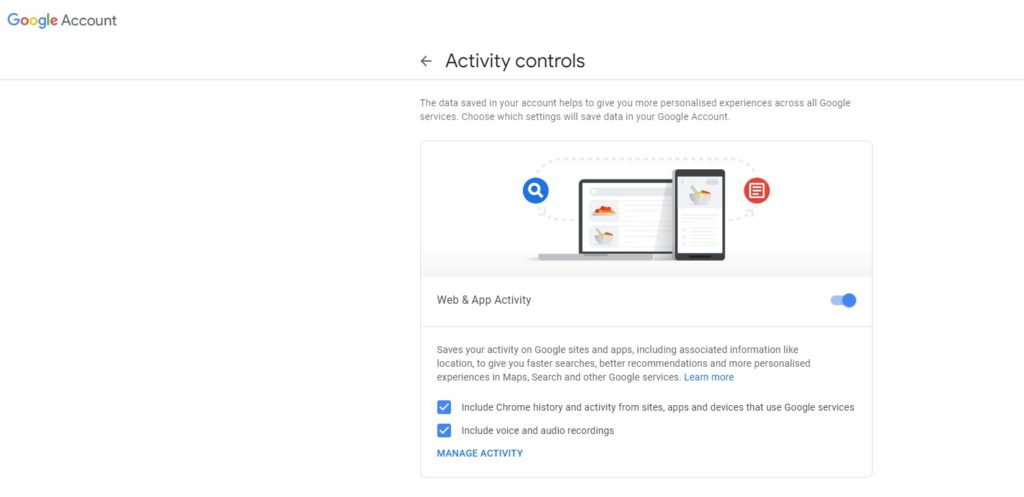
17. Now navigate to the Activity controls page and make sure that “Web & App Activity,” “Location History,” “Device Information,” and “Voice & Audio Activity” should be enabled/toggled on.
18. Lastly, head over to Local Disk (C:) and create a new folder and name it “GoogleAssistant” (make sure you don’t space in the folder name) and then copy/paste the JSON file you just downloaded within it.
Step 2: Install the Google Assistant Sample Python Project
1. Now open Command Prompt (Run as administrator) and execute the following commands.
py -m pip install google-assistant-sdk[samples]
This command will download and install a whole bunch of dependencies on your system. This may take up to a few seconds, so wait until it gets completed. After that, execute the next command given below.
py -m pip install --upgrade google-auth-oauthlib[tool]
2. Then type the next command given below but do not hit Enter now:
google-oauthlib-tool --client-secrets C:\GoogleAssistant\
3. Navigate to the folder (GoogleAssistant) in the C Drive and open it. Right-click on the JSON file you copied there and select properties, then under General tab copy the full Filename.
4. Get back to the Command Prompt window, and press CTRL+V to paste the file name (in front of the previous command) and then press Space and type the following command.
--scope https://www.googleapis.com/auth/assistant-sdk-prototype --save --headless

5. And now hit Enter.
6. You will be asked to Enter the authorization code, so highlight the entire URL starting with https:// and ending with type=offline from the CMD window and press CTRL+C to copy it.
7. Now head over to your browser (preferably Chrome) and paste the copied URL in the address bar and hit Enter.
8. Select the same Google account which you’ve used to generate the Google Assistant API.
9. Now you will be required to grant some permissions necessary to run Assitant, so click on Allow to give the application access.
10. And there you have the authorization code (a long string of letters and numbers) copy it and head over the CMD window, paste it there and hit Enter.
You’ll see a message that says, “credential saved.”
You’ve now completed this step, and it’s time to test the working of Google Assistant.
Step 3: Test the Google Assistant
1. First of all, turn on the system speakers and enter the following command in the Command Prompt.
py -m googlesamples.assistant.grpc.audio_helpers
2. Now make some sound, and you will see your computer recording 10-sec audio and playing it back to you. This is the audio test.
3. Next, type in the given command and press Enter:
cd C:\GoogleAssistant
4. Then type the following command but don’t press Enter:
googlesamples-assistant-devicetool --project-id
5. After the above command, press the spacebar and type your “Project ID,” which you have created in the first step. Now hit the spacebar one more time and type the next command:
register-model --manufacturer “Assistant SDK developer” --product-name “Assistant SDK light” --type LIGHT --model “GA4W”
6. Lastly, press Enter to finish the setup.
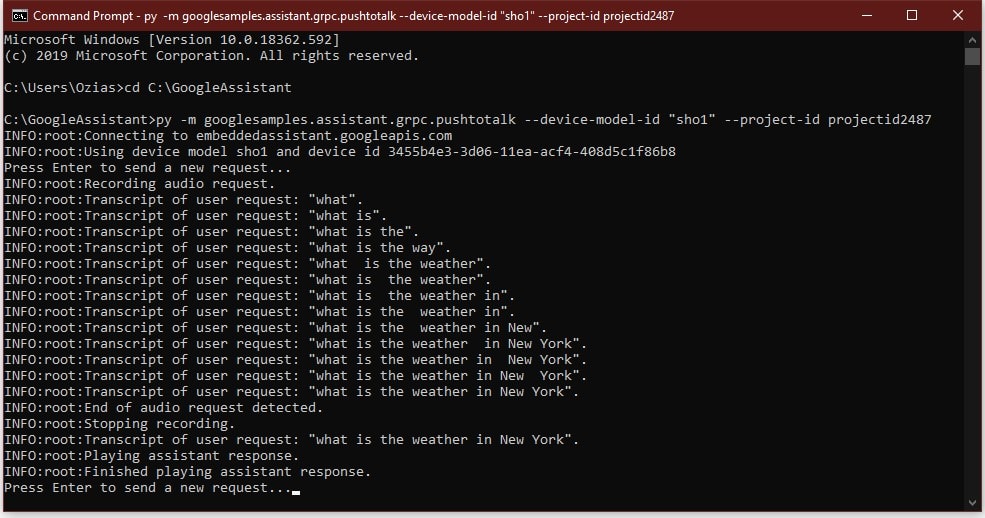
7. To enable the Google Assitant with Push to talk (PTT) communication, enter the command given below, followed by a space and your Project-ID:
py -m googlesamples.assistant.grpc.pushtotalk --device-model-id “GA4W” --project-id
Now you have the configured Google Assistant working on your Windows system. For asking questions, you will be needed to hit Enter while the program is active, and speak whatever you want to ask without having to say “OK Google.”
This is the only way you can access Google Assistant in Windows 10 – via Command Prompt by executing the aforementioned commands in the array as listed. You will have to establish the configuration we have laid above in the last step whenever you want to use Google Assistant on your PC.
If you have any questions or doubts regarding this method we’ve used, feel free to comment it down below.
i get the error message device config not found: errno 2 no such file or directory
i am getting this error at Step 6 of Part 3 (Test The Google Assistant):
“Error: Failed to register model: 409
Requested entity already exists”
And subsequently, the final step (to enable PTT) will not work…
Same thing( did you manage to fix it?
i get the error message device config not found: errno 2 no such file or directory
i get the error message device config not found: errno 2 no such file or directory