We are in a day and age where access to the internet has become essential to our daily living. Children rely on it to do their homework while adults rely on it to Google any and every question that comes to their mind. It has become our prime source of information and entertainment.
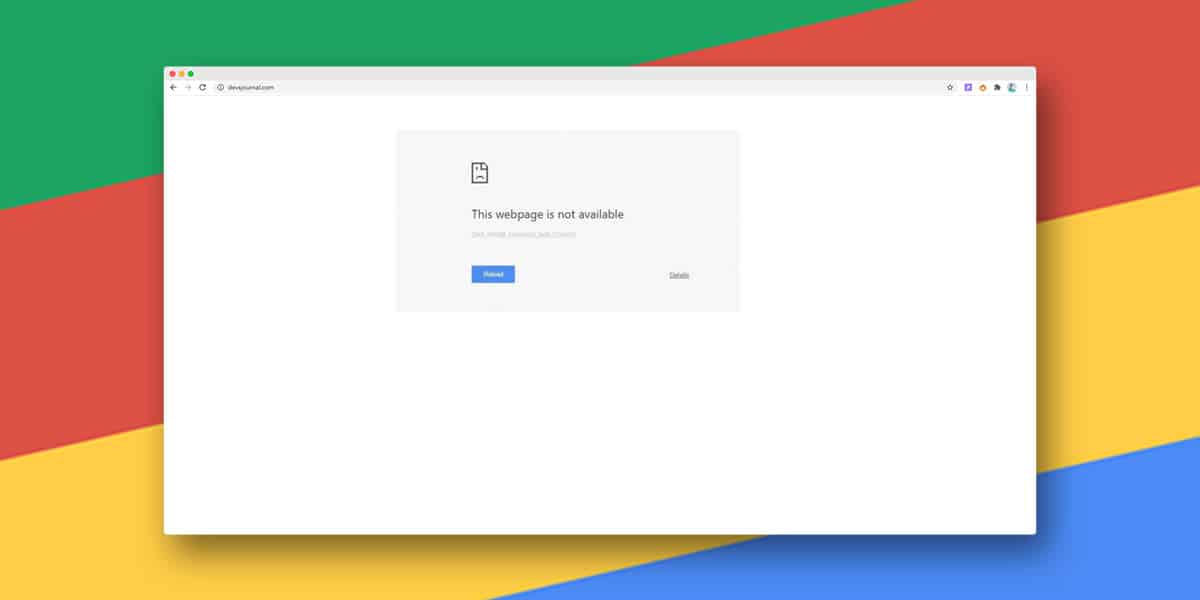
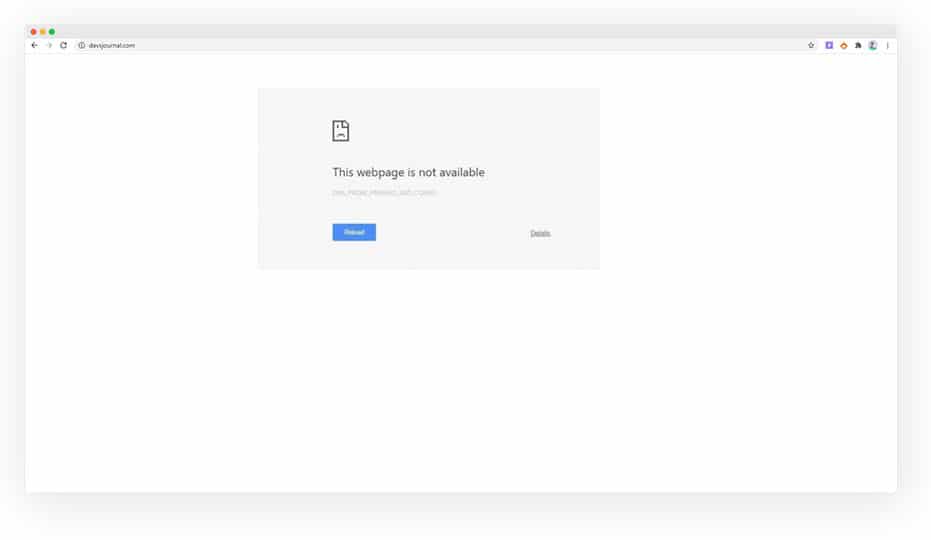
Therefore, nothing is more frustrating than entering a website name and your web application throws an error. One of the common errors that we encounter is “dns_probe_finished_bad_config”. Once encountered you will keep seeing this error no matter which website you try to access. The problem lies in your Web Browsing application. Though annoying, it is a very simple fix.
Here we will briefly look into the character of this error, the reasons why you see it and the steps you can take to fix this error.
What is “DNS_PROBE_FINISHED_BAD_CONFIG” Error
To accesses a website, one must enter the IP address into a web browser. However, remembering a bunch of numbers for one website is tedious enough, let alone memorizing twenty. Therefore, user-friendly domain names are used to connect to these IP addresses, and this task is carried out by DNS.
As DNS is responsible for connecting URL to its IP address, anything which causes this process to fail will throw an error. The most common error is “DNS probe finished bad config”. This error means that due to a problem with the DNS configuration your web browser was unable to connect to a network. It can also lead to other Chrome errors like “This site can’t be reached” or “err_network_changed” errors.
Causes of “DNS PROBE FINISHED BAD CONFIG” Error
When it comes to the internet there are too many moving parts. Even if one of them is off or one number turns from one to a zero, it will completely disorient the system. However, in this case, we recognize that the problem is regarding DNS. Following are some of the reasons why the DNS server isn’t responding.
- Network settings were accidentally changed – this may happen due to physical tampering or while downloading unsafe software.
- Router settings changed through an unauthorized application – if an unreliable application is downloaded and installed it may hinder the performance of the router by tampering with its settings
- Browser plugin(s), for example, VPN software, is interfering with IP or DNS address – VPN software is used to create virtual networks to by-pass any walls which may stop you from accessing certain websites. This software while creating proxies may interrupt your TCP/IP to work properly.
- Firewall or antivirus software – a lot of the antiviruses and firewalls are responsible for blocking websites that may be considered harmful to your computer. This is easily fixable. Go to advanced options and permit to access the blocked website.
- Corrupted files on your device – there are a lot of moving parts in the software which makes the system work. If even one of these parts are out of place or not functioning as expected, the whole system crashes. If your network drivers are not updated, then they may become corrupt and cause problems.
While the above-mentioned causes are common sometimes this error is also visible if trying to access a website that is down or due to a faulty internet cable.
7 Ways to Fix “DNS_PROBE_FINISHED_BAD_CONFIG” Error in Chrome
Above we have looked into the most common reasons why the DNS server isn’t responding. Lucky for us these problems can be easily fixed following any of the steps mentioned below.
1. Restart the Router
For this step to work better, it is advised to first restart your system and router.

Another step that you can take is to reset your router. There is a small hole in every router, withing which a button is present. This button can be pressed only by something as thin as a pin. Use a hairpin to press this button and your system should reset.
In case the problem prevails, then we can at least dismiss the physical hardware being a problem.
2. Clear Browser Cache
A full browser cache memory is a nuisance to your internet connection. Cache memory is full of cookies that are left behind by websites to stores usernames and passwords for ease of login and quick access in the future.
Though most likely a full cache is not responsible for the DNS error, it is always good to keep a clean house for better functionality. First, use a different browser and see if you can access the same website. In case you can, then the browser seems to be the cause of the problem.
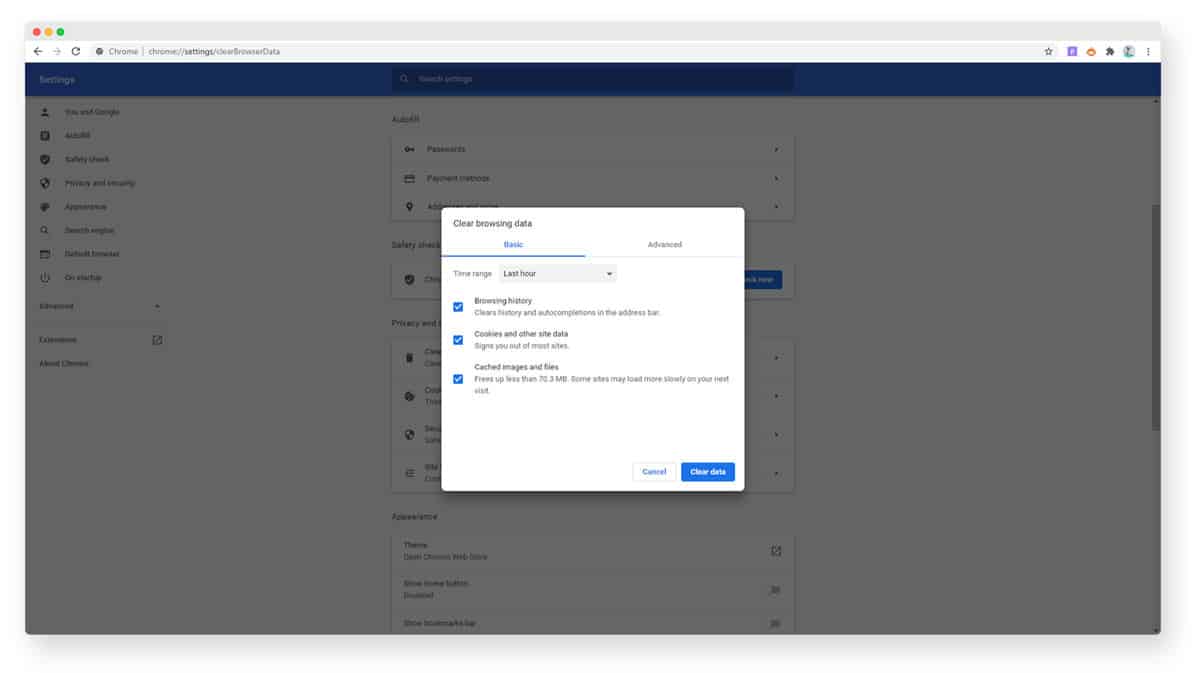
Different browsers have there owned steps to clear out the cache. In Google Chrome go to Settings and then choose ‘Clear Browsing Data”. This includes caches and cookies.
3. Flush DNS
There may have been a change made to your DNS. This change can either be made knowingly or may happen by accident. Your system will try to use the locally available cache and try connecting to the network but it won’t work. In such a situation the “DNS probe finished bad config” is a common error.
The solution to this situation is to flush the DNS. This is a fancy way to say that the DNS system needs to be reset, along with releasing and renewing your IP address. To do so you will need to access the Command Prompt terminal of the system and enter a few commands. Following are the necessary steps
- Go to Start Menu
- Search for CMD ( Command Prompt). Once found, open it.
- In the terminal enter the following command: “ipconfig/flushdns”. Press Enter.

This process will take a few seconds to a minute to complete. Once completed, disconnect your Wi-Fi or Internet connection and connect back again. Your DNS will be flushed and the IP address will be reconfigured.
4. Change IPv4 Address (Change DNS Server Settings)
If the DNS probe finished bad config error continues to prevail, then you need to take matters into your own hands and change the DNS settings. IPv4 address is your standard IP address (for example 127.0.0.1).
To make our life easier, our Internet Service Provider (ISP) assigns us an IP address automatically. in case your current DNS server is not accessible or not functioning properly, then you might have to switch to a working one. Lucky for us, we can physically change our DNS server. just follow the underwritten steps.
- Open Start Menu and search for Control Panel. Open once found.
- Under the Network Settings, click on “View network status and tasks”.
- Now, click on “Change Adapter Options”.
- The connection that you are using will be listed here, double-click on it.
- Go to “Properties”, and double-click on “Internet Protocol Version 4 (TCP/IPv4)”.
- Now, tick the “Use the following DNS server addresses” tab.
- Change “Preferred & Alternative DNS server” to following
Preferred DNS Server – 8.8.8.8
Alternative DNS Server – 8.8.4.4
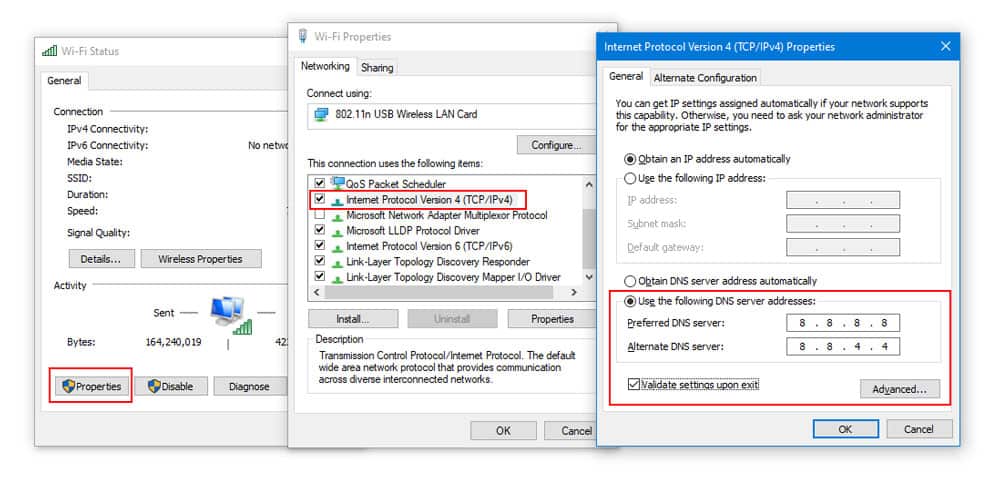
- Tick the “ Validate Settings Upon Exit” and tick on the OK button to save.
5. Reset TCP/IP
TCP/IP refers to your internet protocol. It monitors and manages the IP address that is used to access the internet. You may have been using a bad gateway to access the internet which causes many networking issues. However, you can reset your TCP/IP to fix this problem.
Following are the steps you can follow to reset your TCP/IP.
- In Start Menu, find the Command Prompt by typing “CMD” in the search bar. Once found, right-click on the option and run it as an administrator. In most systems, this happens by default.
- In the CMD terminal type the following: “netsh int ip reset”. The rest may take a few minutes.
- Once completed restart your computer. Your TCP/IP will be reset.
The above steps are common across all versions of Windows. In the case of Apple/macOS users, the following steps should work.
- Click the Apple Menu icon. Look for the option “System Preferences”.
- Within the option, find “Network”.
- Select your Connected internet connection and click on the “Advanced” option.
- Select the “TCP/IP” tab and click “Renew DHCP Lease”.
- Click “OK” to finish.
6. Update Your Network Drivers
Every part of your computing system update regularly, and generally it happens automatically when connected to an internet connection. However, sometimes these updates may remain dormant and you will have to physically start them. Corrupted network drivers can cause many problems, including DNS interruption.
Following are the steps to update the network drivers.
- Open Start Menu and in the search bar look for Device Manager. Click on the option.
- In the Device Manager control panel find and select “Network Adapters”, right-click on your Network adapter and choose “Update Driver”. Make sure your internet connection is running.
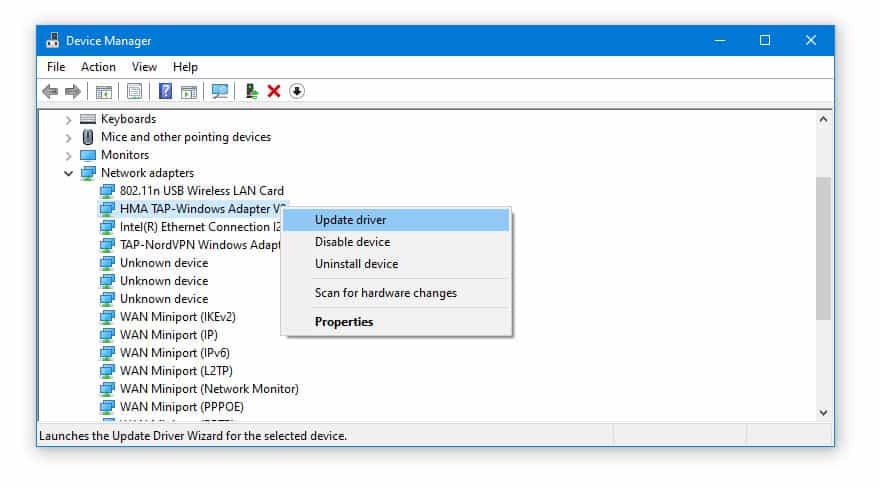
- The update may take some time. Once completed, restart your computer and the problem should not continue.
The above-mentioned steps are for Windows operating system. For Apple users, the following steps will work the same
- Click on the Apple Menu icon. Find and click on the option “About this Mac”
- In here click on the option “Software Update”. Restart your system and your problem should be fixed.
7. Run Network Troubleshooter
Every operating system is very self-reliant and has the tools to identify and fix its problems. These tools are called troubleshooters. Sometimes the best way to fix a computing problem is to let the system identify and fix it by itself. Following are the steps you can take to run the network troubleshooter.
- In the Search Bar enter “Network Connections”. Choose the option “View Network Connections”.
- Now, right click on the connection you want to troubleshoot and select “Diagnose”.
- The troubleshooter will start running and if the problem is identified, follow the steps required to solve the problem.
Conclusion
“DNS_PROBE_FINISHED_BAD_CONFIG” is a very common problem that occurs when trying to access websites. While sometimes this problem is on the backend of the visiting website, the problem just may be in your system and network connection. While we can’t do anything fo the website, following the above-mentioned steps will help you fix this problem and continue with your web surfing.