Since we also spend most of our time using Chrome while working, no doubt, it is one of the best browsers that you can use for your work despite Chrome using a lot of RAM. But recently, we encountered an issue which we think is quite common and should be fixed right away. This issue can break your workflow, and an entire day might get wasted.
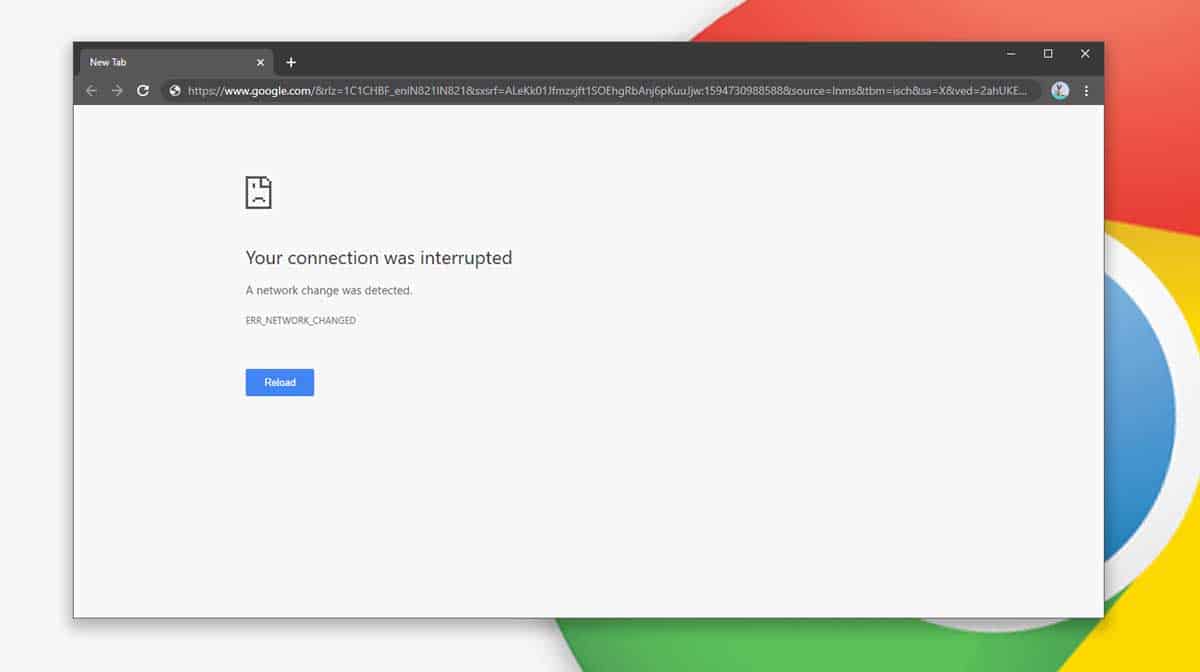
So, usually, when this kind of error occurs, a message like “your connection was interrupted network change was detected. Err_network_changed” pops up in the Chrome browser of Windows 11 or Windows 10 system. Just like we had to face it out of nowhere, we believe it can occur with anyone else as well. So, we are here to provide you with some easy methods that will help you to fix “your connection was interrupted network change was detected. Err_network_changed” error in Windows 10 & 11 .
What does err_network_changed mean?
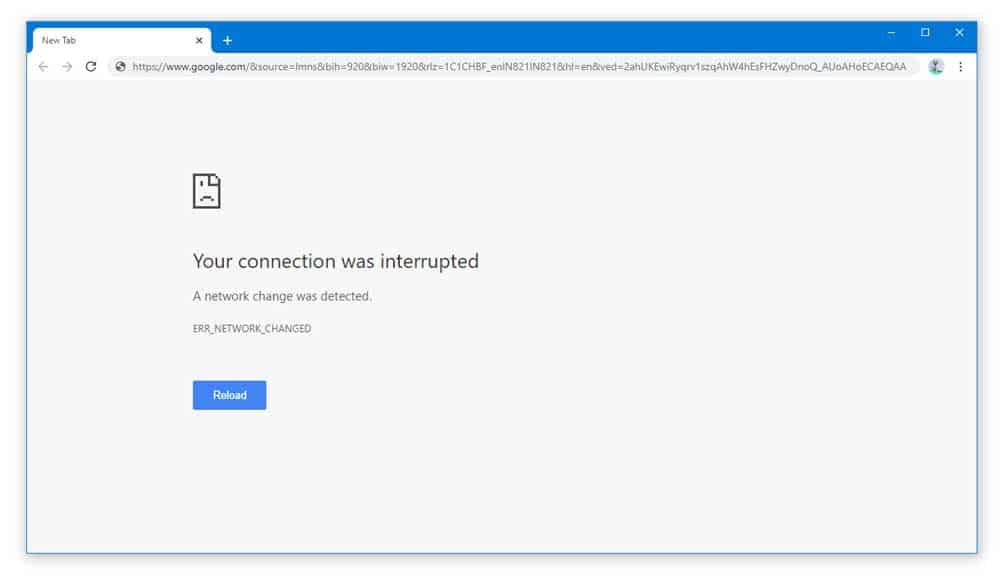
Most people might be curious to know what does err_network_changed mean and why is it happening with your Chrome browser. Usually, when Chrome detects a sudden network change that does not give permissions to the browser for accessing a website. Then, the err_network_change error appears in the Chrome browser.
It can be any website, such as Facebook, YouTube, etc. On the other hand, it can also be a browser-specific error that Chrome is unable to fetch information from the online servers on that particular internet connection. So, what are the possible anomalies in our system or connection that can cause an err_network_change issue? Let’s discuss this.
Causes of err_network_changed
There can be various possible reasons behind this err_network_changed windows 10. However, not particularly on Windows 11 or 10, the chrome err_network_changed issue can even occur on the earlier versions on Windows too. It can be a short term bug in the Chrome browser itself, or maybe your computer is lacking to identify the network properly.
Usually, it happens when the TCP/IP settings on your computer are not proper, or something is wrong with the network adapters or even when a network change was detected in Windows 10. No matter what the reason is, we have a complete guide for you to tackle the err_network_changed issue. So, make sure to follow the article until the end.
How to Fix err_network_changed in Chrome?
In case your chrome browser is showing “your connection was interrupted a network change was detected. Err_network_changed” and you are not able to access any website using Chrome. We have some methods that might come handy for you to get rid of this error. Since the error can occur due to various reasons, the right fix for the error varies from person to person. So, we suggest you go through this guide and try out all the methods until you find the right method for your PC.
1. Restart your modem
In most cases, due to some technical problems, the “error network changed” issue appears. However, the very first method you can try out is simply restarting the modem to refresh the connection. This is a very common problem that often occurs and goes away very easily too by just restarting the modem. If you are using an old modem, you might need to replace it with a new modem.
2. Clear Browsing Data in Chrome
If you are using Chrome for a long time and haven’t cleared the junk as well, it might malfunction sometimes and can show the err_network_changed error.
Step 1: Open Chrome browser.
Step 2: Now, press Ctrl + H to go to the History section.
Step 3: Here, click on the Clear Browsing History button.

Step 4: Select All Time in the Time Range field.
Step 5: Make sure all the options in the Clear Browsing Data are selected for deletion for a clean wipe.
Step 6: Now, hit the Clear Data button.
3. Flush the DNS and Reset TCP/IP
To flush the DNS settings and reset TCP/IP on your computer, we will use the command prompt, so make sure to enter all the commands correctly.
Step 1: Open the Command Prompt as an administrator.
Step 2: In the command prompt, execute the following commands one by one:
ipconfig /release
ipconfig /flushdns
ipconfig /renew
Step 3: Afterwards reset the TCP/IP settings by executing the following commands:
ipconfig /flushdns
nbtstat –r
netsh int ip reset
netsh winsock reset
Step 4: Close the command prompt, and reboot your PC.
4. Reinstall Network Adapter
By reinstalling the network adapters can significantly help you to resolve the err_network_changed windows 10 problem. If the potential reason behind the error is a faulty network adapter.
Step 1: Press Windows Key + R together to open the Run window.
Step 2: Now type devmgmt.msc and press the Enter key to reach the Device Manager section.
Step 3: Double-click on the Network Adapter option to expand it.
Step 4: Select the network adapter you are currently using.
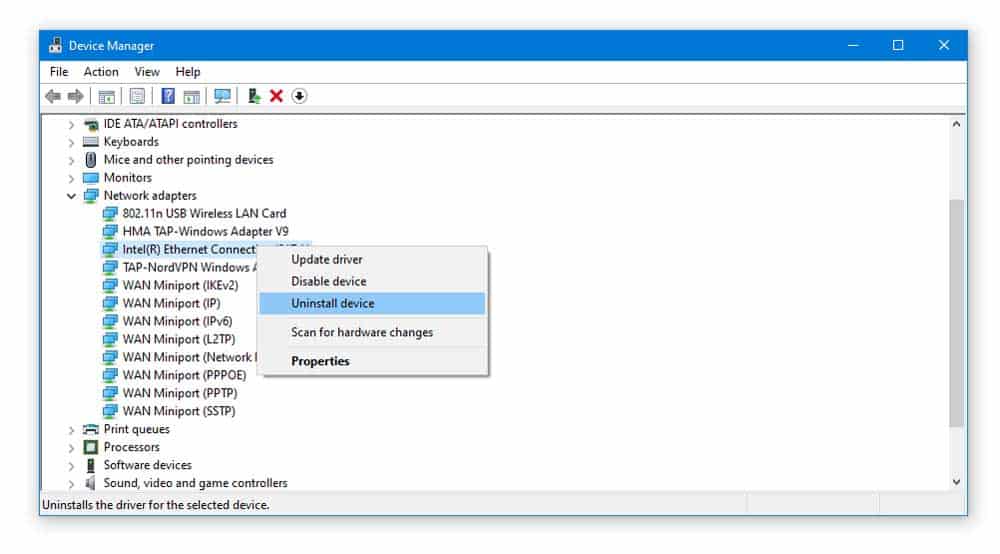
Step 5: Right-click on it and select the Uninstall option.
Step 6: After uninstalling it, make sure to reboot your PC.
Step 7: After booting up, Windows will automatically reinstall the drivers once again. If not, you can download it from the official website and install it manually.
5. Use Google DNS
Another effective way to tackle the chrome err_network_changed problem is by using Google DNS settings. Here are the following steps that you need to follow:
Step 1: Click on the Start button and type Control Panel and open it.
Step 2: In the control panel, go to Network and Internet.
Step 3: Then, navigate to the Network and Sharing Center.
Step 4: On the left side, click on the Change Adapter settings option.
Step 5: Double-click on the internet connection on which the err_network_changed is appearing, and go to its Properties.
Step 6: Click and select the Internet Protocol Version 4 (TCP/IPv4) from the list and then click on the Properties button.
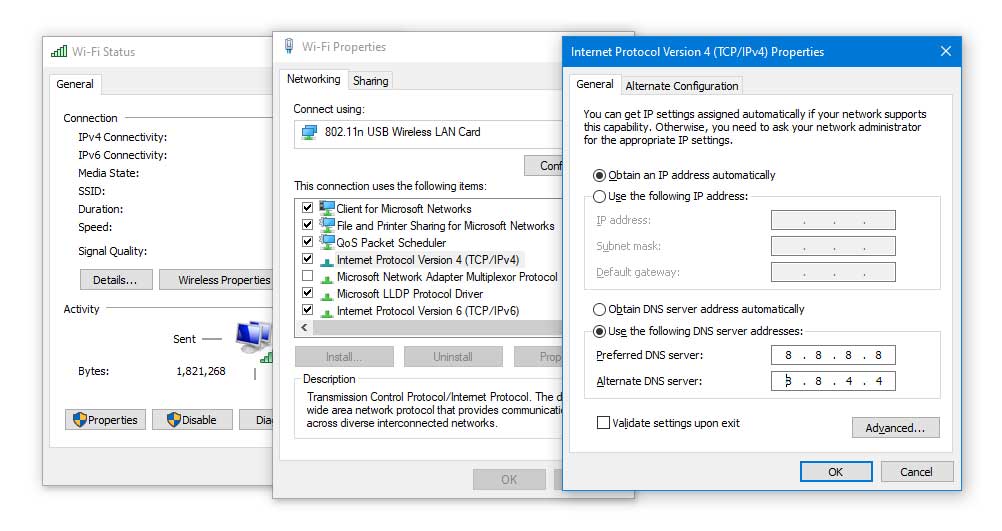
Step 7: Down below, select the “Use the following DNS server addresses” option and enter the following details:
Preferred DNS server: 8.8.8.8
Alternate DNS server: 8.8.4.4
Step 8: Checkmark the Validate settings upon exit option and click OK.
6. Uncheck Proxy Server
Step 1: Open the Run dialogue box by pressing the Windows Key + R simultaneously.
Step 2: Type in “inetcpl.cpl” to open the Internet Properties section on your computer.
Step 3: In the header menu, go to the Connections Tab and open LAN Settings.
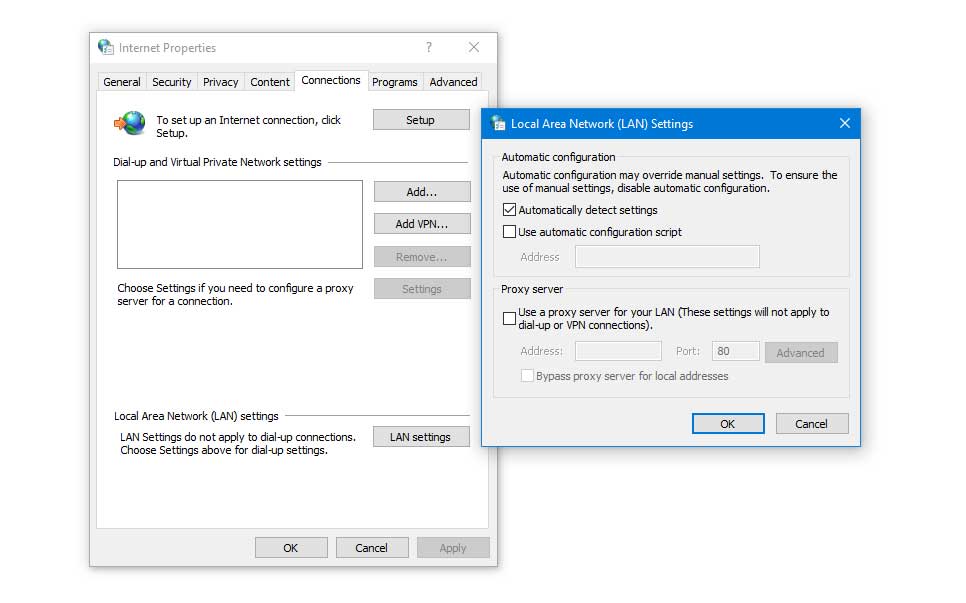
Step 4: Deselect the Use a Proxy Server for your LAN option and enable the Automatically detect settings option.
Step 5: Lastly, click on OK and reboot your PC to apply the changes.
7. Delete WLAN Profiles
Sometimes unnecessary WLAN profiles information stored on your computer can interfere with your computer settings and can cause the err_network-changed windows 10 problem to occur with the Chrome browser. However, you can remove these profiles using a few simple commands.
Step 1: Open the Command Prompt as an administrator.
Step 2: Type netsh wlan show profiles command in the command prompt and execute it by pressing the Enter key.
Step 3: It will show all the profiles that are present on your System. Delete all the WLAN profiles by using the following command:
netsh wlan delete profile name="[profile_name]"
Step 4: Reboot your PC and reconnect to the Wi-Fi connection.
Conclusion
We understand that most people’s work entirely relies on web services, and it can be very irritating to face the “error network changed” problem with your Chrome browser. That’s why we have covered methods to resolve the issue of “how to fix err_network_changed” section of this article.
The reason behind the error can vary from person to person, so it is advisable to keep trying all the methods until the error gets properly fixed. In case you have any confusion regarding any of the methods, feel free to discuss in the comments section. Apart from that, also don’t forget to share which method worked best for you to fix the err_network_changed Windows 10/11 problem, your feedback will be helpful for other users as well.