We all love to keep our houses neat and clean to look presentable to the people who visit us. Also, we tend to clean out the unwanted stuff from time to time to make way for new items. Such is the case with our computer. Unfortunately, we often overlook the storage factor and continue to pile on things on our system. And by the time we realize that we have exceeded our storage, it is probably too late.
Just like our houses, our computer systems also need a good clean up from time to time. However, Mac users generally tend to overlook the clean up factor. Since an Apple device comes with a “No Hang” policy, Mac users do not suffer from the same effects as Windows users. However, just like a Windows user, a MacBook pro user can also experience the same performance issues due to excess storage.
Irrespective of the operating system present, it is vital that you thoroughly clean your system from time to time. This is because the more occupied storage on your system, the more performance you are likely to endure. But this is where we come in. In this article, we will walk you through the different ways to clean up startup disks on MacBook Pro.
Why is Mac Startup Disk Full
As we mentioned earlier, the majority of the time, we tend to overlook the system storage and continue to pile on things on the storage. Similar is the case with a MacOS. A MacBook startup disk refers to the Hard drive (HDD) or the solid-state drive (SDD) present on your system.
The MacBook startup disk is an in-built storage device current on every Mac OS. This means every movie, song, video, and other downloads you have are stored directly onto the startup disk.
In addition, this startup disk also holds every application downloaded onto your system. This means every application you install, the photo you upload, and the movie or document you upload are stored directly on the startup disk.
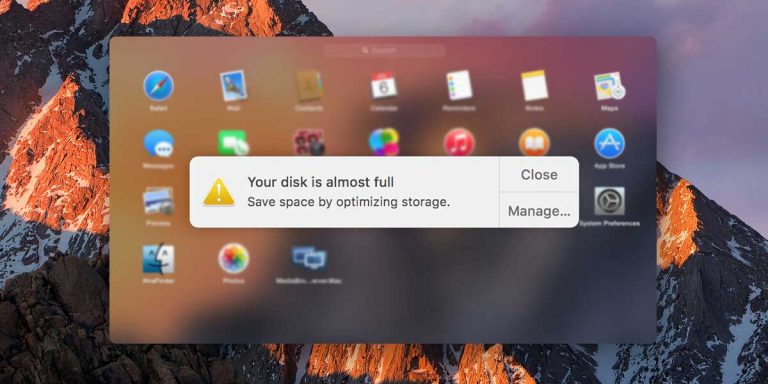
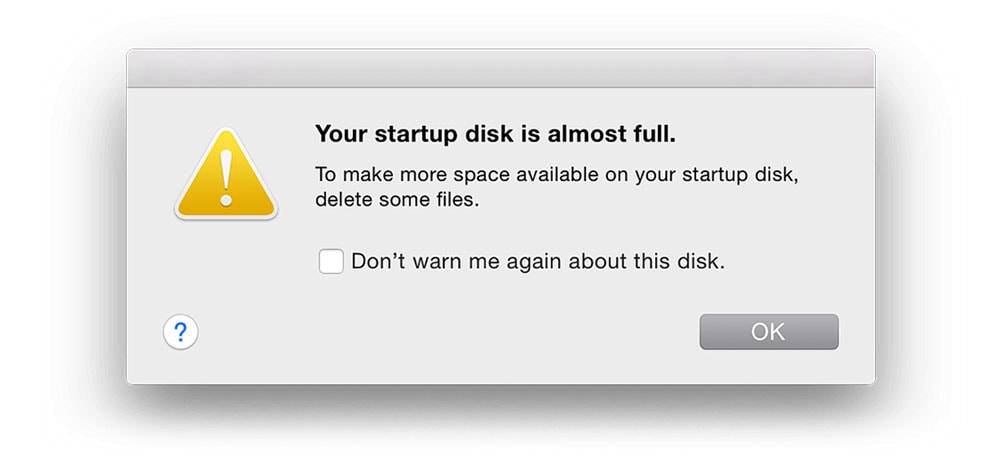
Since the modern Macs do not let you upgrade your storage, the startup disk gets full over time, courtesy of all the photos, applications, music, movies, and documents. So, if you, too, are facing a “Your Disk is Almost Full” pop-up on your screen, then it is time to clear out a lot of things from your MacBook Pro.
Also read: How to Fix Hard Drive is Almost Full on Your Mac
How to Clean up Startup Disk on MacBook Pro
Here are some of the ways to clean up the Startup Disk on MacBook Pro. Note that all these fixes are mentioned as per the severity of the issue. Therefore, you must apply these fixes serially.
1. Restart Your Mac
There is nothing a quick restart cannot fix. Though it is a temporary solution, restarting your MacBook Pro can cause the services to reboot and go back to normal. Once your system starts, you can check your storage levels.
Also, you will be able to identify the root cause of the problem or even the program or application that can be causing the problem.
2. Uninstall Unused Apps
At times, we tend to install a lot of applications on our system that we rarely use. However, these apps remain active on our system and tend to eat away our storage space. Therefore, it is always beneficial to get rid of unused apps on our system.
You can uninstall these apps using the settings present on your MacBook Pro. Alternatively, you can delete apps with an uninstaller program.
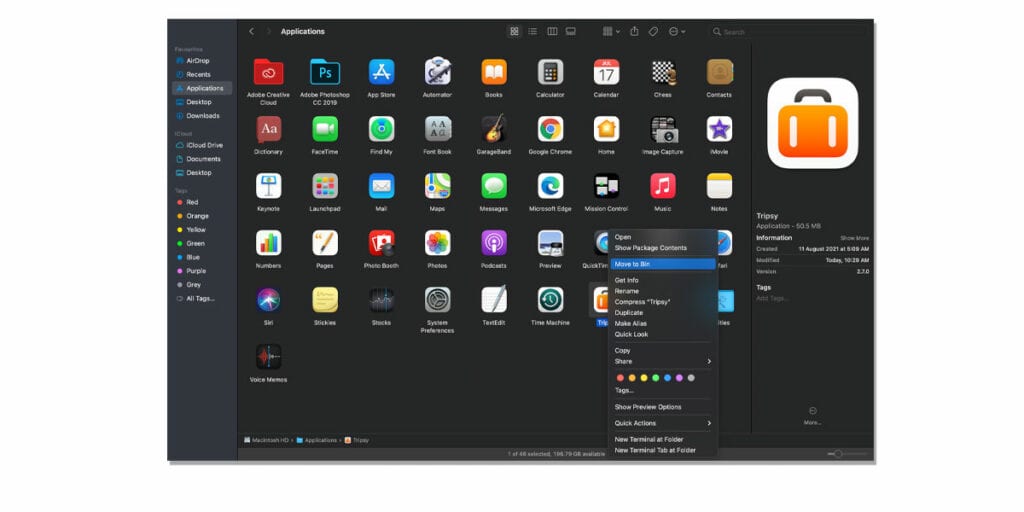
3. Empty Trash
When we delete something from the hard drive, it is not fully removed from the system storage. Instead, the deleted file(s) gets accumulated in the trash and must be cleared to clear space from the startup disk. The trash folder on your MacBook Pro gets filled with countless junk files over time. To empty your trash and downloads, follow the given steps.
- Open Finder
- Select The Downloads you no longer need
- Review your selection
- Drag the selected downloads and drop them directly into the Trash
- Next, open your Trash (Bin)
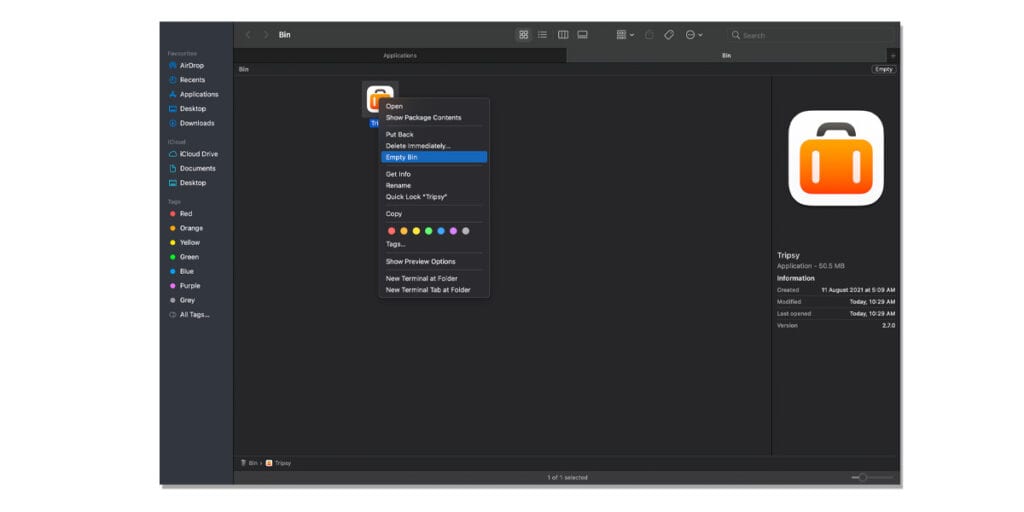
- Click Empty
4. Clear Cache
Sometimes, despite deleting a chunk of files from your system storage, you see that your startup disk continues to remain full. This generally means that there are a lot of hidden cache files on your system. Though small in size, these cache files tend to occupy a sizeable amount of space on your system. To clear the cache files on your system, follow the given steps
- Open Finder
- Select Go > Go To Folder from the menu
- Visit Any of the following paths to locate the cache files.
Note: Do NOT delete any caches with APPLE in the menu
/Library/Caches/
/System/Library/Caches
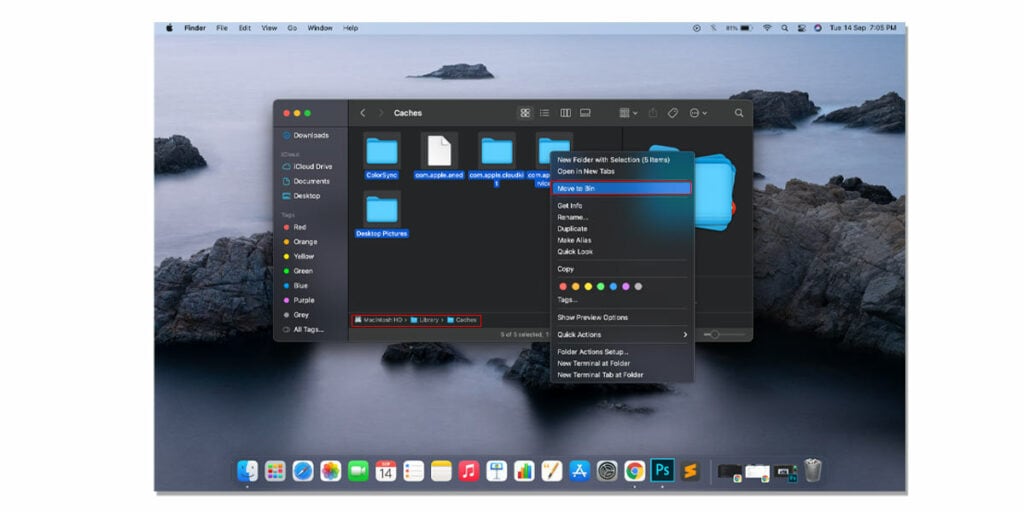
- Select all files
- Drag the selected files and drop them directly into the trash
5. Remove Logs
To remove logs from the system, follow the given steps.
- Open Finder
- Select Go > Go-to Folder from the menu
- Visit Any of the following paths to locate the system log files.
Note: Do NOT delete any log files with APPLE in the menu
/Library/Logs/
~/Library/Logs/
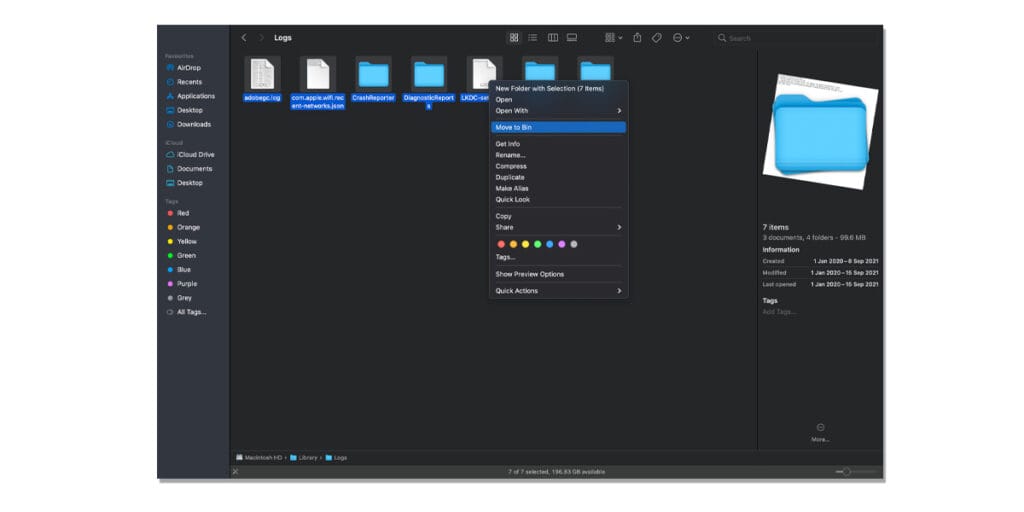
- Select all files
- Drag the selected files and drop them directly into the trash
6. Backup Time Machine Snapshots
The majority of the time, the only way to clean your system is to backup your system files. Just as we use the One Drive on Windows to back up our important data, Mac uses the Time Machine to backup. Upon backup, your MacBook Pro saves numerous Time Machine snapshots to your startup disk. To back up your Time Machine snapshots, follow the given steps.
- Go-To System Preferences
- Tap on Time Machine
- Select Back Up Now
7. Remove Duplicate Files
There is a chance that duplicate files are taking up space on your system. This generally happens due to a software bug that creates two copies of the same file when installing your application. But it is relatively easy to remove duplicate files from your system. You can remove duplicate music and videos using the following steps.
- Open Finder
- Find and open Smart Folders under file.
- Click on the “+” sign on the top right corner and enter the criteria.
- Sort the files by name and search for files with similar names.
- select the duplicate files and move them to the bin.
Or
- Open Apple Music
- Click On “File” and go to library
- Under library, you should find an option saying “show duplicate items”

It will show you a list of duplicate music and videos. Examine the duplicate files and remove them accordingly. Unfortunately, this will only show duplicate music and videos and not any other file type. For other file types, you have to look for duplicate files manually or download a third-party app.
8. Delete Old iOS Updates and Backups
To get rid of old local iOS updates and backups, follow the given steps.
- Click the Apple Icon
- On the top-left of the Menu Bar, click on About This Mac.
- Next, go to the Storage tab
- Tap on Manage
- On the sidebar, select iOS files
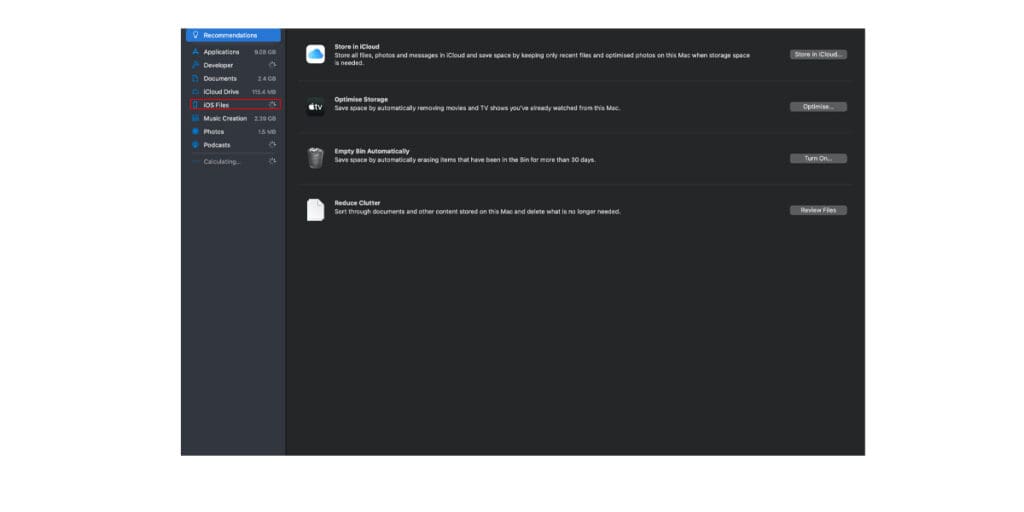
- You will now see all your updates and backups
- Select any backups you don’t want.
- Review your selection
- Click Delete to get rid of these files.
Conclusion
We hope our article was successfully able to walk you through cleaning the Startup Disk on MacBook Pro. Note that the fixes mentioned above are arranged as per the severity of the problem. Therefore, you must apply these fixes serially. Also, if you think we might have missed out on a potential fix, feel free to let us know in the comments section below.