Being an ardent Android fan, you cannot think beyond it. Of course, the OS is loved for all the right reasons. Admittedly, there are many fans of Android like you who know this popular OS can be installed in the PC too.
The best thing about Android, it is platform independent and open source; therefore, you can use it on your PC and laptops conveniently. Despite the eagerness to install Android, you are stuck for preferences.
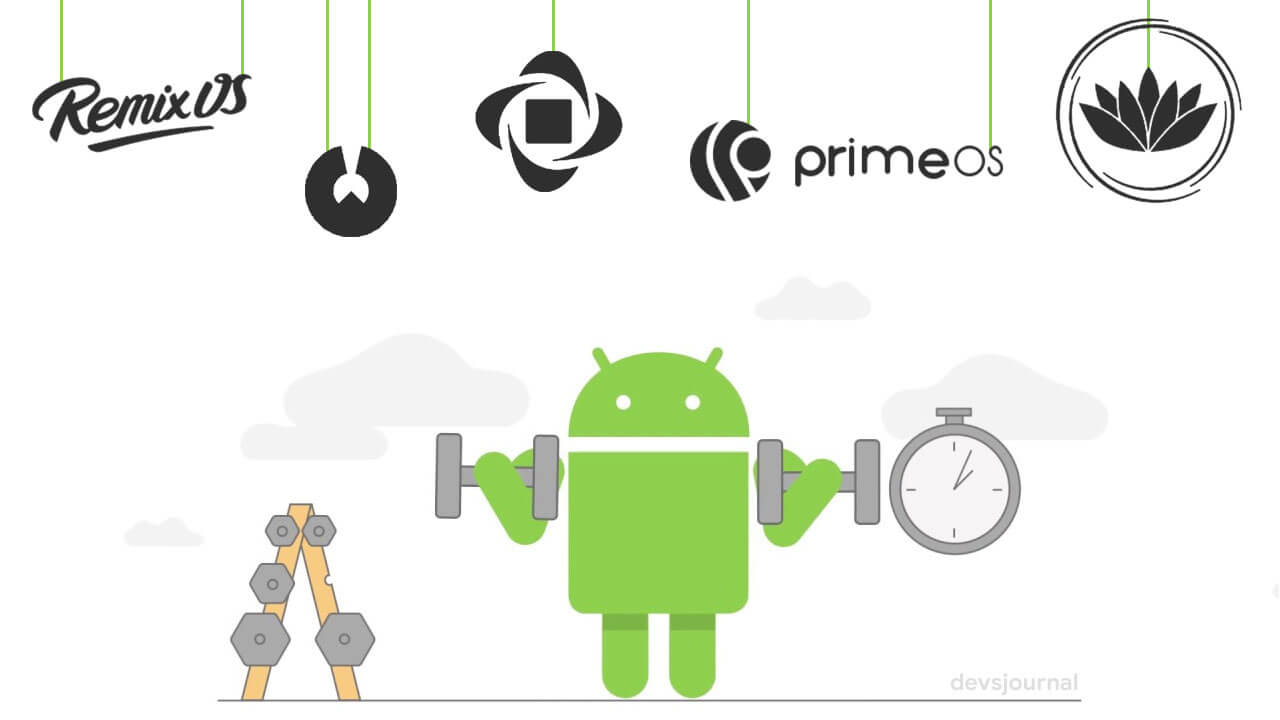
Given the choices, you are in a dilemma on which OS to go for. If you are reading this, your search for the best Android OS ends here. Here, you will get simple, yet intricate information on the top 5 best Android OS for PC and detailed steps on how to install them.
Can installing Android cause any problems to the PC?
Though the overall experience of using an Android OS on your PC should not cause any issues, there are a couple of things you should know.
Firstly, the experience of an Android OS will be somewhat different to that you have been used to, i.e., the Windows desktop experience. For using Android OS, you ought to run it with the help of emulators or virtual machines.
Secondly, you may not be able to incorporate some of the desktop-oriented technologies after installing Android OS. Though some of them include the features that mirror the Windows platform, you cannot expect the full-fledged desktop characteristics.
Best Android OS for Windows PC
1. Prime OS
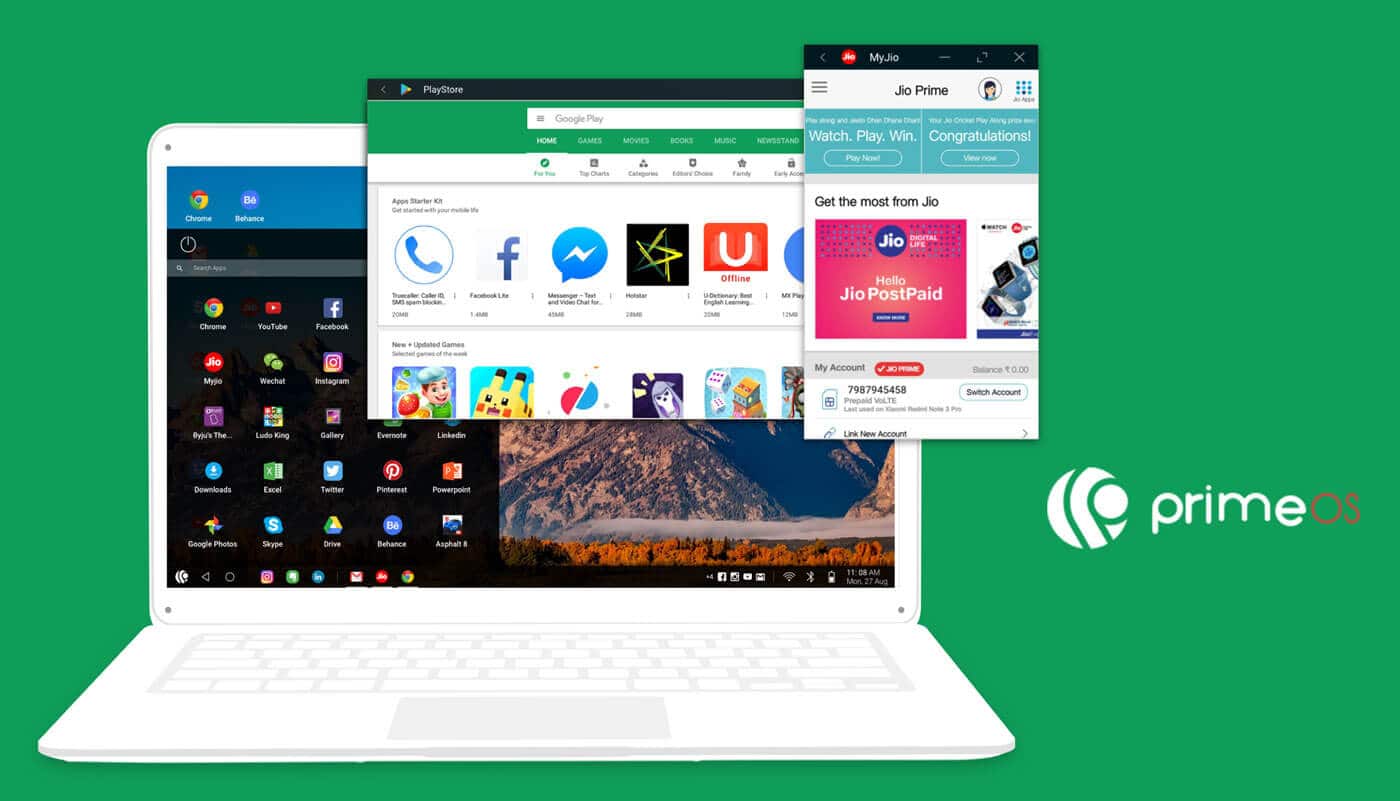
For those seeking a complete desktop experience, Prime OS is the ideal choice. The interface is quite similar to Windows and Mac and combines all the essential features of Android. Particularly, if you love playing games, you will adore this OS.
- You will feel, you are navigating in familiar territory as the OS includes the necessary options like taskbar and menu.
- There is multiple window support, and you can handle each window in the same way you deal with those in the Windows OS.
- At any point of time, you can disable the multi-window feature for a specific app.
- It is also possible to work with keyboard shortcuts, identical to the Windows shortcut keys.
- The taskbar will let you see notifications, pin specific apps, and has a plethora of system icons.
- One of the best features of Prime OS is it can pre-map some of the leading game titles like PUBG. Additionally, it has GPU tools which can easily fake GPU info for certain games.
Although gaming enthusiasts will love this OS, they should also be prepared to encounter a few bugs.
- Sometimes, Bluetooth causes issues in working on a few devices.
- Infrequently, one may also encounter problems related to hardware like the sound, wi-fi, and trackpad.
- However, the developers are working on fixing those bugs. Hopefully, when you upgrade the OS, the patch for overcoming these issues will be out.
This is the manual method for the installation of PrimeOS on a computer, where we will be making use of the flash drive to get the work done.
Arrange a USB drive, preferably having more than 8GB space. If you are doing this for the first time, you can take a backup of the relevant data present in your computer on an external hard disk or any other storage device, to remain on the safe side.
There are three available versions of this Android OS, so if you are unsure about the best-suited one for your system, check this post for better understanding.
- For this method, you first need to Rufus and PrimeOS iso file.
- Next, plug in the USB drive into your computer and launch the Etcher/ Rufus app.
- Locate the “Select Image” option and choose PrimeOS iso file and tap on Start for creating a bootable USB. It will format all the data on your USB drive. Once the USB is finished flashing, you are ready to install the OS on your computer.
- Now you have to partition your HDD/SSD/SDcard for installing PrimeOS on it. Make sure the size of the partition should not be less than 16 GB. If you don’t know how to create a partition on Windows, you can refer to this comprehensive guide.
- Disable the Secure Boot option by restarting your computer with the bootable USB drive inserted and while it reboots, tap the BIOS enter key that should be either Esc, F12 or other; depends on the hardware type.
- Now for booting, select the PrimeOS USB from the available options.
- Next, from GRUB menu choose the option that says “Install PrimeOS “
- After the installer loads, you will be presented with the option of selecting the partition that you created after selecting the preferred drive press Ext4 to format the drives.
- You will get a prompt asking to install the system as R/W (Read/Write), select Yes. Similarly, the next prompt will seek your permission to install GRUB, give your consent to do so.
- It will write the PrimeOS to the hard disk.
That is it; your installation is complete. The installer will confirm from you if you want to run the Prime OS on the next reboot. The Android OS will boot up when you restart your PC. Do remember to take out the USB drive.
2. Remix OS
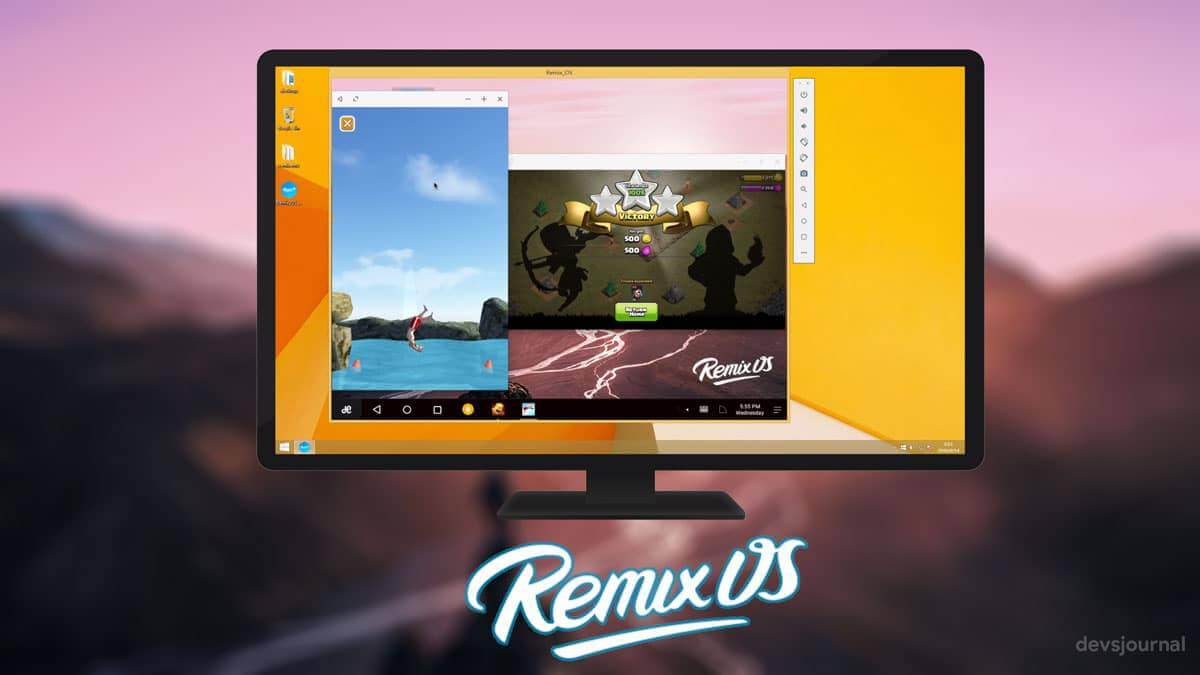
The Remix OS can be an excellent option for the starters, but here is the bad news. The development of the Remix OS has been discontinued. As you can understand, you cannot update the operating system and nor can you install any patches.
The Remix OS is built on the Android Marshmallow platform and includes several features for your convenience. The developers have tweaked the Android source code and come up with Remix operating system for working in the non-touch setups.
- The desktop PCs were the main focus while developing this OS. You get the traditional arrow pointer which you are so used to see while using Windows PC.
- The OS includes an app drawer which will again remind you of the Start menu of Windows. Additionally, it has an integrated search menu for conveniently locating the apps you want to use.
- The developers have also integrated a RAM management software in this OS. Tasks, like cleaning the cache and checking the RAM usage, is possible when you select a dedicated button at the taskbar designated for this purpose.
- The full-blown file manager is drastically similar to the one we are used to seeing in Windows, and it offers a host of functionalities.
- Drag and drop whichever apps you want on the taskbar by right-clicking on the app drawer and pin them there.
- Remix OS has a notification drawer which can be found at the bottom-right of the taskbar. You will receive all the important notifications here.
Being an older OS, the installation procedure can get buggy. You might frequently encounter abrupt halts when it is being installed.
The OS can be installed from a USB drive, or you can even run it externally with the help of Live CD mode. Again, you can conveniently use it with another operating system. During startup, you decide which operating system you prefer to work with.
The most significant relief is you need not perform a backup of the data as this OS loads from the USB drive itself.
- Download the Remix OS package that includes the OS ISO file and the Remix OS USB tool and then extract it. You have two choices of downloading; the legacy version is designated for older PCs and the EFI (Extensible Firmware Version) for the newer PCs.
- Format the USB flash drive, if needed as you need to use it in the FAT32 form. The USB tool flashes the OS to the USB drive for creating the USB bootloader.
- Run the USB tool, and select the ISO file which you had extracted. Initiate the installation process now, by clicking Ok.
- The USB tool will commence copying the files and install Remix on the flash drive. The device will seek your permission for rebooting, do it, and you are done.
Yes, we did mention about booting the OS from a flash drive. For this go to BIOS settings on your PC. Then go to boot options and after disabling the secure boot option, set the flash drive as the primary boot device. You can directly boot the Remix OS now. (You can refer guide on changing boot order in Windows)
After restarting the PC, press the proper key combinations for launching the Boot menu. You will get a list of devices for choosing the boot process, select the USB drive, which has the OS installed.
A blue screen will appear, and you have the option to use the Remix OS as Guest mode and Resident mode. Select the one you prefer using.
3. OpenThos OS
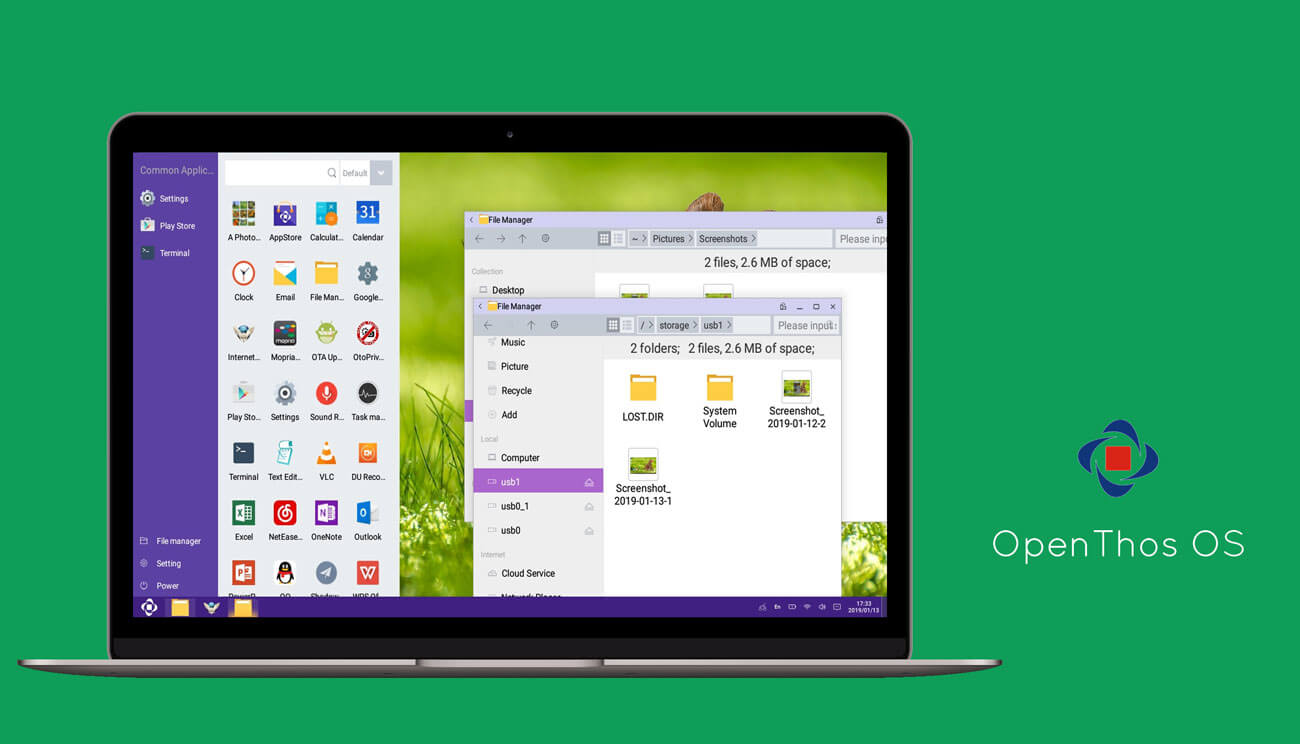
Experience the full-fledged Android X86 on your PC with OpenThos OS. OpenThos belongs to the genre of the Android X86 family.
It has the interface quite similar to that of Windows 10 viz., My Computer, Taskbar and much more on the notification panel. Being an open source project, you can also contribute towards bettering this OS. The source code of the OS can be accessed from GitHub, which is the world’s leading software development platform.
- The OpenThos OS is the most stable OS in comparison to all the Android OS.
- It is one of the most secure and easy-to-use Android OS.
- It includes pre-installed applications such as MS Office, WPS Office, Notepad, VLC player, and more.
- Based on your preferences, you can customize the looks to that of Windows and Linux.
- The 60FPS frame rate is undoubtedly a bonus.
- It offers multiple support for both Android and Linux based apps.
- You can easily sync it with several smartphones and can log in using one Google account.
- It comes pre-included with UEFI boot manager and can optimize apps easily.
- Not necessarily a weakness, but you need a higher-end PC to install this OS. So, glitches can be familiar if you try installing it on the older PCs.
- The image file of the current OS is in Disc image file format and not in the usual ISO format. So, this can be a problem for those who have become accustomed to using the ISO files only for installation.
Installation of OpenThos OS requires 64-bit support for flawless operations over the Android OS. Also, the recommended RAM is 4GB. You should free up more hard disk space if you plan to use the OS for a more extended period in the region of 100GB at least.
The latest version of OpenThos OS (2.0) can only be downloaded in the Disc Image File format, and not the usual ISO. But predecessor is still available for download in the ISO format. So, download whichever one, you want to install.
- After successfully downloading, you have to put the OS on a USB drive. For this, bring on a USB drive having at least 8GB memory and insert it to the PC. Use the Etcher tool for flashing the image file to the USB drive.
- After initiating Etcher, you should get a screen. You will notice, there is a “Select Image” option. Choose the downloaded OpenThos and then select the USB drive you intend to make bootable. When you are ready, you should click on the “Flash” button. On completion of the flashing, take out the USB drive.
- With the USB drive now ready to booth the OS, you are prepared to launch the OpenThos OS. But, before that, you must set the first boot priority to a “Removable drive” from the BIOS.
- Press the F11 button to toggle between various booting options. These are the OpenThos live boot, live (DEBUG), and OpenThos installation.
The Live option is feasible if you do not prefer installing it on the hard drive. You can also install the OS in one of the other partitions on your hard disk, and commence with the OpenThos installation. Follow the on-screen guide for installation, reboot the PC, and the OS should now appear.
4. Phoenix OS
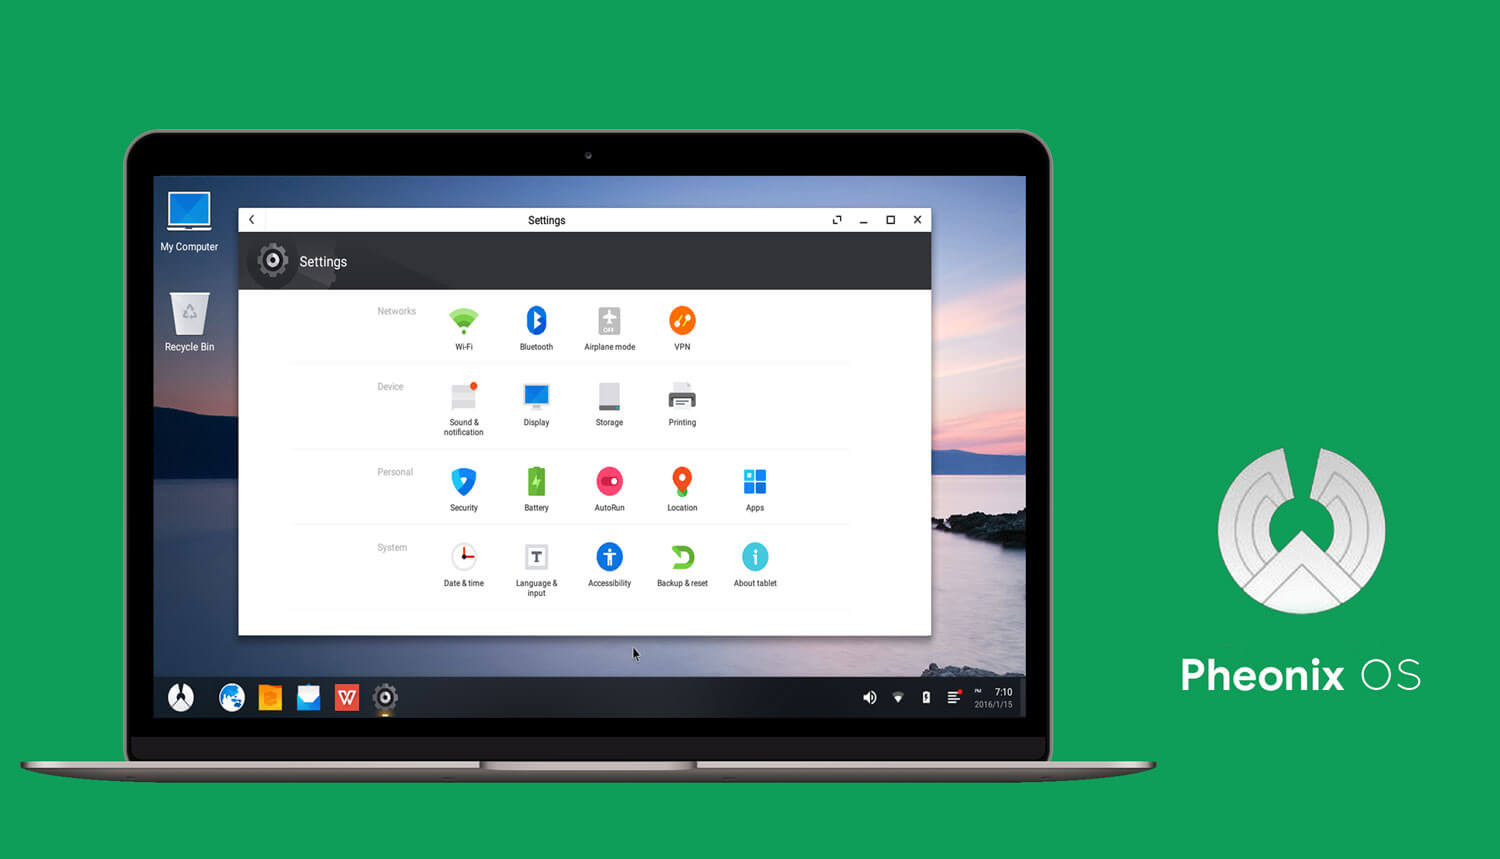
Interestingly, this OS was shortly released after the Remix OS. The OS is built on the Android Nougat 7.1 and works effectively on 64-bit systems and also on 32-bit systems as well. Overall, the interface and features are very similar to Remix OS. Phoenix is also a part of the Android X 86 projects and continuously evolving.
The new installer makes it convenient for direct installation to the hard disks and USB flash drives. Unlike the discontinued Remix OS, Phoenix is still operational. So, updates are readily available. According to the tech-gurus, this is the best Android OS launched to date.
- The OpenThos OS is the most stable OS in comparison to all the Android OS.
- It is one of the most secure and easy-to-use Android OS.
- It includes pre-installed applications such as MS Office, WPS Office, Notepad, VLC player, and more.
- Based on your preferences, you can customize the looks to that of Windows and Linux.
- The 60FPS frame rate is undoubtedly a bonus.
- It offers multiple support for both Android and Linux based apps.
- You can easily sync it with several smartphones and can log in using one Google account.
- It comes pre-included with UEFI boot manager and can optimize apps easily.
- The lack of Ethernet support is undoubtedly a significant drawback. At least, this was unexpected from an OS that has such high ratings.
- It does not offer support for second screen output and does not perform satisfactorily when 3D is played on it.
- Phoenix is not the best OS for the gaming aficionados.
- Sometimes, the apps tend to run in the background, but the icon is not visible in the taskbar.
You have the option of downloading the Phoenix OS as a .exe installer and ISO image from the official website. The size of the installation package is around 460MB.
- After downloading, double click on the setup file. Here also, you have a couple of options of setting it up, booting it from the USB or direct installation to the hard disk. For installing it in the hard disk, click “install to hard disk” by selecting a target location.
- The drive should have more than 4GB of free space. Also remember, the setup of Phoenix OS requires the administrator’s rights. So, always select “run as administrator” while downloading the package. Follow the setup wizard, and the installation will finish soon.
- For using the Phoenix externally, i.e., loading it via the USB drive, you should follow these steps.
- The downloaded OS file will be in zip format. Get a reliable USB tool for burning the OS on your USB drive. The flash drive should have at least 4GB of memory and a writing speed of 20MBPS.
- Insert the USB drive to your PC. Navigate to the removable drive and click Format, check whether the format is FAT32. Initiate the USB tool. The menu options will let you choose the Phoenix OS you just downloaded.
- Select the External USB drive when you are prompted to choose the drive to install option. The Phoenix OS will start flashing on the USB flash drive. On completion, you are all set to boot the new OS on your PC.
- After rebooting your PC press the Shift button to open the Boot from Device Recovery Menu. Here, you can select “Choose the other operating system” to boot Phoenix from the USB drive. The Phoenix logo will appear, signaling the successful installation of the OS.
5. Bliss OS
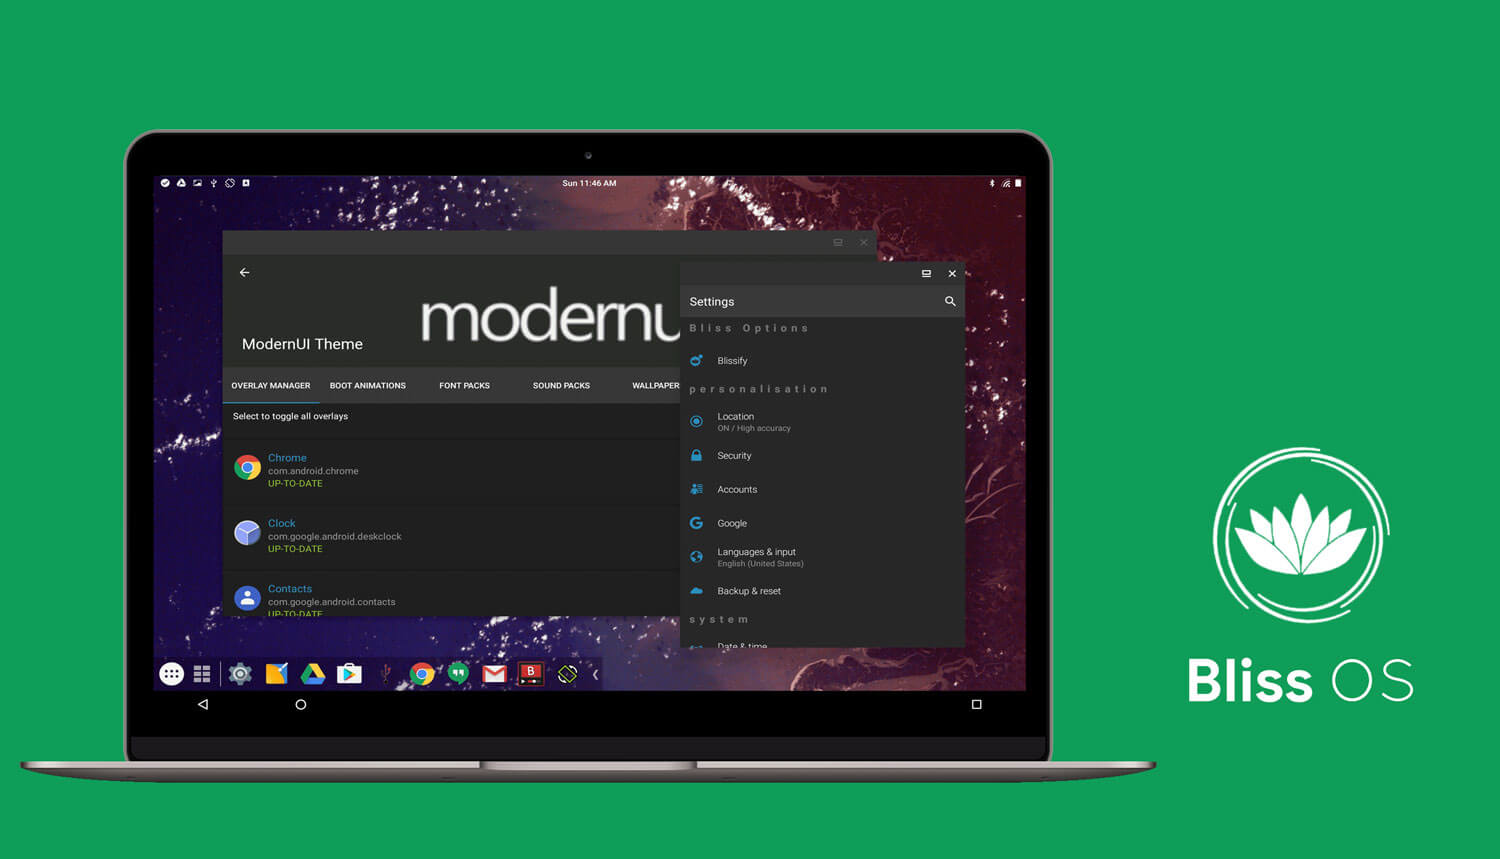
The Bliss OS is a relatively newer variant. It uses Android 9.0 codebases and works effortlessly on both the PC and mobile systems.
The Bliss OS is a bit different from other operating systems we discussed earlier. It is distributed as ROMs, and as an emulated OS for PCs. The ROMs are designated to flash Android devices and are also available in ISO images making it convenient to install on PCs.
For the unaware, the ISO-version is available as a Live Disk Image, so you have the option of trying the OS without even having to install it.
- True to its name, Bliss OS can be referred to as an ambitious project, it introduces us to a quality OS in the open source arena.
- Apart from PCs, it can run on a plethora of devices like tablets and smartphones.
- You will appreciate the way it groups the apps appearing in the main menu.
- Bliss OS offers out of the box theme support, without the requirement of rooting the existing system.
- Regardless of your system being new or old, it will always perform decently. Precisely, the OS overcomes the shortcomings of the other Android-based OS, and it is a delight working in this platform.
The developers have done almost everything right, but it is still lagging if you compare its performance in the phones and tablets.
- Sometimes, when you intend to run the apps in full-screen, the orientation changes abruptly.
- Then some apps will just not run. Bliss for reasons unknown seems to favor the old version of GRUB. If you are a Linux user, while dual-booting it may not detect the OS at all, and you are left to manage things manually, which can be a headache.
- You cannot take screenshots, and there is no option for playing videos.
- Some PCs can also experience glitches in sound.
The prerequisites for installing Bliss OS are rather simple. An X86 processor, 1GB of storage space, and 2GB of RAM.
There are a couple of installation methods. The first being, downloading the ISO image file from the official website.
- Ensure, you have 7-zip in your PC. Then right-click on the ISO file you downloaded and select the 7-Zip. Open the “Open Archive” option.
- Next, extract the Androidx86-Installv26.0003.exe from the ISO file to any of your Windows folders. Double-clicking it will launch the installer.
- Now, select the ISO file and set the target drive where you want to install the OS and click on the install button.
- The installation will be over within a few seconds and reboot the PC automatically. Your installation is now complete, and you can select Bliss OS from the boot menu.
The second method is a bit tricky, as it has the potential to erase all the data present in the PC. So, if you opt for this, performing a backup is a must.
- As usual, download the ISO image from the official website.
- Then burn the ISO file to a DVD or create a bootable USB flash drive with the help of the Etcher/ Rufus tool.
- You can boot with the DVD/USB drive after setting it as the primary boot device.
- Navigate to the “Advanced options” from the menu and then select the Auto Installation.
- At this juncture, you will be prompted to erase all the existing data on your hard drive. You have to confirm the same, and once the data is deleted, select the Run Bliss OS from the on-screen options.
- Within some time, the Bliss OS logo should appear, and you get the choice of selecting the launcher app. Go for the Taskbar launcher for a Windows-alike experience.
Lastly, before proceeding to install Bliss OS, do understand, this is not an OS for the PCs having old configurations.
Verdict
That brings us to the end of the Best Android OS for your PC. You can select anyone from this list. So, go and experiment with each of these and experience the flexibility of Android using your keyboard and mouse. Do let us know which OS appealed to you, and share your working experience with us.
![Fix: Mobile Data Not Working On Android 13 [6 Working Fixes]](https://devsjournal.com/wp-content/uploads/2023/07/mobile-data-not-working-on-android-13-768x384.jpg)
![Fix: Android 12 Apps Crashing after Update [8 Fixes]](https://devsjournal.com/wp-content/uploads/2022/02/Android-12-Apps-Crashing-768x384.jpg)

thanks for the share
thanks for the share
thanks for the share
thanks for the share