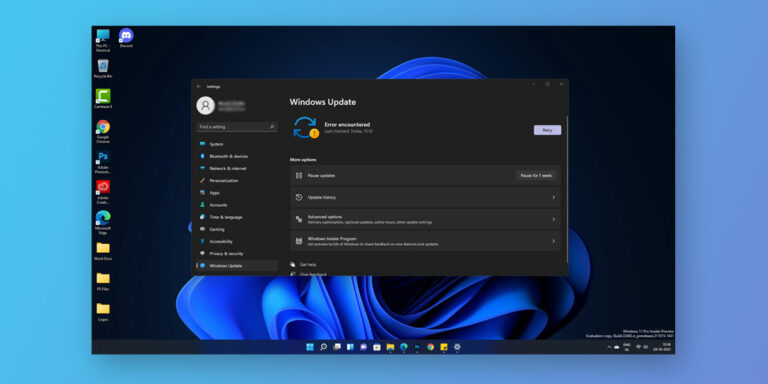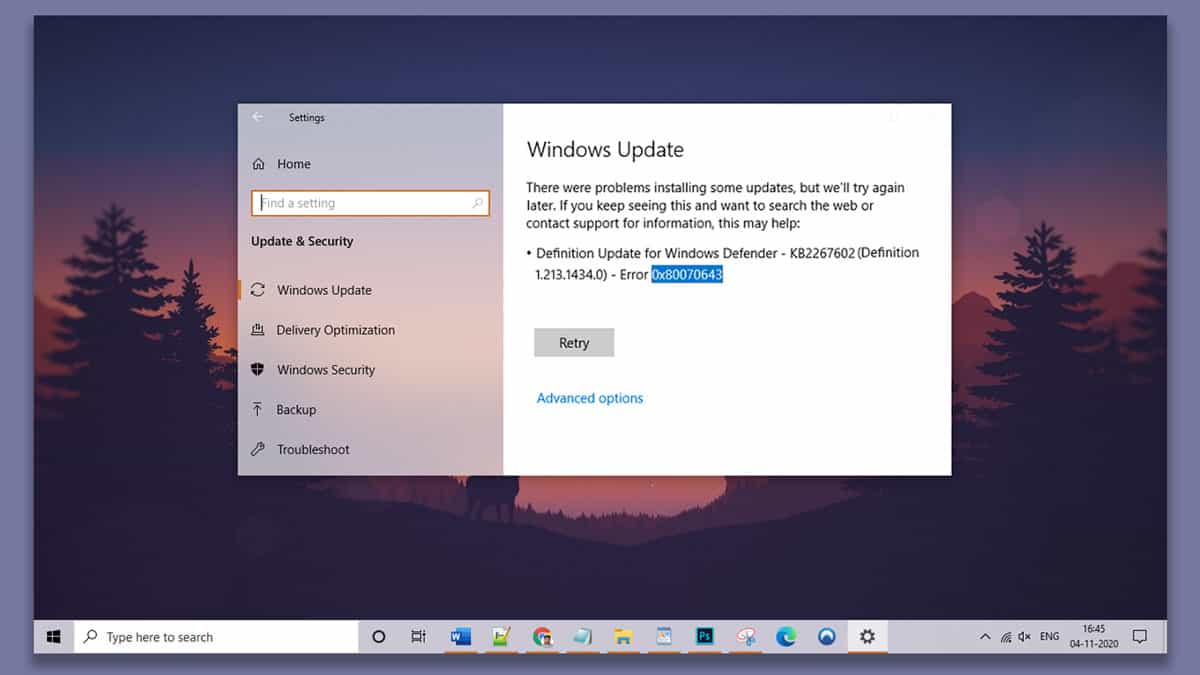
When you finally gave in to your computers’ constant notifications and decided to install that long-overdue system update, and rightly so since these updates are a huge boost to the computer’s performance and also save us from the risk of system crashes and other vulnerabilities. But, to your dismay, you came across an error 0x80070643 flashing on your screen. Don’t worry; we’ve all been there. This nasty little ‘bug’ger has been known to pop up on windows whenever a user downloads and installs an update, or sometimes even during some specific application installations.
Such errors have higher chances of creeping up in case the installation procedures were not executed properly, corrupt database files, missing system files, or your .NET framework is in need of a repair. Whatever might be the case, good news for you because we have curated this article so that you can understand more about the error, and resolve it effectively as soon as possible. Before we dive into the techniques of the resolution, let us first understand what error code 0x80070643 is?
What is Windows update Error 0x80070643
| Problem Event Name | 0x80070643 |
| Error Message | Failed to install on [date] – 0x80070643 |
| Error Cause | Corrupt registry or .NET files |
| Common Solution | Updating manually |
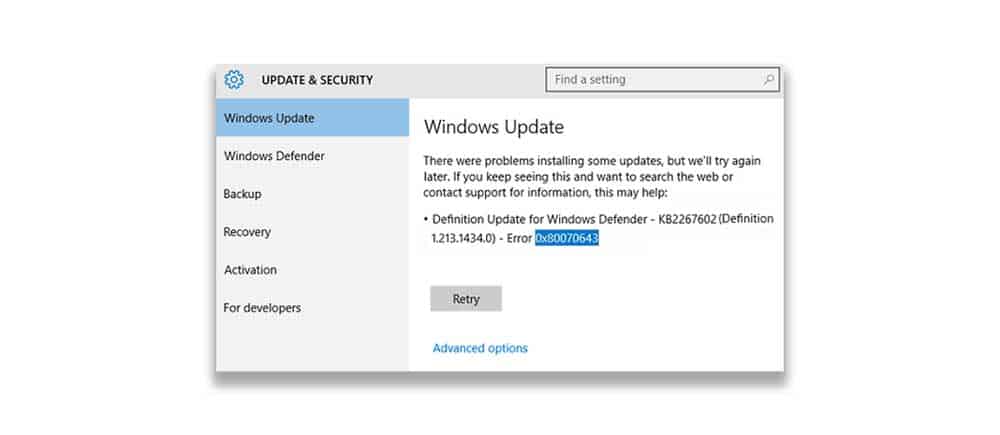
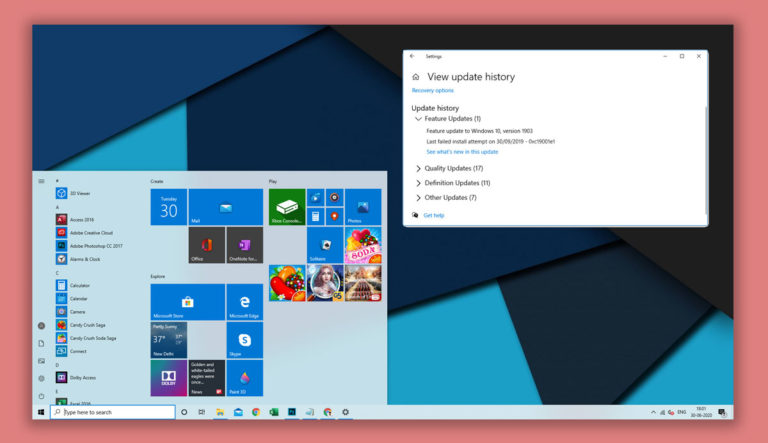
The windows update error 0x80070643 usually shows up in the Update History after a failed attempt of installing an update. There are some instances where the system shows that the update was successfully installed, but in reality, it failed to do so and shows this error upon further investigation. It can be due to a variety of reasons right from corrupt data files to malware infections. Due to this, there can’t be one-fix-for-all in this situation, so let us first explore what are the probable causes of this error.
Causes of error 0x80070643
It is very difficult to pinpoint one particular issue in such cases. For example, suppose your computer has recently recovered from a virus or malware infection. In that case, there may have been some lingering effects, and some of the system files were left corrupted eventually. Or, the .NET framework, which enables operating software by providing a runtime programming framework, is struggling with some corrupted files. Also, any errors in the system registry could be causing this issue for you. By now, you must have gained enough understanding of what this error wanted to inform you. So, now that we have covered that let’s go ahead and take a look at some of the methods you can employ to get rid of this issue swiftly.
How to fix error 0x80070643
Since the issue has become more pressing recently, we decided to go ahead and compile a step-by-step guide of a few of the most effective methods that we recommend for you to try. On a quick side note, since these techniques involve making a lot of system changes on your machine, make sure you follow the steps carefully. Let’s begin.
1. Run SFC command
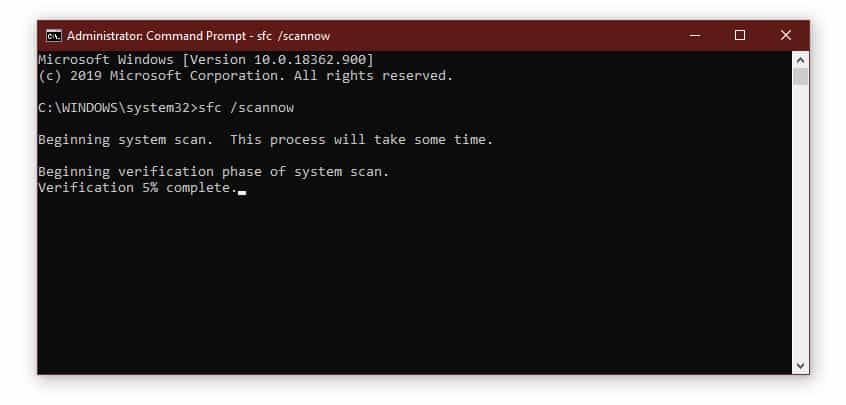
Since the error code 0x80070643 on our screen might be indicating some corrupt files, the first thing that should be done is to run a full system file check scan. Also, most of the .NET frameworks come integrated with Windows by default, which means a utility tool which checks for corrupt system files should be able to find out if there’s any issue with our framework. Follow the steps given below to perform an SFC scan.
- Right-click on the Start icon (Shortcut: Windows + X) and select Command Prompt (Admin) from the pop-up menu. (Also known as Windows PowerShell)
- Now, input sfc/scannow and press Enter.
- Wait patiently for the process to finish. (Usually takes around 30 mins)
- If it finds any corrupt files, it will repair them and return you a message saying Windows Resource Protection repaired system files upon completion.
- Once done, reboot your computer and test the issue.
2. Run the .Net Framework repair tool
Even if the previous step didn’t find any corrupt files on your .NET Framework, we can’t rule this possibility out yet. Sometimes even the most recent versions of the Framework exhibit unusual behavior, and Microsoft has an official repair tool dedicated just for such occasions.
- Simply go to the website and download the .NET Framework repair tool.
- Install it and execute, it should automatically identify and fix the issues with your .NET framework, if any.
3. Reset Windows Update components
Another method is to completely reset and configure the update client settings to default. This step also cleans up the files related to the Windows Update. But, since this method involves a script running through your system files, we want you to make sure you follow the instructions carefully. For protection, we suggest you back up the registry before making any changes.
How to back up the registry you ask? Follow this link.
- Now, the reset Windows Update Client Settings Script can be easily found on the Microsoft website under the repositories.
- The website also provides instructions to update these components manually, but we recommend you to give the script a shot as manually entering these long lines of code exposes you to a risk of mistakes and crashes thereby.
Once you have completed this step, reboot your PC and check if the issue persists.
4. Rename the SoftwareDistribution folder & Reset catroot2 folder
If the MSI software update registry is facing any issues, the install error 0x80070643 comes knocking on your door. Nothing to fret about though, there’s a simple way of fixing this. All you need to do is rename the SoftwareDistribution folder in your windows system files. Here’s how you do it:
Open Command Prompt from the search bar, and execute the following commands:
net stop wuauserv
net stop bits
rename c:\windows\SoftwareDistribution SoftwareDistribution.bak
net start wuauserv
net start bits
Once this is done, you need to reset the catroot2 folder as well. Catroot and Catroot2 folders hold some of the essential files and folders required during the update installation. Deleting the contents of these two folders has been known to fix Windows update errors and many other problems. Follow the instructions given below carefully to reset these folders:
Open Command Prompt from the search bar, and execute the following commands:
net stop cryptsvc
md %systemroot%\system32\catroot2.old
xcopy %systemroot%\system32\catroot2 %systemroot%\system32\catroot2.old /s
Now, select all the files and folders inside the catroot2 folder and delete them.
Once done, go to the command prompt and enter this command.
net start cryptsvc
This should successfully reset the catroot2 folder for you. Now restart your computer and test the issue. You should be able to update the system without any trouble.
5. Update Windows Defender Antivirus Manually
The install error – 0x80070643 might also come up if the system failed in updating the Windows Defender. You can try fixing the issue by manually installing updates for the Windows Defender Antivirus on your computer. Let’s see how it’s done:
- Follow this Microsoft Defender Updates link.
- Here, scroll down to the Manually download an update section and select the version best suited for you depending on the type of operating system.
- The links will take you to exe files, download and launch them to manually install the latest updated version for the Windows Defender.
- Upon completion, restart the PC and launch the Windows Update to check if the error is resolved or not.
6. Install Update Manually
If none of the methods discussed above worked for you, let us try to install those system updates manually. Not exactly a fix for the issue but a good workaround if it manages to install the update successfully. Follow the following instructions and manually update the operating system.
- Before we begin, you should be aware whether your operating system is a 32-bit type or a 64-bit type. If not, right-click on This PC, select Properties and check the system type under the System section.
- Now, open up Windows Update and copy the codes (these will be of format ‘KBxxxxxx’) of the updates your system failed to install automatically.
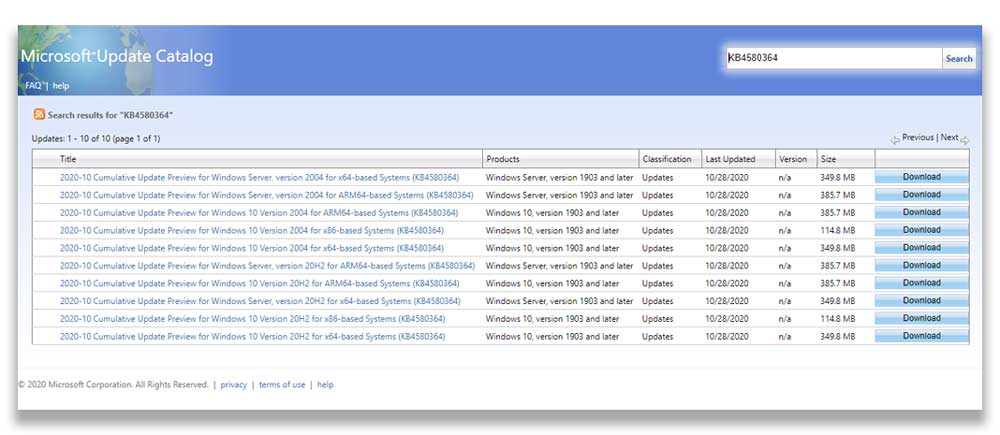
- Navigate to Microsoft Update Catalog, paste the codes in the search bar and hit Search.
- Find the update file depending on the system type of your OS and hit Download.
- Once the download is complete, launch the executables and install the updates.
7. Perform a Clean Boot
If some background application which has privileges of opening up along with the default startup programs, and it’s causing you this trouble. Restarting the computer in a clean boot environment could help you resolve this issue as in this state, the device boots up with minimal sets of drivers and applications. This is similar to Safe Mode but takes it one step further by providing you with the control over which applications and services to run at startup. To do this, follow the steps down below:
- From your Administrator account, in the search box on the taskbar, type msconfig and select System Configuration.
- On the Services tab, select Hide all Microsoft services and then click on Disable all.
- Move on to the Startup tab, and click on Open Task Manager.
- Here, under the Startup column, disable each item in the list.
- Close the task manager window, and hit OK in the Startup tab of the System Configuration window.
Now, your computer will startup in a clean boot environment when you restart. Simply launch the update process now and once it’s finished, follow the steps below to restart your PC in normal mode:
- Open up the System Configuration window again, and in the General tab, select Normal Startup.
- Move over to the Services tab, clear the checkbox next to Hide all Microsoft services, and then hit Enable all.
- Now, on to the Startup tab, open up the Task Manager and enable all of your startup programs in the Startup column, and hit OK.
- Restart your computer.
Conclusion
We hope at least one of the methods included in this article worked it’s charm and got rid of the dreadful windows update error 0x80070643. If you found any other helpful methods to resolve this, or if you have some other doubts that you would like to discuss, feel free to drop a comment down below. We would be happy to discuss. Good luck!