You might have bricked your Google Nexus 6P while flashing Custom ROMs, Kernels or any other custom softwares. But you must know what kind of bricking it is. You don’t have an unlock bootloader, You have to wait for a replacement (Sometimes flashing System updates bricks your device). Lets find out the type of Bricked Google Nexus 6P you have.
Types of Smartphone software failure
Hard brick
A hardware error could easily result into a hard bricking situation – this is when your Google Nexus 6P has literally become ‘a brick’ and there’s usually no chance to unbrick it by yourself. So, going back to service is the only option left, but don’t forget something: you see, when performing unofficial operations, the warranty gets void, so technical service might be quite expensive.
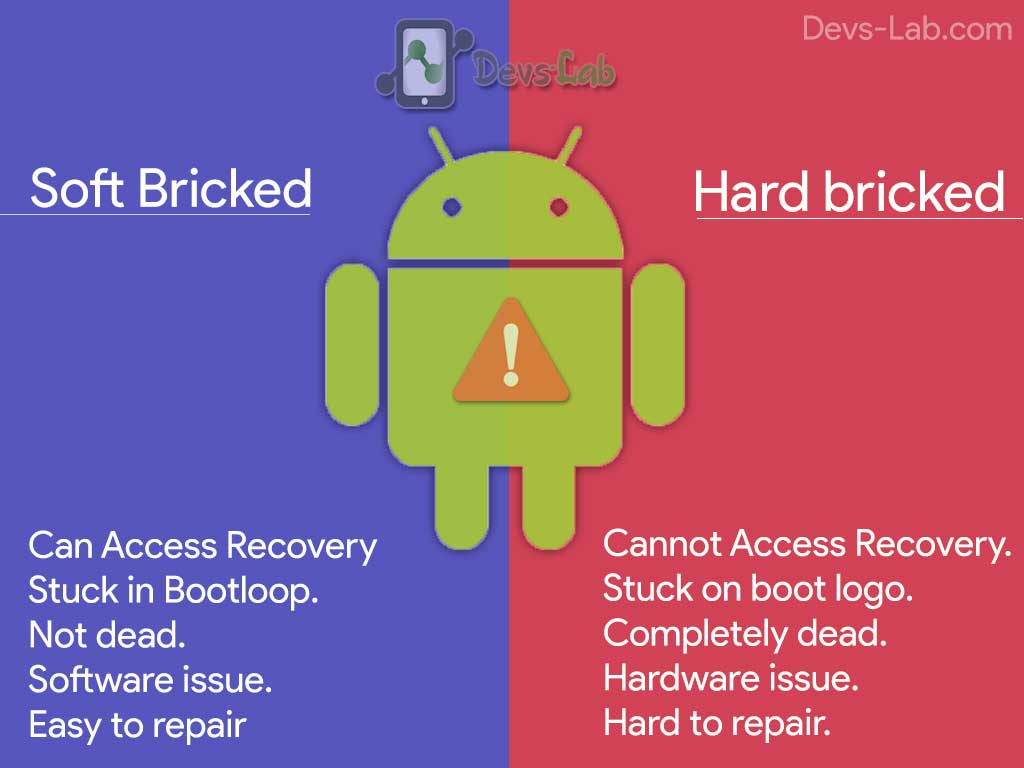
Soft brick
If your device is not starting up normally, if it gets stuck in a boot loop, if it is not as responsive as before or if you think that it might have been infected due to a virus, we are talking about a soft bricking case and this is where we have some solutions for you. In most of the soft brick case, you can access the Custom/System Recovery by Pressing Vol Down+Power together.
Also read: How to unlock Google Nexus 6P Bootloader.
Quick Tip: If you live in a country like China, where Google services are not proper, you should always keep your Bootloader unlocked as it helps to flash stock firmware through fastboot. If you don’t have an unlocked bootloader, If in case your device gets bricked, you won’t be able to flash Stock firmware using fastboot as it asks Pin verification in Nexus 6P. You might wonder how can a device get bricked if you don’t install custom ROMs or softwares. Well, Sometimes while Official system updates, you might brick your device & the worst part is, you can’t unbrick it as the bootloader is unlocked. Checkout benefits of Rooting
Also Read: Top 10 best Custom ROMs Nexus 6P
Prerequisite
- As long as this guide might wipe out all data of your device, create a backup of your device if you can access the recovery mode. If the bricked device has a custom recovery such as ClockworkMod or TWRP, then simply backup data using the recovery.
- Use a properly functioning computer.
- Disable any antivirus programs installed there that might interfere with the operations.
- Look for the original USB cable for establishing the connection between the handset and the PC. Using a duplicate USB cable can eject the device during the process, which will permanently damage your device.
- Install the Google’s Nexus 6P USB drivers on your PC.
- If the bricked device powers off due to lack of battery while the rooting process, it could be damaged by that. Therefore, the Nexus 6P should have above 80% battery charge.
- After the process is completed, you will get the Original factory OS in your Google (Huawei) Nexus 6P
How to Install USB Drivers of Nexus 6P
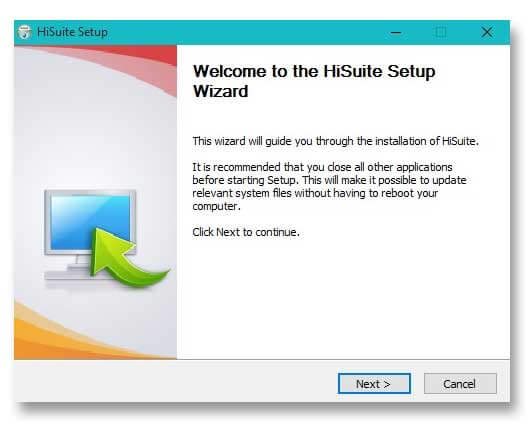
Step 1. Download HiSuite Setup for Nexus 6P & Install it as normal exe file.
Step 2. Install ADB Drivers by connecting your Nexus 6P in fastboot mode.
Also read: How to Root & Install TWRP Recovery in Google Nexus 6P.
How to Fix Bricked / Unbrick your Google Nexus 6P
Try hard resetting Google Nexus 6P
If your Google Nexus 6P problems are not complex (we are talking about simple blank screen situations, boot loop issues, if the device makes noises or you can’t make / receive calls) making a hard reset could be the solution.
1. Switch off your device. Press & hold Volume Down + Power key simultaneously. This will boot your device into Recovery mode. Press the volume down key twice. Press the Power Key until seeing a red exclamation point on the screen.
2. Goto Wipe data / factory reset using your volume down key & press power key. Got Yes & wait for the process to complete.
Flashing Nexus 6P Factory image through fastboot
Step 1. Download latest factory image of Google (Huawei) Nexus 6P from Google 6P Factory images depending on the model Number of your device.
Step 2. Extract the downloaded .tgz file using any free extracting tool like 7zip.
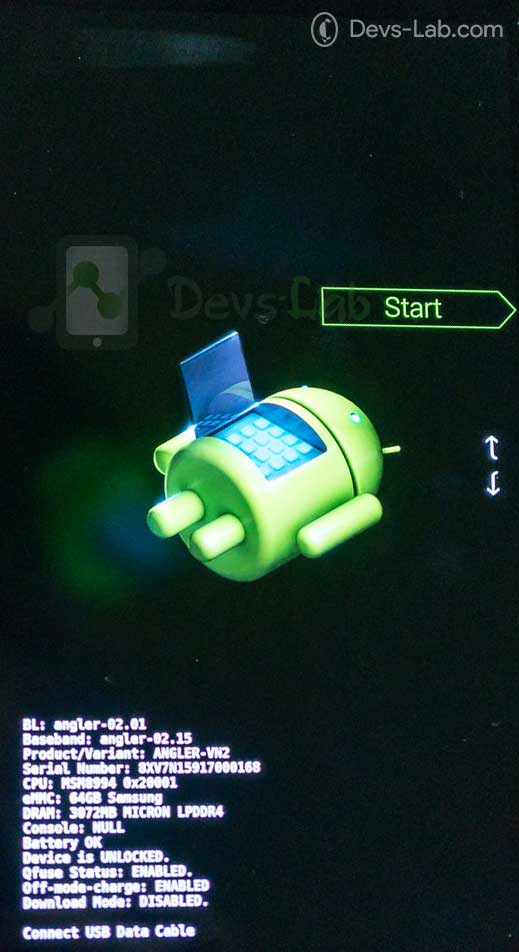
Step 3. Switch off your Google Nexus 6P. Press and Hold Volume down + Power key. Release the buttons once you see a screen similar to this
Step 4. Connect your Nexus 6P to your PC & run “flash-all.bat” file from the extracted folder.

Step 5. It will install all the files & reboot your device at the end.
How to flash files manually if the above process failed
Sometimes the above procedure fails & gives a message saying as
(bootloader) Data size exceeds download buffer
FAILED (remote failure)
Step 1. Download Minimal ADB files & follow the procedure given on that page. Once you are done with ADB setup, goto next step.
Step 2. Transfer all the .img files from the above extracted factory .tgz file to the ADB folder created in C drive. Click on the command.bat file & type the below command (make sure your device is connected to your PC in fastboot mode) It should look similar to this:
fastboot devices

Step 3. Type below command to delete all the corrupted system,kernel & recovery files by typing the below command
fastboot erase boot
fastboot erase cache
fastboot erase recovery
fastboot erase system
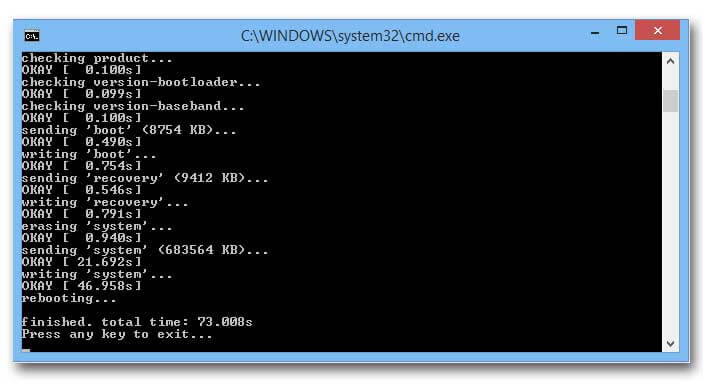
Step 4. Now type the below commands to flash factory images one by one:
fastboot flash system system.img
fastboot flash boot boot.img
fastboot flash recovery recovery.img
fastboot flash cache cache.img
Step 5. If you want to delete all the data, type the below command:
fastboot erase userdata
fastboot flash userdata userdata.img
Step 6. Now type below command to reboot device:
fastboot reboot
Final words
As the possibility of getting your Hard bricked device back is 50-50. If you can’t repair your device through this method, you should probably request for a device replacement to Google. Make sure to share this post with other Nexus 6P users so that they can get their device repaired for free of cost. Peace!
Do you know of any one that can remotely fix my brick phone,when I connect I to the computer it say Nexus 6 but it won’t turn on.i am willing to pay for the service
Do you know of any one that can remotely fix my brick phone,when I connect I to the computer it say Nexus 6 but it won’t turn on.i am willing to pay for the service
Do you know of any one that can remotely fix my brick phone,when I connect I to the computer it say Nexus 6 but it won’t turn on.i am willing to pay for the service
If the phone has the OEM lock on from the settings (which it does by default) you can no unlock your phone through fastboot, it will fail to unlock. You get the message: FAILED (remote: oem unlock is not allowed)
I had installed Android N beta from Google Beta program. When I unenrolled my device and reinstalled the previous version I am not able to get past the boot animation…as if stuckin bootloop. I had not enabled USB debugging option before. So when I am using fastboot for unlocking I am getting an error message that the device is locked. How can I unlock my device now? Please help.
You can unlock your device from fastboot only.