Chromecast is one of the best devices for you to stream media content from your computer/smartphone to your TV. Isn’t binge-watching fun on big screens? Hell, yes!
But want to know the best part? Setting up Chromecast with your device is nothing less than a dead easy task. If you have been lurking around for some reasons and yet to get any leads, your research should stop here.
In the following comprehensive guide, we have addressed the easy-to-use workaround you can employ to setup Chromecast App for Windows 10. We have covered every tidbit on the topic so that you don’t have to ponder around further.
Note: You don’t need to download Chromecast App for Windows from anywhere. Beware of sites telling you to download any apps.
So without much ado, let’s plunge into the method we have got for you.
Setup Chromecast App for Windows 10
Follow the steps given below in the array they are listed, and you will end up getting your Chromecast up and running without any hassle.
- Firstly, plug the Chromecast into the HDMI port of your TV and its power cable to the USB port. However, if your TV doesn’t have a dedicated USB port, you can alternatively make use of a power adapter to plug in the Chromecast cable end.
- Turn on your TV, and select the source input as HDMI in which port you have got the Chromecast fit in. Once done, follow the self-explanatory on-screen instructions to set it up.
- Next, grab on your computer and download the Google Chrome browser by visiting www.google.com/chrome if you haven’t already.
- Open the browser and navigate to www.chromecast.com/setup then click on the “Set up your Chromecast” link given at the bottom.
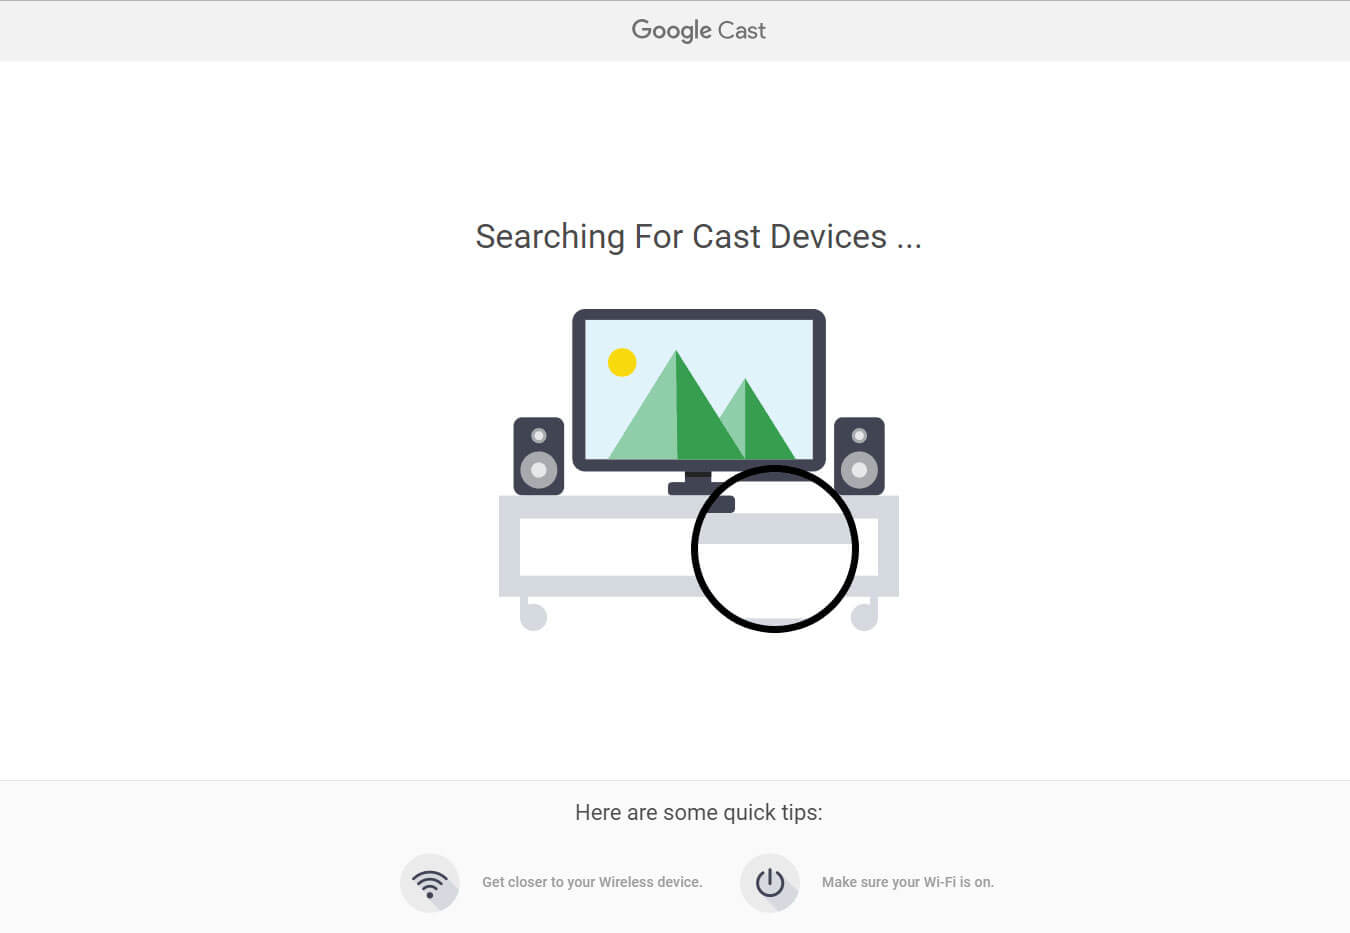
- Google Cast will start searching for connected devices.
- Upon completion, you will see a screen on your computer with the default Chromecast device name and there underneath click on the “SET ME UP” button.
- Click on the Wifi icon at the taskbar and select the open Chromecast network.
- Once connected, get back to the Google Cast screen and tap on the “NEXT” button.
- You will see a code appearing on your computer screen that matches up the code located at the bottom right corner of your TV screen. After validating, hit the arrow saying “YES.”
- Type in a name to your Chromecast device and click on “Looks Good.”
- On the next screen, you need to confirm your Wi-Fi details by selecting the network with its password.
- Lastly, click on “CONNECT,” and you will see a screen with Ready to Cast message.
That’s all of the steps you needed to setup Chromecast for Windows 10.
How to cast Media from Computer to TV?
Once you are done setting up Chromecast, now you are all up to cast your favorite video content onto the TV. Below is how-to-do:
- Open the Chrome browser and navigate to the online streaming website from where you wish to watch.
- Play it right off the hook and click on the Chromecast icon given at the top right corner of the screen and this video will start casting on TV.
If you are new to the Chromecast, we must recommend you to check out the following section for getting more and brief insights on the device and its working.
Also Read: How to Transfer Google Authenticator to a New Phone
FAQs – Chromecast in a nutshell
You may haven’t enough time to read on a long article, or maybe simply you don’t like to – be it any reason, the formulated questionnaire will help you clear all the fuss on the subject.
And we are wrapping it right here, so if you got any queries or doubts, feel free to let us know so that we can aid you with an appropriate solution.


![Fix: Mobile Data Not Working On Android 13 [6 Working Fixes]](https://devsjournal.com/wp-content/uploads/2023/07/mobile-data-not-working-on-android-13-768x384.jpg)
