
The Lenovo K6 Power launched way back in 2016, is a budget smartphone from Lenovo, which features a 5-inch IPS LCD with full HD resolution, Snapdragon 430 SoC coupled with 2GB RAM. While the specification sheet is not so impressive for the year 2019 (note that the phone was launched in 2016), there are newer smartphones today which still uses the Snapdragon 430. This goes to show that the Snapdragon 430 is still a very capable chipset. And so is the Lenovo K6 Power.
As we all know, Lenovo aren’t very good in terms of software updates, and the K6 Power is no exception. According to some users, the phone’s last security update was in 2017. And despite being just one year old in the market when the Android Oreo launched, the phone didn’t get the Android update it deserves. Thankfully, there are many custom ROMs available online (like Lineage OS) to take advantage of the new software on this competent hardware.
But before installing a custom ROM in your Lenovo K6 Power, we first need to unlock the bootloader, install Custom Recovery, and initiate root access. Today, we will help you do that in three easy steps. To Unlock Bootloader and install TWRP For any Android device click here.
Prerequisites:
- ADB and Fastboot.
- Lenovo USB Drivers.
- K6 Power Unlock TWRP – Download.
- SuperSU -v2.79.zip
- Backup your data on the device, Unlocking will erase the internal storage.
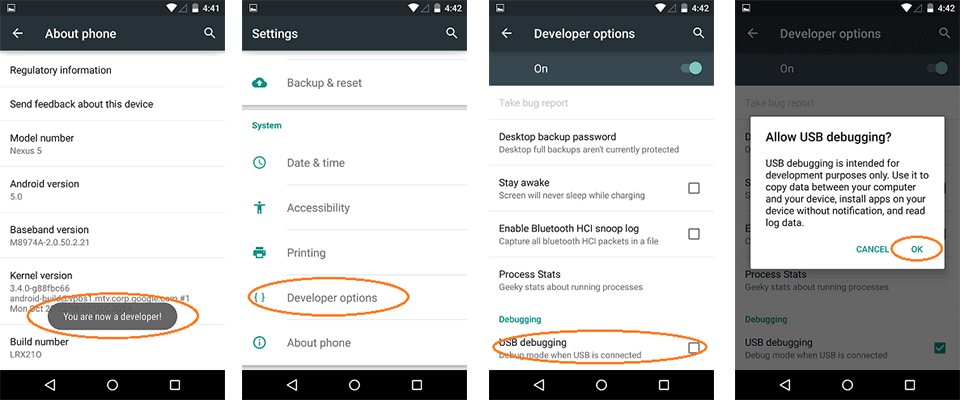
- Enable ‘USB debugging’ and ‘OEM unlock’ from the Developer options.
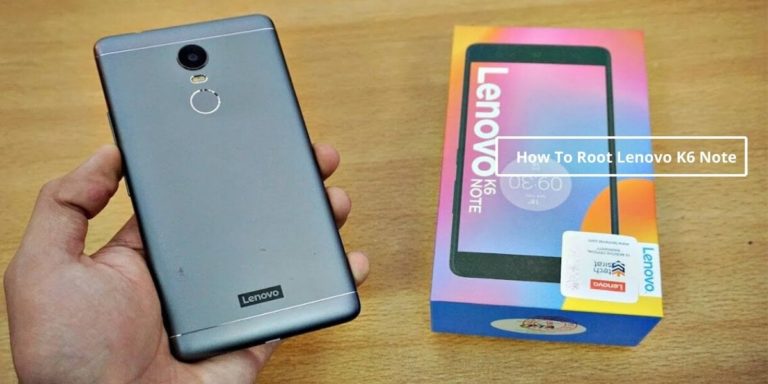
How To Root Lenovo K6 Power
Steps To Unlock Bootloader Of Lenovo K6 Power:
Step 1. Download the “K6 Power Unlock TWRP-3.0.3zip” file and extract the zip file.
Step 2. Now, connect your smartphone to the PC, using USB cable and make sure USB Debugging is turned on.
Step 3. In the extracted zip, Open the Bootloader Unlock folder and run “Unlock_Bootloader.bat“ file with Admin rights.
Step 4. Just sit back and relax! This auto scripted bat file will unlock the bootloader of your K6 Power.
Steps To Install Twrp On Lenovo K6 Power:
Step 1: If everything goes right, your phone will be unlocked, after following steps mentioned above.
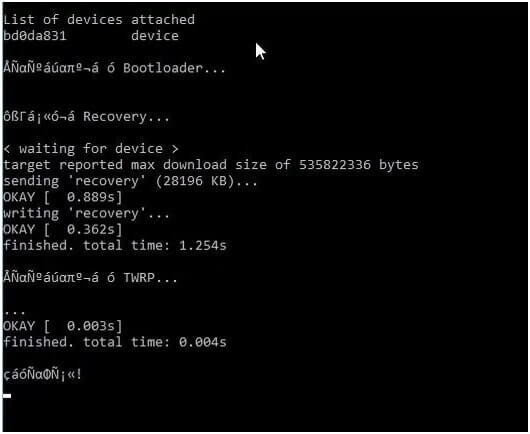
Step 2: Now, Open TWRP folder and run “Flash-TWRP.bat” to Permanently install TWRP recovery. This option will replace the Stock recovery. Else, “Run-TWRP.bat” file to temporarily boot the TWRP recovery. (only for rooting the device)
Step 3: These scripted bat files will complete the work for you, Just relax. The phone will reboot, automatically after the process.
Step 4: When you are starting the TWRP recovery for the first time, TWRP will ask for the permission to allow modifications. Set the system mode to Read Only and continue with the rooting process. As the K6 Power has Secure Boot enabled by the manufacturer, Allowing changes to the system partition may cause a boot loop.
Steps To Root Lenovo K6 Power:
Step 1: Download “SuperSU-v2.79.zip” and Transfer the file to the Internal Storage of the device.
Step 2: Power off the Phone and Boot into the Recovery Mode By Holding Volume Up +Down + Power. Alternatively, You can enter Recovery Mode By using the ADB Command
Step 3: In TWRP, Tap on Install, Navigate To SuperSU.zip & Select it.
Step 4: Swipe right to Install the SuperSu zip file. Once done, Reboot your device.
Step 5: First boot may take some time; Please be patient.
You can check the Root permissions using the Root Checker app from the Playstore. Also, Visit Top 10 best Apps for Rooted Android devices to try these apps on your device. Follow us for more device specific Root guides. For any queries, please comment below.


How do we know the phone is unlocked after executing Bootloader?
How to unlock bootloader, install twrp and rooting Lenovo pb2-650 m