Majority leading mice brands offer excellent specifications while flaunting about their DPI levels. So, What is DPI on a mouse? We know a lot of people out there don’t understand thoroughly about these kinds of technical terms. As a result, some people end up buying a mouse that is not their type.
If you are interested and looking for gaming mouse, you can review our article for the best FPS gaming mouse in detail. Thus, if you want to know what it means and what’s its significance? Then, stick around as we will discuss everything related to mouse dpi settings and teach you how to adjust dpi on the mouse to get the best experience out of it.
Furthermore, if you already own a with adjustable mouse DPI settings. We will also cover how to check mouse DPI as well as how to change mouse DPI on Windows 11. Hence, without making you wait anymore, let’s dig into this topic.
What is DPI on a mouse?
Since the DPI is mentioned everywhere across the mouse specifications, we should know “What is DPI on a mouse” to pick the best one from the market according to our needs. DPI stands for Dots per inches where dots are associated with your on-screen pixels and inches refers to the mouse movement on the surface. In other words, if your mouse DPI settings are set to higher numbers, let’s say 3200. Then your cursor will travel a total of 3200 pixels on-screen when you move your mouse about an inch on the mouse pad.
Thus, using higher mouse dpi settings result in higher mouse sensitivity. That’s the main reason why professional gamers prefer gaming on lower mouse DPI settings to achieve precise crosshair movements in games. In contrast, the higher DPI settings are useful if you use multi-monitor setups or a wide monitor with your workstation.
Some brands out there also classify their mouse with CPI levels instead of DPI. While most people have misconceptions about it as they think both the terms mean the same. In reality, both terms are pretty different from each other. You can review our article if you want to the actual know the difference between CPI and DPI in detailed.
How to check mouse DPI?
In case you think that your mouse is not behaving the way you want to use it. Either it may be too fast for your liking or maybe too slow. Changing mouse DPI settings is going to help you a lot. But, before we learn how to change mouse DPI on Windows 11, we should check how high or low your mouse DPI can go or is it even adjustable or not?
We have two methods to check that, so in case you want to know how to check DPI, you can use any of these ways to find out.
1. Check Specification

If you are going to purchase a mouse from a well-known brand such as Razer, Logitech, SteelSeries, etc., or maybe you already own one. Then, you will face no hassle finding the DPI levels on your mouse. Because most brands include all such kinds of specifications very thoroughly. The easiest way to check the box in which the mouse came for all the technical details.
However, not everyone keeps those boxes for a long time. Fear not, you can go to the brand’s official website and search for your particular model. You will find all the information there regarding your mouse model. Or you can even check on the online stores; they have it mentioned thoroughly as well.
2. Use Online DPI Calculator
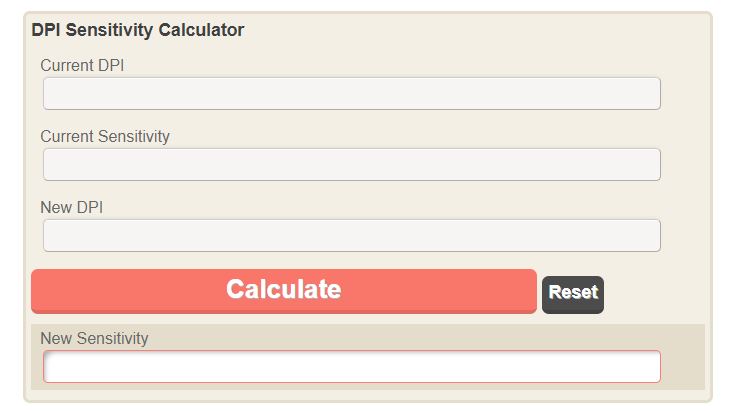
In case you can’t find your mouse’s DPI settings anywhere on the official websites or stores. Then, how to check DPI settings of mouse in such conditions? Don’t worry; there are still many ways by which you can do so. The best and easiest solution for this is to use an online DPI analyzer. There are plenty of online tools you can find easily, but first, you will need to do some changes in Windows Settings to get the accurate results.
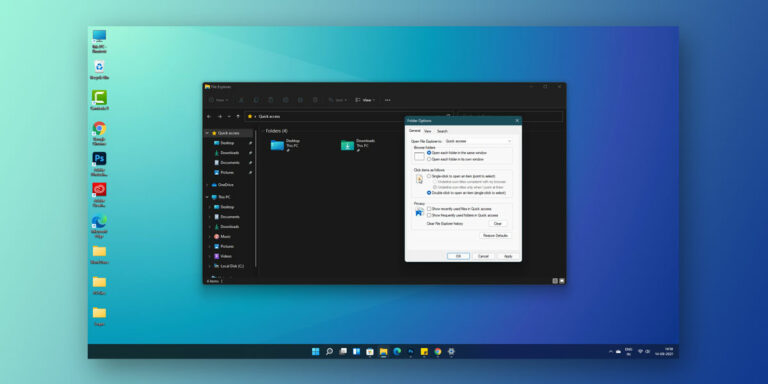
- Click on Start and search for the Control Panel.
- Now, go to the Control Panel and move on to the Hardware and Sound section.
- Here, you will find Mouse Settings, click on it to reach Mouse Properties.
- Over here, Select the Pointer Options Tab.
- Under Motion settings, uncheck the Enhance Pointer Precision option.
We need to uncheck this option as it accelerates the cursor for better movement and precision. However, while checking DPI levels of a mouse, we need entirely raw outputs for best results.
How to Change Mouse DPI
Once you check the level of DPI your mouse can reach and what level it is using at the moment. It is time to learn how to change DPI on a mouse to make it suit your needs and likings. You can do it absolutely whichever way you want as there are multiple ways to adjust DPI on a mouse. However, we are going to tell you how to change dpi on a mouse by the most straightforward ways possible.
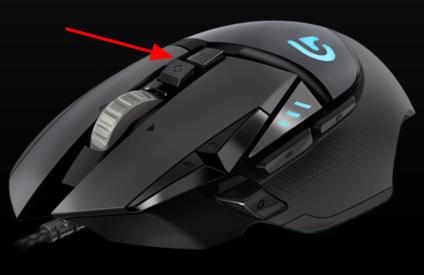
For the majority of high-end gaming mice, there is a dedicated button present to cycle between the levels and change mouse DPI settings. Thus, if your mouse also has a dedicated button somewhere near the scroll wheel, you can use that to change and adjust DPI on a mouse quickly.
Well, clicking the button is simple, but you should also know what level it is shifting to. Some gaming mice have DPI cycles like 400-800-1600-3200, and so on. To keep track of that, you can download a mouse DPI software or use the official manufacturer’s software to tweak these settings.
For instance, most brands like Logitech, Razer, etc. have their software that helps you to automatically adjust DPI levels and other features such as RGB lightings and much more.
Method 2: Change Mouse DPI using Windows 11 Settings
If your mouse doesn’t have any DPI button or does not pair up with any software as well, there is no need to worry as Windows 11 does provide an option to play with DPI settings of the mouse. Hence, we will show you how to change Mouse DPI settings on Windows 11 now.
We can’t adjust the DPI levels quite accurately using this method, but changing the mouse sensitivity is going to work the same in this case. And, for a standard desktop mouse, having this done seems more than enough.
But, if you still want to know what DPI level is set on your mouse, you can try out the methods that we have already mentioned. The “How to check mouse DPI” section which is present above in the article has all the answers for you.
For this method, we are going to use Windows Settings, so make sure to follow each and step properly.
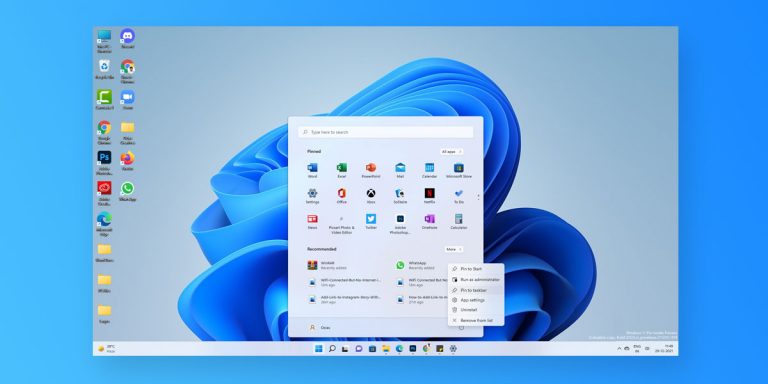
- Firstly, click on the Start button.
- Now, type in Settings and click on the Settings Icon. The simple method to access settings on Windows 11 is by using the shortcut (Windows Key + I).
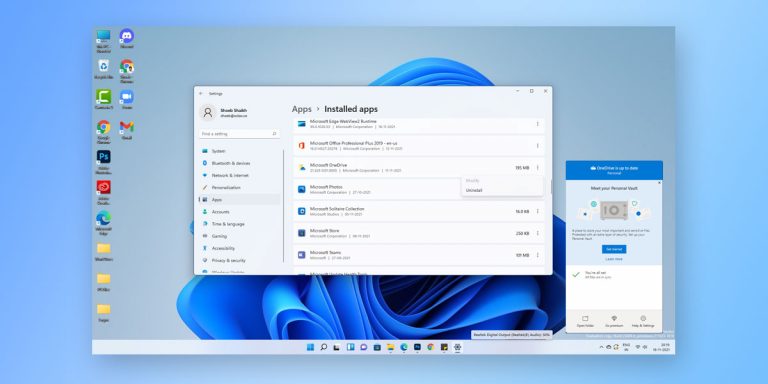
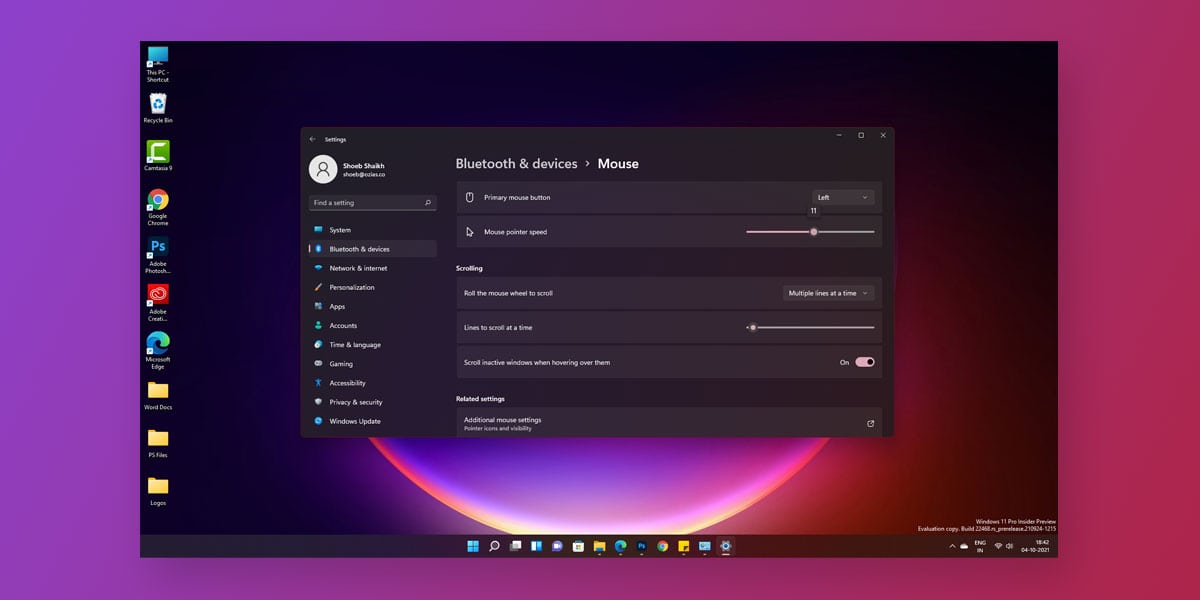
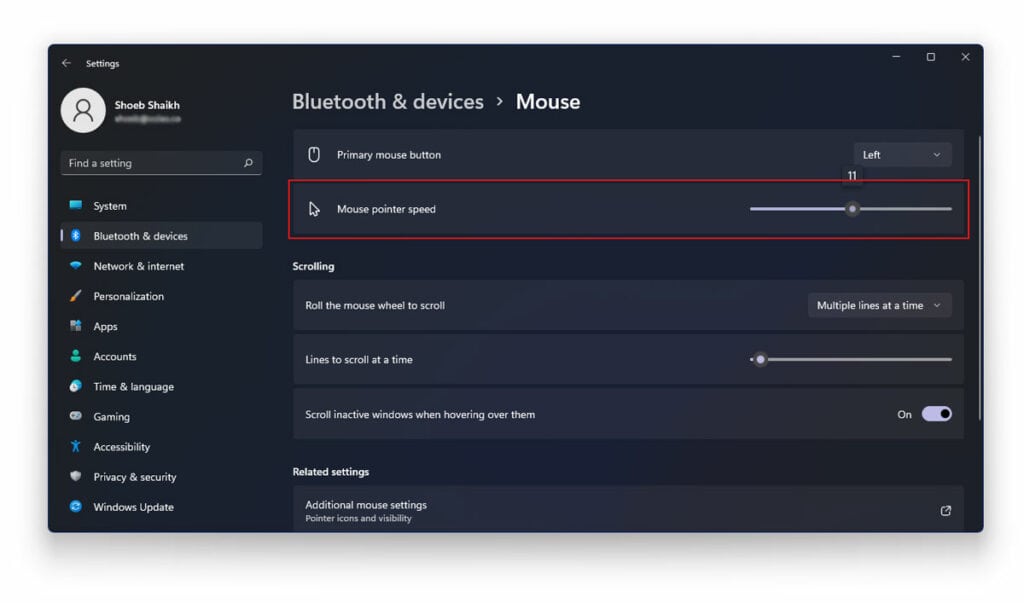
- In the Settings Window, Click on “Bluetooth & devices” and then select “Mouse”.
- Now, adjust the slider beside “Mouse pointer speed” according to your preference
- You can also navigate to Additional mouse settings > Pointer options and then Adjust the pointer speed.
Conclusion
We believe that this is pretty common knowledge that every computer user must know about. Hence, this was all about changing and adjusting Mouse DPI settings in Windows 11 to achieve the best experience possible out of your mouse input. We hope that by using this guide, you will learn how to change mouse dpi in Windows 11 or any other version easily.
In case you are still facing any issues with your mouse settings, you can tell us about that. Moreover, if you have any further queries related to this topic, feel free to ask us in the comments section below.