In case you didn’t know, there is a secret menu hidden on your Android Settings app called Developer options. Like the name suggests, this is built mainly for developers to test out the performance of their new applications as well as to experiment with function and features of the Android OS.
Whilst most people wouldn’t advise you to tweak anything inside this menu, we assure that your device is safe as long as you know what you’re doing. By enabling the Developer options, you get access to things like hardware acceleration, process statistics, and USB debugging among others – of course, more of that later. The good news is that this will not void your phone’s warranty as it is already a preinstalled menu. However, rooting and installing custom ROMs most certainly will.
How to Enable Developer Options in Android
Follow the steps given below, to enable developer mode in android.
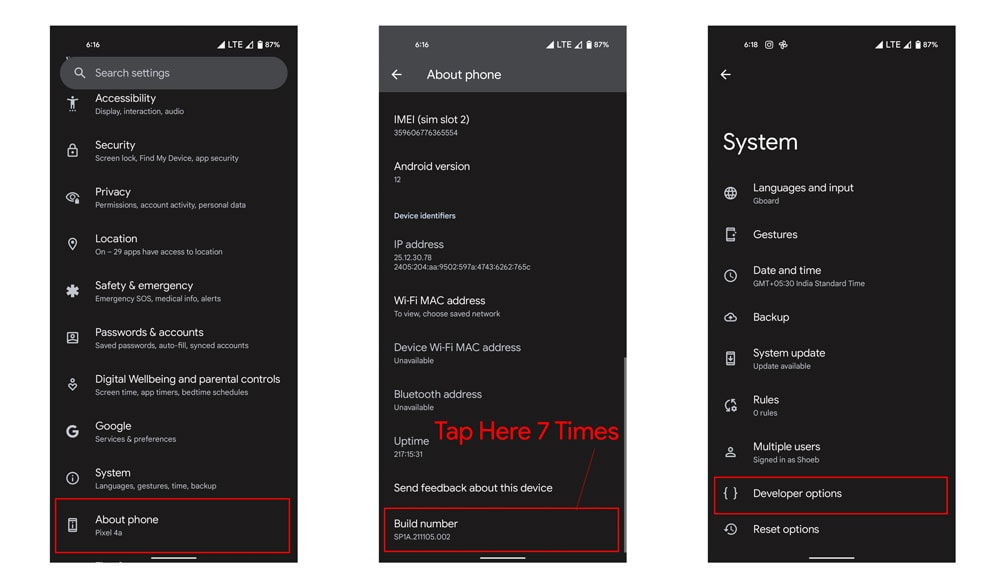
- To enable developer options in android, Go to Settings.
- In the setting menu, look for About Phone option.
- Click on About Phone menu and search for Build Number. Locate the Build number and tap it seven times.
Note: Most of the Android devices require password to enable developer options.
- After following the above steps, you will see a message “You are a Developer“.
Benefits of Enabling Developer Options in Android
1. Rooting and installing custom ROMs on your phone
While Android OS is an open-source operating system, manufacturers still have all the right decisions to lock the bootloader on their products. This is to make sure that users were using the right Android versions designed for their devices. It is virtually impossible to flash custom ROMs on an Android device with a locked bootloader. And most forced attempts end up with the phone being bricked. Yes, it will also void your phone’s warranty so do this at your own risk.
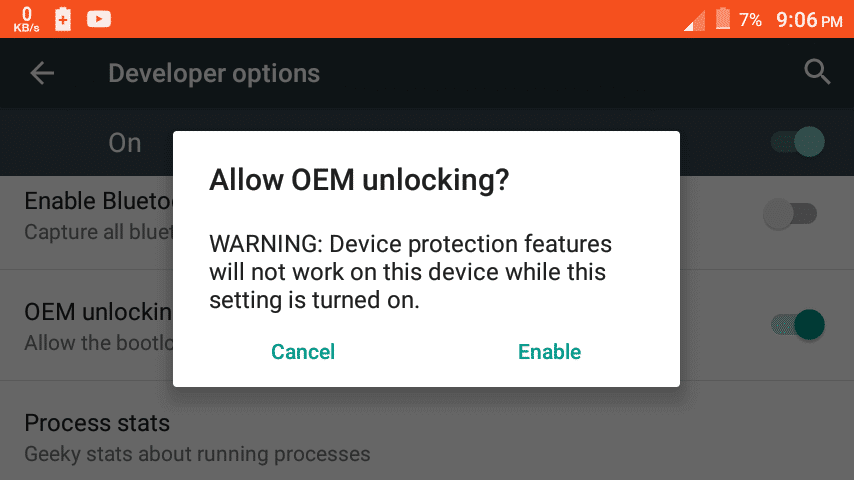
However, most Android manufacturers today give users a freedom to unlock the bootloader on their Android devices. To do this, go to Developer options and tick the OEM unlocking. There will be a prompt that warns you of the repercussions, but feel free to ignore that (security savvy folks, it’s better to leave this one alone). Note that not all manufacturers allow their users to unlock the bootloader (Nokia, and Sony for example) hence you won’t find this option in your Developer options menu.
Unlocking your phone’s bootloader is a time-consuming process. But there are tons of useful guides on the internet that go through this procedure. Take note that it varies from phone to phone. So we always advise that you include the brand and model number of your phone when doing a Google search.
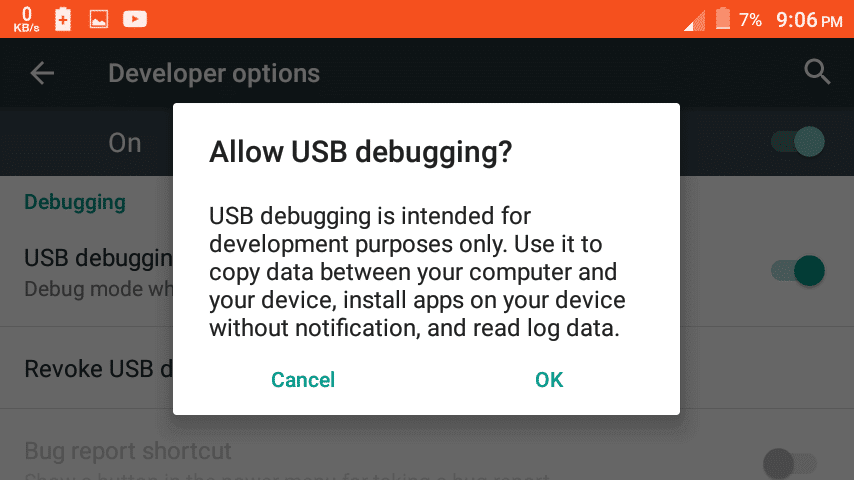
Below that is an option to enable USB debugging. This will allow your Android device to communicate with your computer. This is a must if you really want to root or install custom ROMs on your device. Again, feel free to ignore the prompt.
Now that you have unlocked your phone’s bootloader, you can start searching Google for custom ROMs that are compatible with your device. It’s time to get your hands dirty!
2. Create a desktop backup password
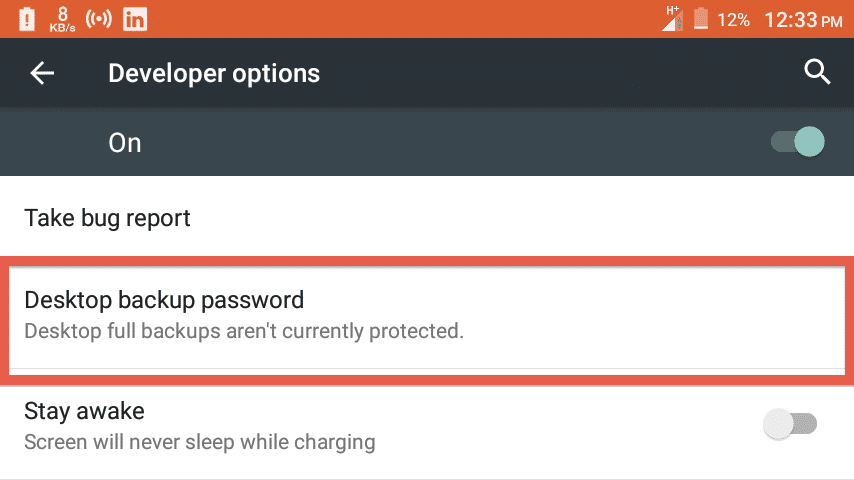
It’s always best to backup all your data to a computer before performing anything risky to your phone. But if you’re doing your job on an internet shop (or your friend’s computer), it’s not okay to have all your data exposed to the public – especially if you have a dozen of nude photos stored in your phone. Smirk.
This option will encrypt your backups so no one can get access to it without your permission.
3. Stay Awake
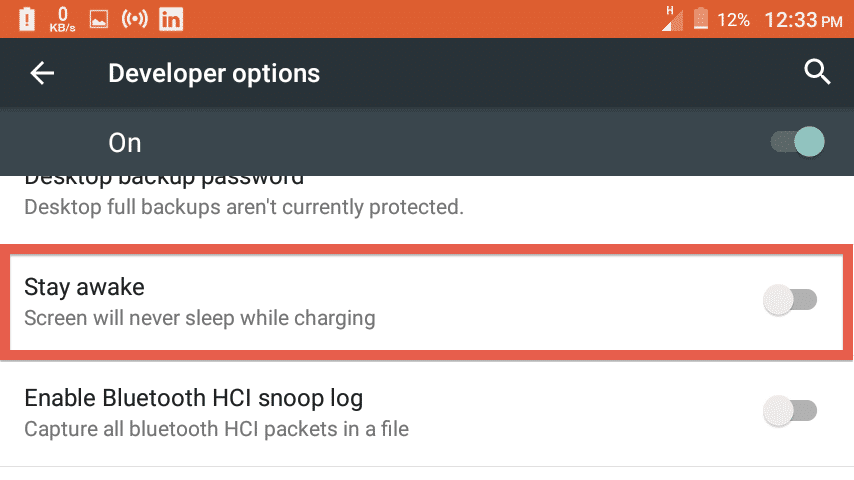
Users with AMOLED display, stay away (unless, for some reasons, you intentionally want to burn your display). Like the name suggests, this option will prevent your phone from sleeping while it is charging. Phones with LCD display will have no problems toggling this on though.
4. Process stats
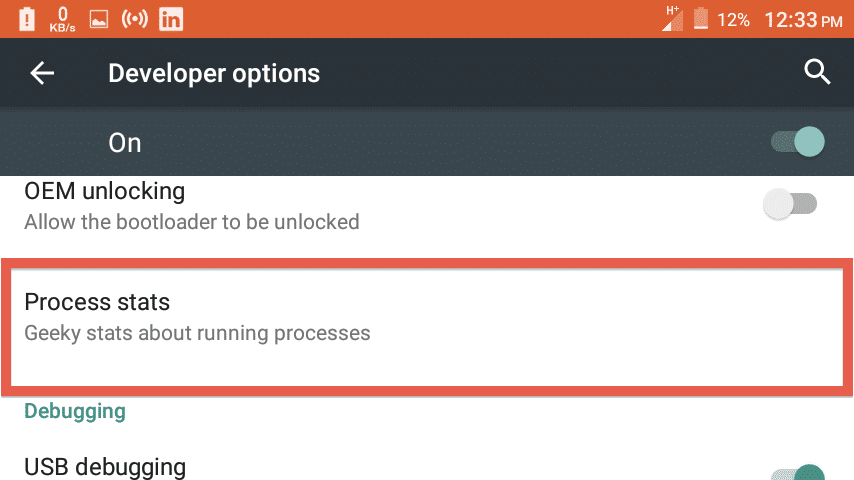
This option gives you access to real-time app processes in the background. It will also be able to tell whether your phone is performing normally or not. If your CPU is in its critical condition, you can manually force stop each background processes initiated by apps.
5. Fake your location
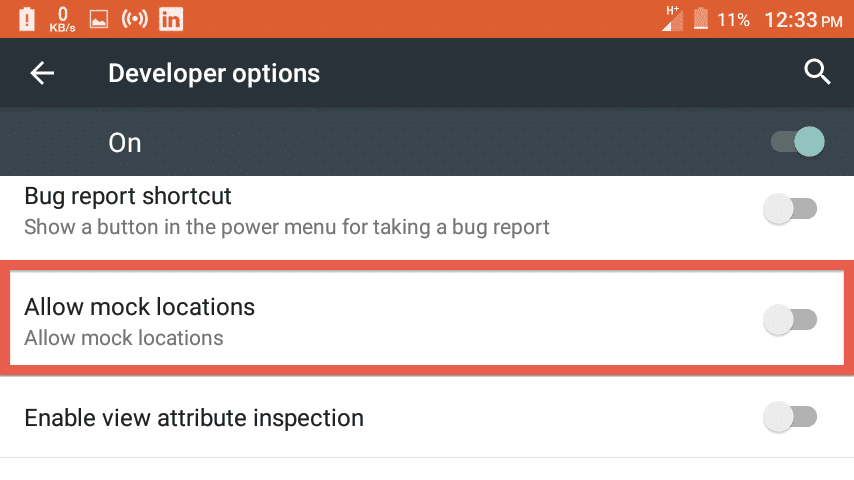
Before using your location spoofing app, you first need to tick Allow mock locations on your Developer options. This option is especially helpful if you don’t want other people to know your whereabouts. You could also use this to visit websites that are country-blocked, or on YouTube, if the video is not made available in your country. Diverting your location to another country will bypass this kind of restrictions.
6. Show touches
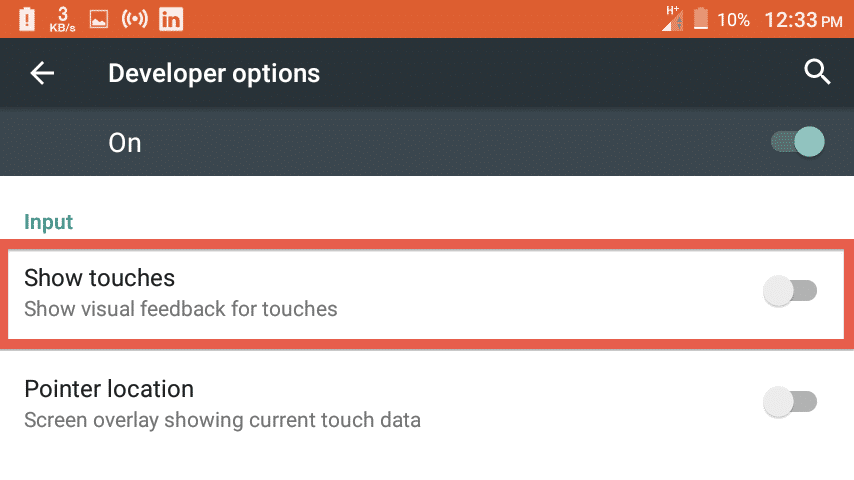
This option, together with a screen recording app, comes in handy for content creators who features step-by-step Android tutorials. What it does is show visual feedback for touches so the viewers will not be guessing what among the given option or buttons did you just ticked or clicked.
7. Window/Transition/Animator scale
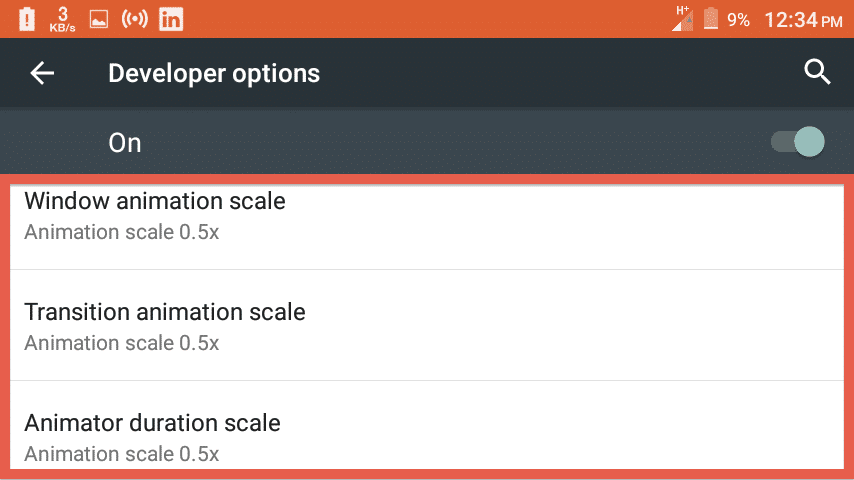
If you want a snappier Android experience, you can either scale or turn off the animations via Developer options. We advise that you keep your window, transition and animator scale to just 0.5x. The result is not so dramatic, but at least it makes things a little bit more responsive.
8. Hardware acceleration
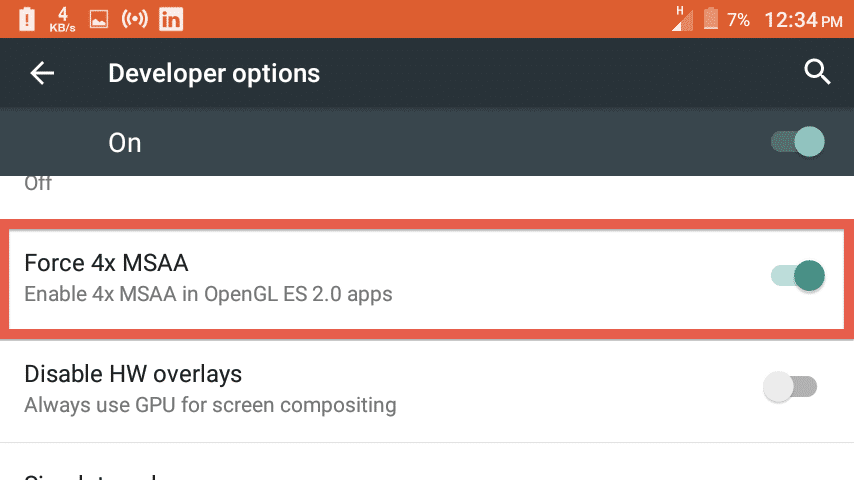
If you want to experience a smoother, higher and better-looking visual experience in some games and apps, then you should tick the Force 4x MSAA (Multisampling Anti-Aliasing) option. This feature is turned off by default because it easily drains the battery and put excessive strain on the GPU, which in return, slows down the performance of the device.
Mid to high-end devices will work just fine. But if you want to save some battery juices, then you can always turn this off.
How to Disable Developer Options in Android
Follow the steps given below, to turn off developer options in android.
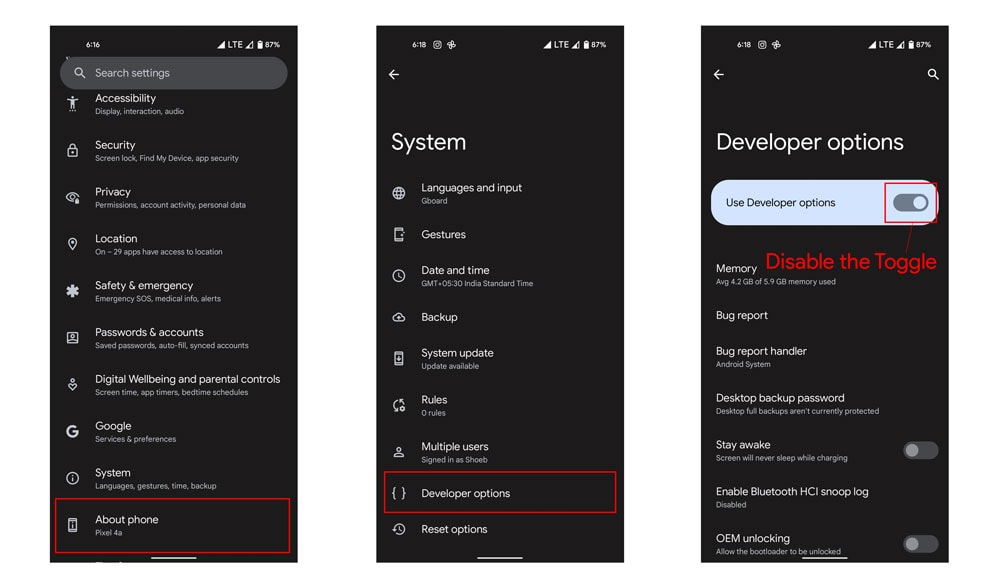
- To turn off developer options in android, Go to Settings.
- In the setting menu, look for Developer Options.
- Tap and open Developer Options.
- You will see toggle to enable or disable developer options in android.
- Turn off the Toggle.
