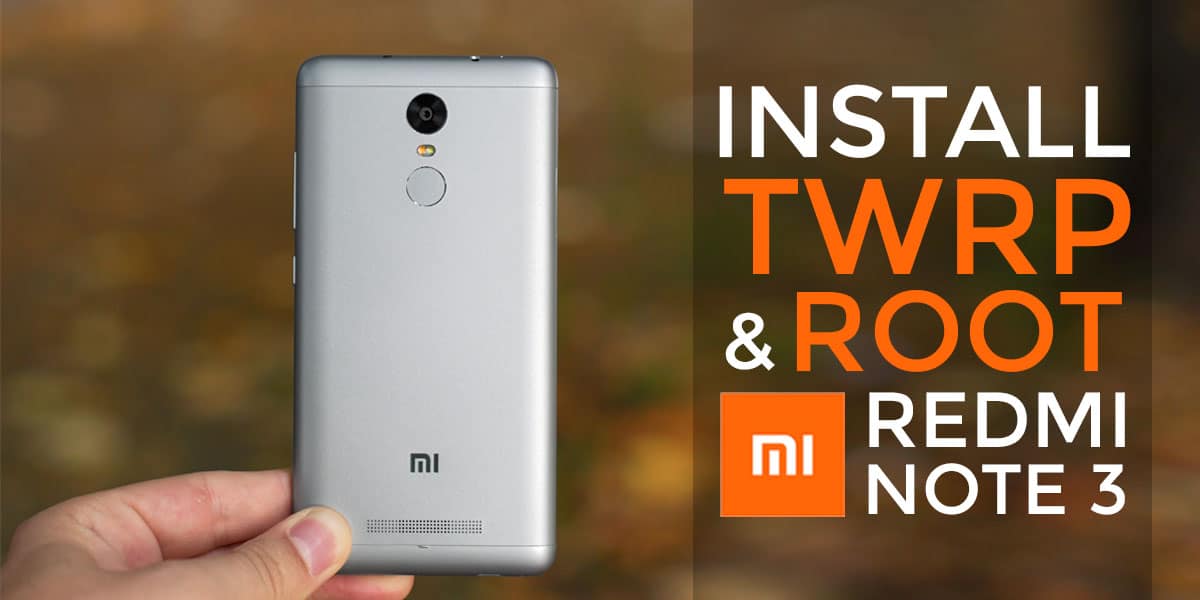
Chinese Smartphone maker Xiaomi, unveiled its Xiaomi Note 3 in Nov 2015, another successor of Note series. It has full metal body and a fingerprint scanner. The new Redmi Note 3 has a 5.5-inch full HD display, runs the MediaTek Helio X10 64-bit octa-core processor, and sports a 13 mp rear camera with a 5 mp front camera. Xiaomi has launched two versions of the phone. One comes with 2GB RAM and 16GB storage space and the second has 3GB RAM and 32GB storage space. After having so much high end specs, you would think, Why should I root Xiaomi Redmi Note 3? Well then, you must read this article about Benefits of Rooting your Smartphone.
As every smartphone comes with some bloatwares (Pre-Installed Apps that we can’t uninstall), battery issues or laggy software. Same goes for Xiaomi Redmi Note 3, it comes with the beautiful looking MIUI but it consumes much RAM as compared to AOSP. If you love Google’s Pure AOSP UI, rooting your smartphone can help you install ROMs of your choice. We are here with the most easiest way to Install TWRP and root Xiaomi Redmi Note 3.
Prerequisite
- Ensure that you have installed necessary USB drivers for Xiaomi Redmi Note 3.
- Enable USB Debugging Mode on phone by following the below method.
- Create a backup of all data of the phone before following the root method.
- Check the battery percentage of the phone, it should be at least 80%.
- Rooting the device will void the manufacturer’s warranty.
- The CWM recovery, ADB files and the SuperSU files are compatible with Xiaomi Redmi Note 3. Applying these on any incorrect variant might brick the device. Therefore, check the model number of the phone by navigating to Settings>> About device>> Model number.
- Devsjournal will not be held liable for any damage to the device.
Download files:
- Xiaomi Redmi Note 3 Root file: Download
- Minimal Fastboot files
- ADB USB Drivers
- TWRP for Redmi Note 3:
How to Install TWRP recovery in Xiaomi Redmi Note 3
Step 1: Download the above image file ADB files. Extract the ADB zip file using any extracting tool like winrar or 7zip. Place the recovery img file in the ADB extracted folder.
Step 2: If you have enabled USB Debugging, Goto Step 4. In your Redmi note 3, Goto Settings>About Phone, Tap on MIUI version for seven times, until you see, “You are now a Developer!”
Step 3: Go Back to Settings>Additional Settings > Enable USB Debugging mode & connect your device to your PC. Launch the ADB drivers file & You’ll see Redmi Note 3 as device name, Click on Install, to Install the necessary ADB Drivers.
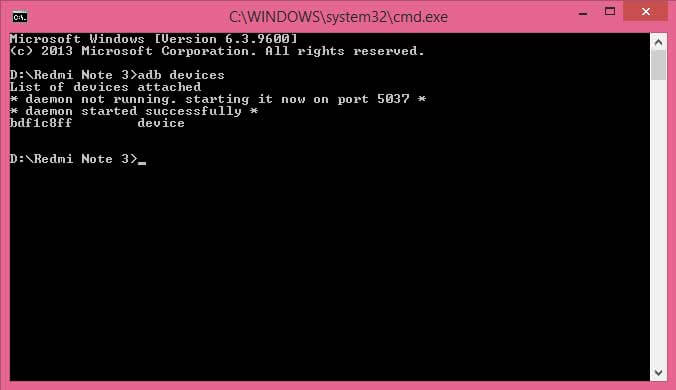
Step 4: Now launch command.bat file from the ADB folder, type below command in the window to check if everything is done. (Press Yes in the window that will appear in your device to authorize.)
adb devices
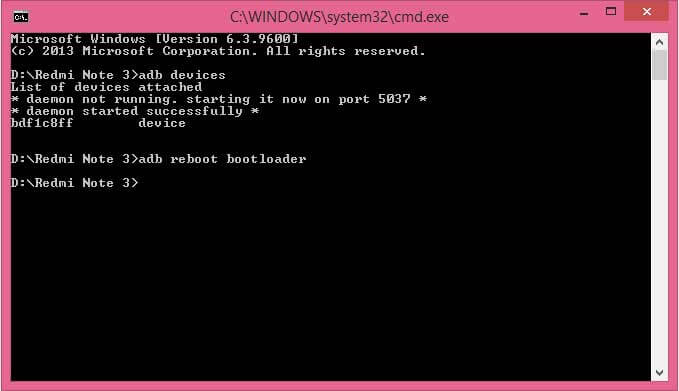
Step 5: Now type the below command to reboot your device into bootloader
adb reboot bootloader
Step 6: Now for the final step of installing the custom recovery, type the below command:
fastboot flash recovery twrp.img
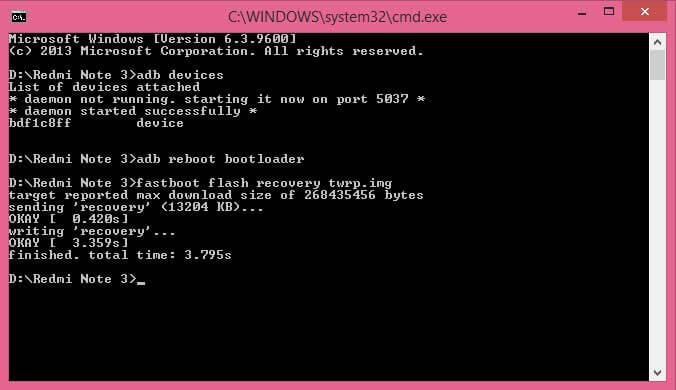
Step 7: That’s all, you have successfully flash TWRP Recovery in your device.
Step 8: Switch off your device & Press Vol down+Power button simultaneously to boot into Recovery mode.
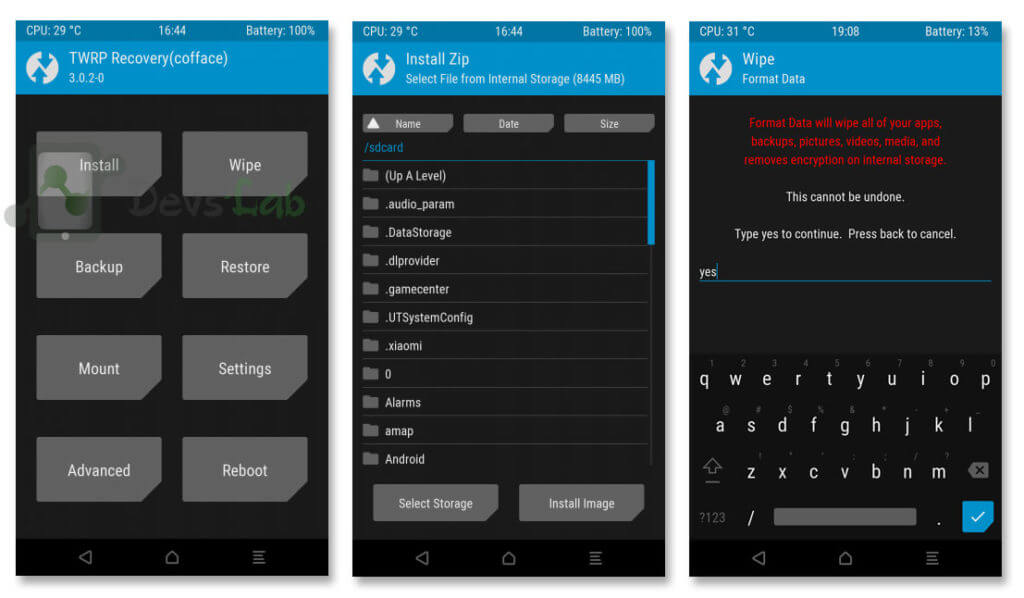
How to Root Xiaomi Redmi Note 3 (Kenzo) with PC
Step 1: Download the above Root file & Install it in your windows PC.
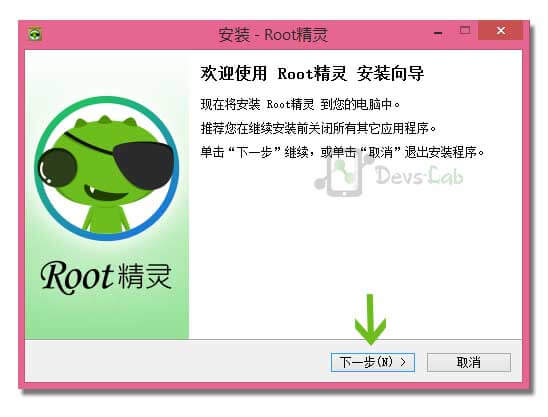
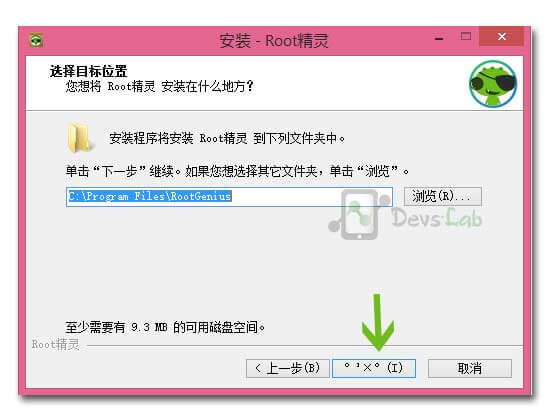
Step 2: In your Xiaomi Redmi Note 3, Goto Settings > About Phone > Tap on MIUI Version for 7 times. Go back to Settings > Additional Settings > Developer options > Enable USB Debugging.
Step 3: Connect phone and PC with USB cable.
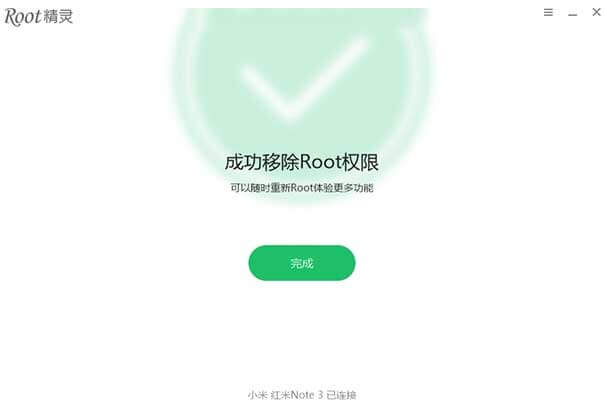
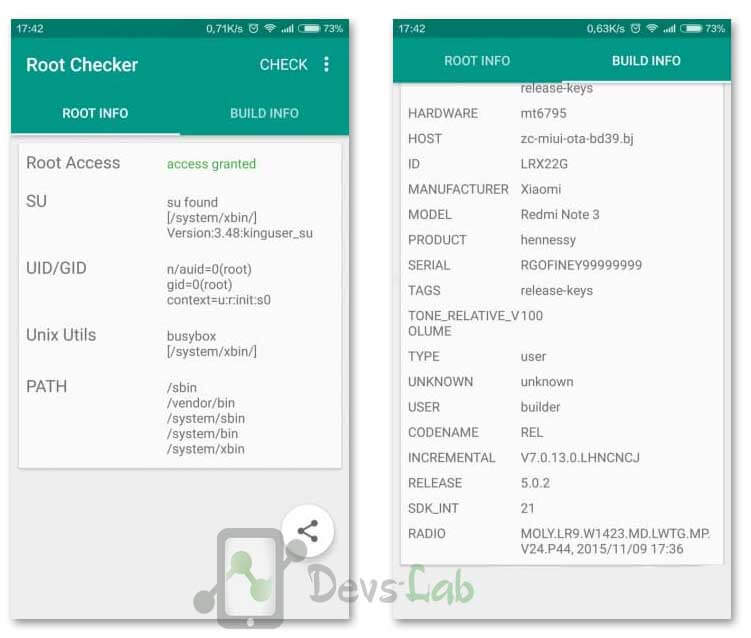
Step 4: After installing, Click on the button as shown in the below image. It will successfully root your device.
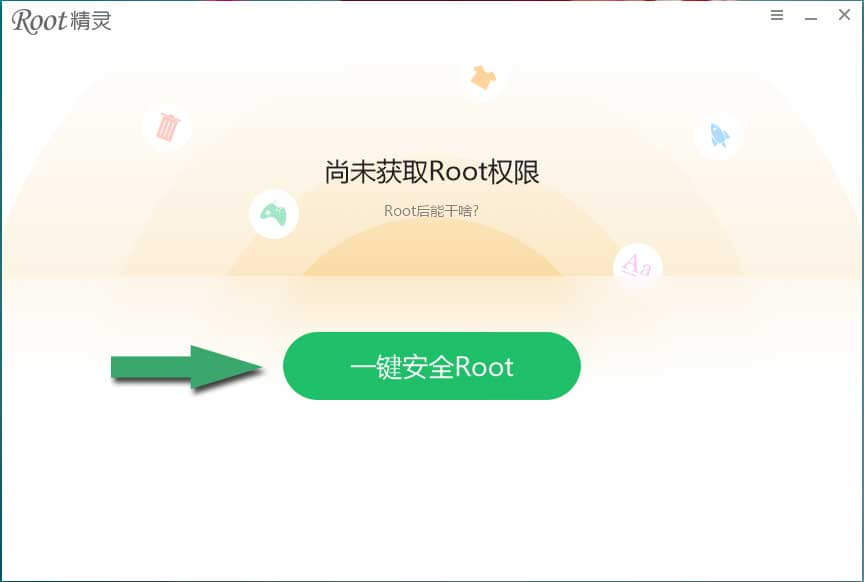
Step 5: Wait for the process to complete!
How to Root Xiaomi Redmi Note 3 (Kenzo) without PC
Root Xiaomi Redmii Note 3 (Kenzo) With Magisk
To root Xiaomi Redmi 3 using Magisk, follow the given steps.
Step 1: Make sure TWRP is installed on your device.
Step 2: Download Magisk
Step 3: Now, Boot into Recovery mode by pressing Volume Down + Power Button
Step 4: Click Install > Find the Magisk Installer Zip and confirm flashing
Step 5: Upon completion, hit Reboot
You have now successfully rooted your Xiaomi Redmi Note 3 using Magisk.
Root Xiaomi Redmi Note 3 Using SuperSU
Another way to root your Xiaomi Redmi Note 3 is through SuperSU. To root your Xiaomi Redmi Note 3 using SuperSU, follow the given steps.
Step 1: Make sure TWRP is installed on your device.
Step 2: Download SuperSU
Step 3: Now, Boot into Recovery mode by pressing Volume Down + Power Button
Step 4: Click Install > Find the Magisk Installer Zip and confirm flashing
Step 5: Upon completion, hit Reboot
This will now successfully root your Xiaomi Redmi Note 3 Using SuperSU
Conclusion
Now you can install custom ROMs, Mods in your Xiaomi Redmi Note 3. Before flashing any ROM, please make sure that you backup all your important data and files. Flashing a ROM will erase all data on your device. For any queries/issues, please comment below. If you found any problem during this process, let us know through the comment section below. Peace!
![[Android 11] LineageOS 18.1 ROM for Xiaomi Redmi Note 3](https://devsjournal.com/wp-content/uploads/2016/01/Resurrection-Remix-ROM-for-Xiaomi-Redmi-Note-3.jpg)
Does it work on redmi note 3 pro Miui 8 beta android 6.0.1? Or just on android 5.1
Does it work on redmi note 3 pro Miui 8 beta android 6.0.1? Or just on android 5.1
Does it work on redmi note 3 pro Miui 8 beta android 6.0.1? Or just on android 5.1
Does it work on redmi note 3 pro Miui 8 beta android 6.0.1? Or just on android 5.1
Does it work on redmi note 3 pro Miui 8 beta android 6.0.1? Or just on android 5.1
Does it work on redmi note 3 pro Miui 8 beta android 6.0.1? Or just on android 5.1
Does it work on redmi note 3 pro Miui 8 beta android 6.0.1? Or just on android 5.1
Does it work on redmi note 3 pro Miui 8 beta android 6.0.1? Or just on android 5.1
Does it work on redmi note 3 pro Miui 8 beta android 6.0.1? Or just on android 5.1
Does it work on redmi note 3 pro Miui 8 beta android 6.0.1? Or just on android 5.1
Does it work on redmi note 3 pro Miui 8 beta android 6.0.1? Or just on android 5.1
Does it work on redmi note 3 pro Miui 8 beta android 6.0.1? Or just on android 5.1
Does it work on redmi note 3 pro Miui 8 beta android 6.0.1? Or just on android 5.1
Does it work on redmi note 3 pro Miui 8 beta android 6.0.1? Or just on android 5.1
Does it work on redmi note 3 pro Miui 8 beta android 6.0.1? Or just on android 5.1