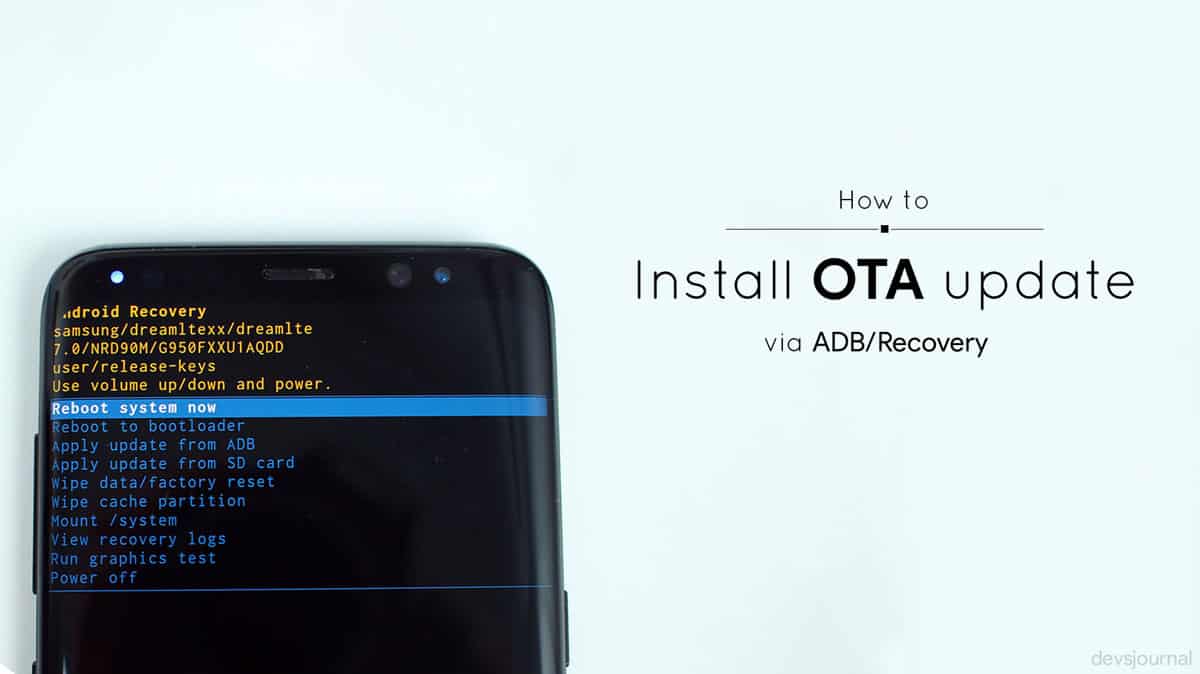
Android is an evolving operating system. It frequently receives OTA (over-the-air) updates released by OEMs. The OTA updates upgrade your devices’ software and firmware to the latest version. OTA updates are released frequently, however, the only catch is that the OTA updates are not released for everyone at the same time. In this guide, we’ll be talking about how to apply update from ADB as soon as they are released. You can even refer to this as an OTA Sideload procedure.
Usually, the OEMs roll over the update for a specific set of regions and users. The reason behind this is that the OEMs do not want their servers to be overloaded by tons of download requests. To ensure smooth downloading of the updates for all users, OEMs only release the update for specific regions and users.
It might take over a week or a month to receive the OTA update officially. And as you keep waiting to receive the update on your device, the excitement and the hype of receiving the update tends to fade away. However, you do not need to worry! OTA updates can be installed manually. To install them manually you need to download the OTA update file and then install it on your device using ADB sideload. You can sideload android update and sideload firmware using the methods.
Install OTA Update Via ADB Sideload and TWRP
It is easy to install an OTA update manually. There are mainly two methods using which you can install the update on your device:
- Install OTA update via ADB Sideload
- Install OTA update via flashing through recovery.
In this article, I will be explaining both the methods in detail. Moreover, I will be focusing on the method which explains how to apply update from ADB.
Pre-requisites:
- You must have stock recovery. A custom recovery like TWRP is not going to work.
- You must have ADB and fastboot installed on your desktop. You can download the program from here.
- Android USB Drivers: Download
Method 1: Install OTA Update Via ADB and Fastboot
How to apply update from adb? It is quite easy to install the update via ADB and fastboot. Make sure you perform each step precisely and you should have the OTA update installed on your device in no time.
Step 1. Download and install ADB and fastboot on your desktop.
Step 2. Download the OTA update zip file and move it to the ADB and fastboot folder. (You can rename the file to update.zip for ease of access later)

Step 3. Connect your device to PC and Enable USB Debugging. To enable USB debugging, go to Settings -> Developer Options -> Check USB Debugging option.
Step 4. Go back to the ADB and fastboot folder where you moved the OTA update file. Open a command prompt window inside the folder. Hold Shift key and right-click anywhere on the empty space inside the folder. A menu will pop-up. Select the “Open command window here” option from the menu.
Step 5. You need to confirm if your device is connected properly. Type adb devices in the command window and you should see your device in the list. If you don’t see your device, reboot your phone and make sure you enable USB debugging.
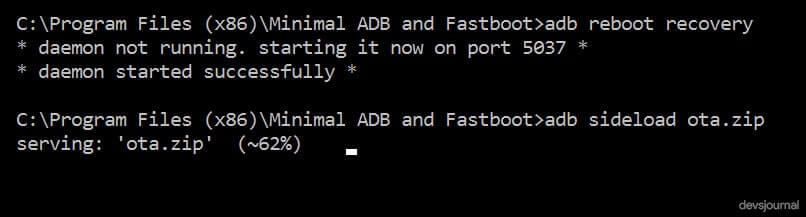
Step 6. Type or copy-paste the following command into the command window. Your device should enter into recovery mode automatically.
adb reboot recovery
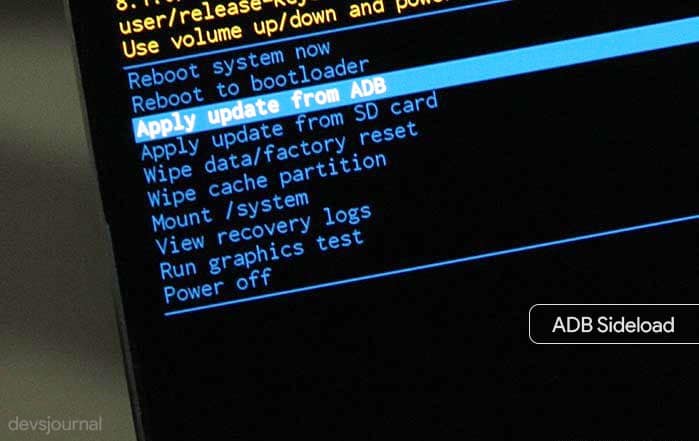
Step 7. Your device should now enter the recovery mode. Use the volume up and down buttons to navigate through the list and Power button to select a highlighted option.
Step 8. Use the volume buttons to navigate to the “Apply update from ADB” option and select it.
Step 9. Now go back to the command window and issue the following command to install the OTA update.
adb sideload update.zip
Step 10. Once you successfully issue the command, the installation process should begin. After it’s done, reboot your device and you should have the latest version/firmware running on your device.
This is how you install an OTA update through ADB sideload. It is pretty easy and takes less than 10 minutes to install the OTA update on your device. The next method is far simpler and easier than the previous one. Follow the steps mentioned properly and type the commands carefully and you should have the OTA update installed in no time.
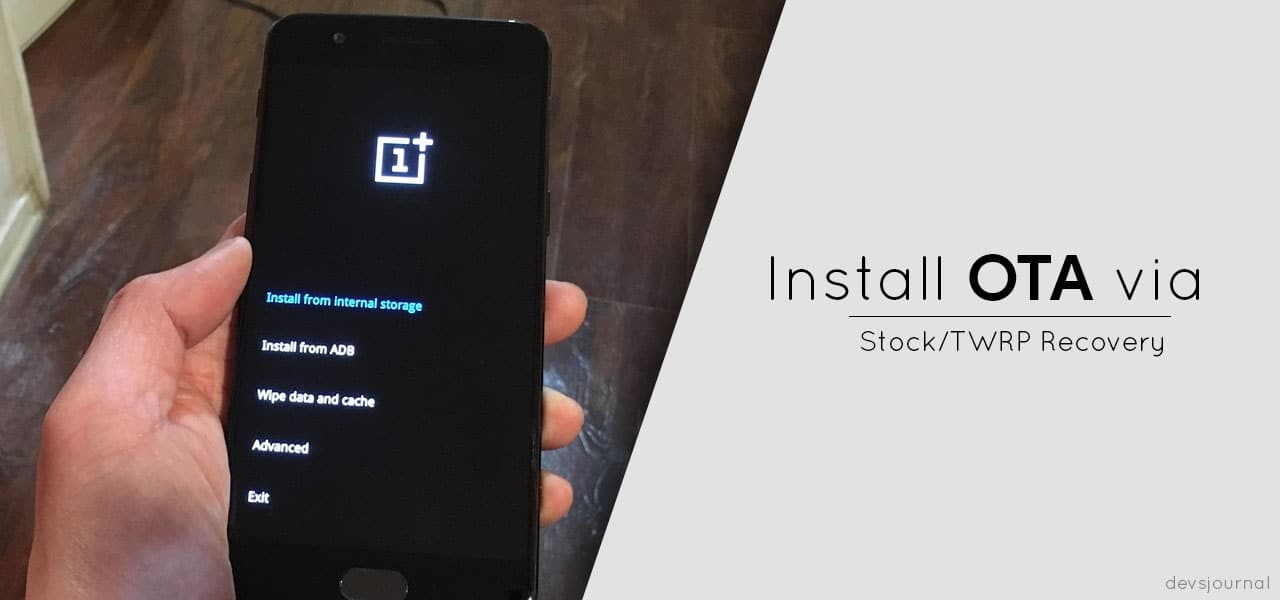
Method 2: Install OTA Update Via Stock/TWRP Recovery
To install OTA update directly via flashing, you need the stock recovery installed on your device. You can’t install OTA update through custom recovery.
Step 1. Download the OTA update zip file and transfer it to your device’s internal storage.
Step 2. Boot your device into recovery mode. To do that, turn off your device and press the Power button and Volume Down button simultaneously.
Step 3. Select the “Apply update from SD card/Internal Storage” option.
Step 4. Browse through the files on your internal storage and select the OTA update.zip file.
Step 5. The installation will start and your device should be ready to use in the next few minutes. Reboot the device and you should see the OTA update installed.
These are the two methods using which you can install an OTA update manually on your device. Before you download and install an OTA update, make sure that the source is genuine and verified. Flashing faulty or different OTA update might damage or brick your device. Also, make sure that your device is fairly charged before you carry out the installation process.
Now you do not have to wait to receive OTA updates officially anymore. You can install the update using the methods mentioned above. Stay tuned for more guides and tutorials! If you still have any queries, feel free to comment them below and I will get back to you as soon as possible.