Windows 11 being the latest update from Microsoft, it is not a surprise that any issue ailing the new OS makes headlines all over. One such issue is that of Windows 11 screensaver not working. This can prove to be quite frustrating after a while, so make sure if you are unable to view screensavers, you try to get to the bottom of the fix as soon as possible.
In this article, we shall discuss the different ways to remedy the problem of Windows 11 screen saver not working. Before that, let’s understand the probable causes underlying the recurring issue. Without further ado, let;s get started!
Why is Windows 11 Screensaver Not Working?
If your Windows 11 screensaver not working on your system has been getting on your last nerve lately, it’s time you try and get to the bottom of why it might be happening. While it is important to note that not all similar issues have the same root, it always helps to have an idea of what could be the reason behind your Windows 11 screen saver not working.
Here are a few commonly observed causes:
- Mouse Disruptions:
Lack of a clean mouse on a proper smooth surface can often lead to disruptions of the mouse, in turn preventing the system to enter sleep mode or show screensavers. So, make sure you have a proper mouse which doesn’t have dust lodged inside to eliminate this reason from the possible list of causes.
- Change power plan settings:
This one is the most frequently noticed reason behind your Windows 11 screensaver not working. It is always advised to tailor the power plan settings as per convenience, but if you have an automatically set power plan settings, you might be facing similar issues.
- Outdated OS:
This is always a probable cause behind issues such as Windows 11 screensaver not working. In fact, numerous issues ailing your system could just be because you have pending updates and patches for your Windows. Always manually check for updates to avoid a repetition of such events.
Note that there could be a plethora of possible causes, so if you are unable to weed out the one that rings true for you, the best course of action is to go by trial and error. Read on for the best possible fixes for the issue.
10 Ways to Fix Screensaver Not Working in Windows 11
If you have already tried restarting your system, but to no avail, it is time to hop on the train and get a thorough look at the best 10 fixes for the issue. The steps are all fairly simple and take only a few minutes. Here are the best ways to fix the issue of Windows 11 screensaver not working:
1. Check Screensaver Settings
First and foremost, make sure you have screensavers turned on, before getting to the more detailed fixes. Oftentimes you would think that your screensaver is turned on, but it will never appear since it had never been enabled to begin with. To remedy this, make sure your screensaver is turned on.
Here’s how to do that:
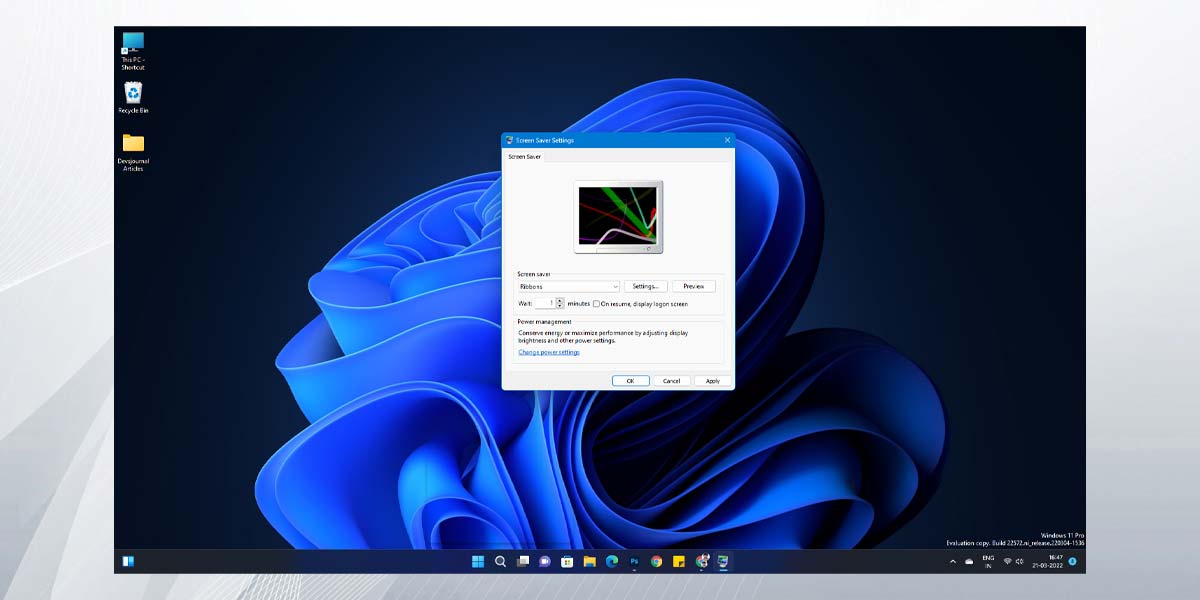
- Search ‘Screen Saver’ in the Search bar on the taskbar, and select ‘Change screen saver’.
- Check if the screensaver is set to <none>, for this will indicate that the screen saver is disabled. If so, change it as per preference from the drop-down menu.
- Select a Wait time as per your choice.
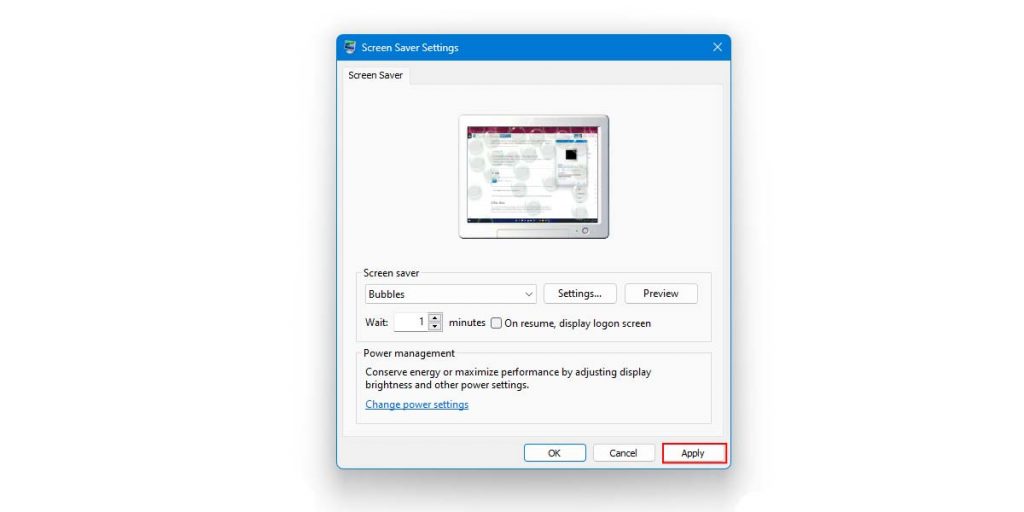
- Click on Apply, followed by OK to save the settings.
If the issue still persists, make sure you do not give up hope and move on right to the next few detailed alternative fixes.
2. Check Mouse
This is a rudimentary step that can go a long way in ensuring that your issue of screensaver not working in Windows 11 gets fixed. Make sure your mouse is clean all the way through. If dirt or dust particles accumulate in any component of the mouse, this could lead to the mouse acting up, in turn keeping your screensaver from ever appearing.
Make sure it is not on any polished surface to avoid interruption or tactile feedback. Check the surface of the mouse and try to understand if something is triggering slight movement. If you have already done these, but to no avail, read on for some more fixes.
3. Check Sleep Settings
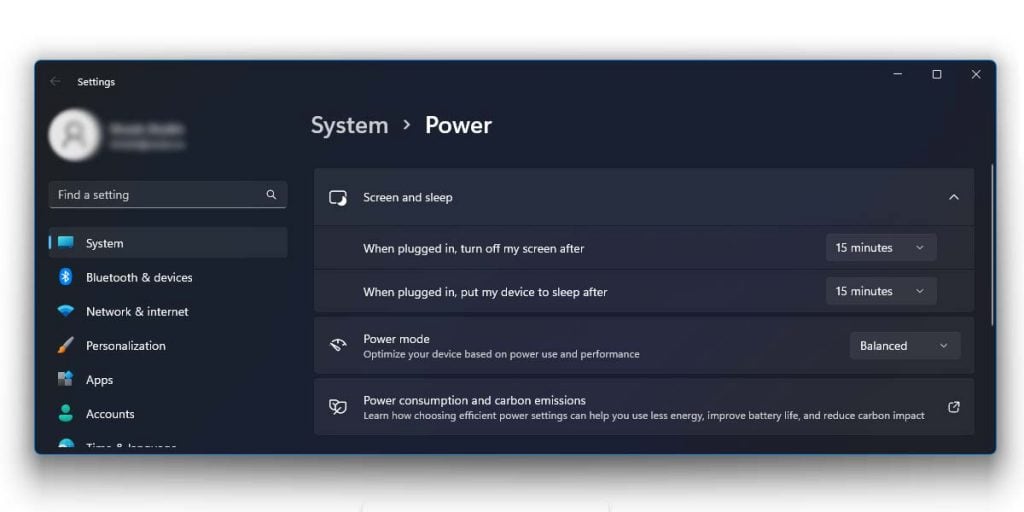
This is a rather rudimentary step that might do you good by getting rid of the problem completely. If you have been bothered by Windows 11 screensaver not working, check your system’s sleep settings once. If your Sleep settings have been instructed to turn off your screen prior to the screensaver appearing, you will possibly never view your screensaver.
So, do not forget to set the screensaver to activate prior to your system going to sleep. For example, if your sleep timer is 10 minutes, let the screensaver become active after 5 minutes. Also, make sure you turn off the display time setting.
4. Unplug All Peripherals
Oftentimes, the culprit behind your screensaver not working in Windows 11 is simply your peripherals. They have a tendency to send a message stating that there is no need for rest for the system, since the peripherals are already at work. This can cause screensavers not working on your Windows 11.
Sometimes, this incorrect command is embedded in the peripheral drivers, so unplugging them all may help with the issue. Check if your screensaver gets back to work, after unplugging all the existing peripherals. If any one is causing an issue, that will become apparent by simply unplugging the peripherals one after the other.
5. Restore Default Power Settings
Whether your Windows 11 screensaver is functioning properly depends largely on the chosen power settings of your system. Wake, sleep, screensavers, and such features are related to the Power section of the PC, so by restoring default power settings, you could promptly fix the issue without even knowing it. If 3rd party softwares or Windows updates are interrupting your power settings, you might face the issue of Windows 11 screensaver not working.
To remedy the situation, follow these simple steps:
- Press Windows + R to launch the Run window.
- Type ‘powercfg.cpl’, and hit Enter.
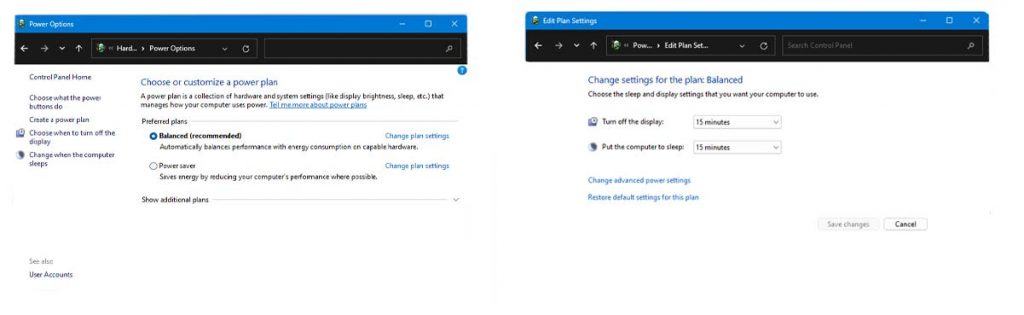
- Once the Power Options window opens, select ‘Change plan settings’ of your current power plan.
- Choose the ‘Restore default settings for this plan’ option, and click on Yes.
With this, you will restore all the power settings to its default set up, in turn getting rid of all possible errors. This might fix the issue for once and for all. Check if your screensaver works after restoring the power settings to default. If not, take a look at the next methods.
6. Run a DISM Scan
Going through many discussion boards on Microsoft’s support page as well as Reddit, it has been widely noticed that running a DISM scan has oftentimes resolved the recurring and frankly quite frustrating issue of Windows 11 screensaver not working. If you wish to try this method out, you might find yourself in luck.
Here’s how to go about it:
- Tap on the Search tab on the taskbar, and type cmd.
- Once the Command Prompt option is shown, choose ‘Run as administrator’ before launching it.
- Type the following commands, and hit Enter:
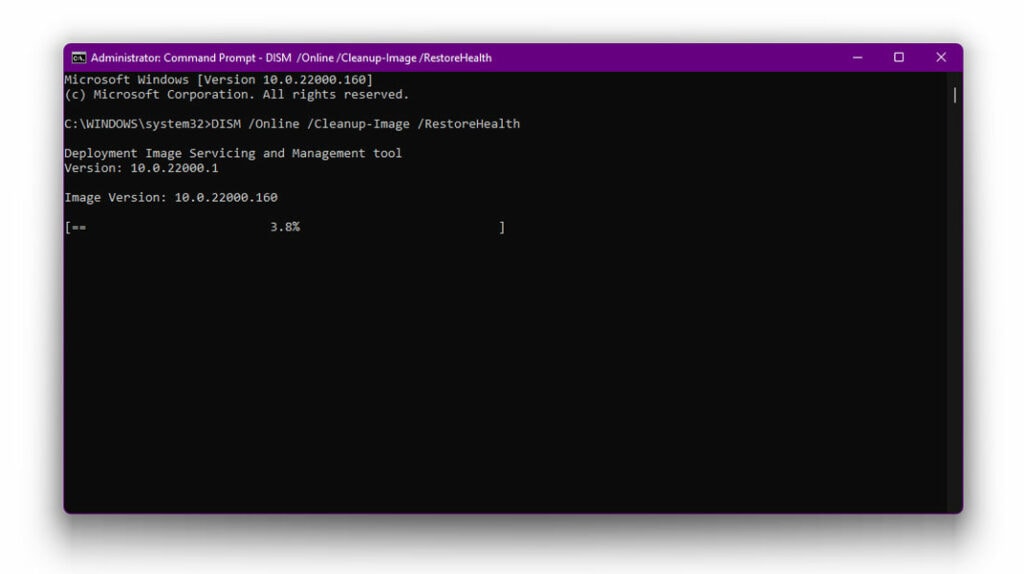
dism /online /cleanup-image /scanhealth
dism /online /cleanup-image /checkhealth
dism /online /cleanup-image /restorehealth
Afterwards, restart the system immediately and try to gauge if the issue still persists. If it does, no worries for there are yet more to come.
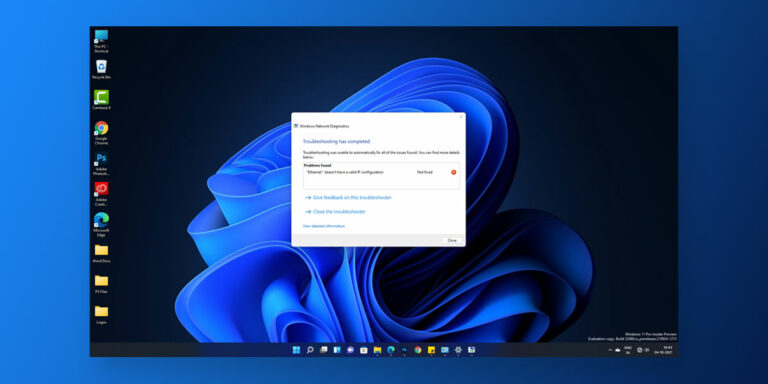
7. Use Power Troubleshooter
Microsoft offers one of the best troubleshooting facilities for their Windows OS. So, if your Windows 11 screen saver is not working, you might consider Windows Power Troubleshooter. It will automatically check for issues, and remedy it, if any error is found.
Here’s how to do that:
- Hit Windows + X.
- Tap on ‘Settings,’ and navigate to ‘System’.
- Select ‘Troubleshoot’, and choose ‘Additional Troubleshooters’.
- Choose ‘Power’ from the menu on the left, and tap on ‘Run’.
This might just remedy the problem if you are facing issues of screensaver not working in Windows 11. Try this out and check if the issue is fixed. If not, move on to the next method.
8. Update Drivers
Oftentimes you will find screensaver not working in Windows 11 solely because your graphics card drivers need updates. Outdated drivers always lead to problems eventually, no matter what is in concern. If this is the case with you, you are in luck. The way to up[dae drivers is quite easy, and it takes but a few minutes.
Here are the steps:
- Hit Windows + X, and select Device Manager.
- Go to Display Adapters to see the graphics drivers installed on your system.
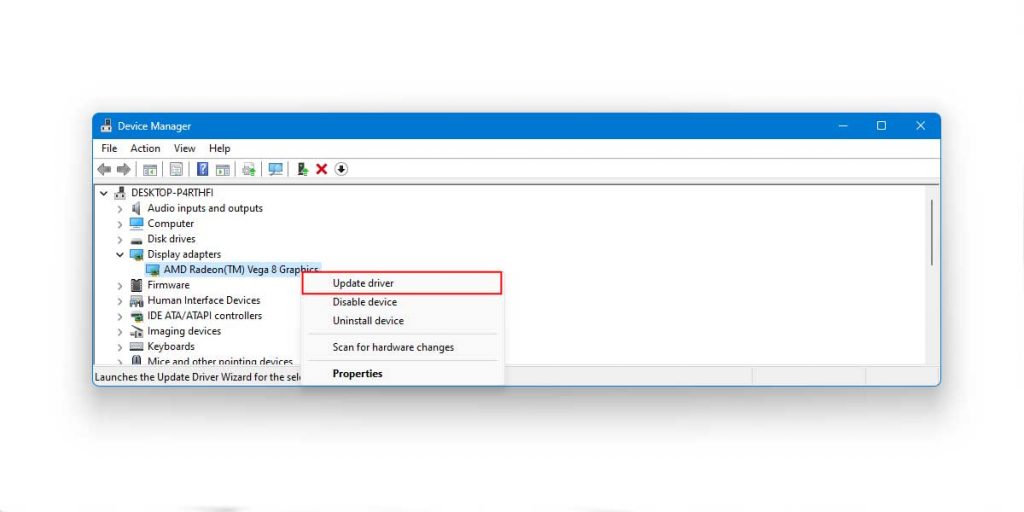
- Launch the Device tab, and click on Update Driver.
This ought to fix the issue of Windows 11 screensaver not working. If the issue persists, there are more to come.
9. Run an SFC Scan
Another way to help deal with the issue of Windows 11 screensaver not working is to run an SFC scan. This will scan your whole system for possible errors that could be causing the screensaver issue. It will remedy any errors found, taking away all the manual hassle from you.
Follow these steps carefully to run the SFC scan properly:
- Go to the Search button, and tap on it.
- Type ‘cmd’, and choose ‘Run as administrator’ by right-clicking on Command Prompt.
- Tap on ‘Yes’ in the pop up.
- Type in ‘powercfg -h off’, and hit Enter.
- Enter ‘sfc /scannow’. You’ll see the words- “Beginning system scan. This process will take some time.”

Let the scan complete in its own time. If no error is found, you should see a message saying “Windows Resource Protection did not find any integrity violations”. Restart your system once, and see if the issue still persists. If it does, move on to the next fix.
10. Update Windows 11
The final cause behind why you might be facing the issue of Windows 11 screensaver not working is an outdated OS. If your Windows 11 lacks the latest updates or patches, you might be running into similar issues. To resolve that, follow these steps:
- Go to Settings from Start on the taskbar.
- Scroll down to find Windows Update at the bottom of the left pane. Tap on it and it will relay if any updates are pending.
If nothing else seems to work, this should help. Pending updates are always a harbinger of bad news, be it drivers or OS. Make sure you check for updates manually from time to time.
Conclusion
It all boils down to what exactly is ailing your system to understand why Windows 11 screensaver is not working. If you can detect the issue from the get go, you are in luck. In that case, you can troubleshoot that specific issue and get your screensavers back on track. However, if you cannot gauge the root of the issue, trial and error will help you out.
Try out these methods one after the other and try to gauge if they work out for you. Good luck, and remember, the key is patience!