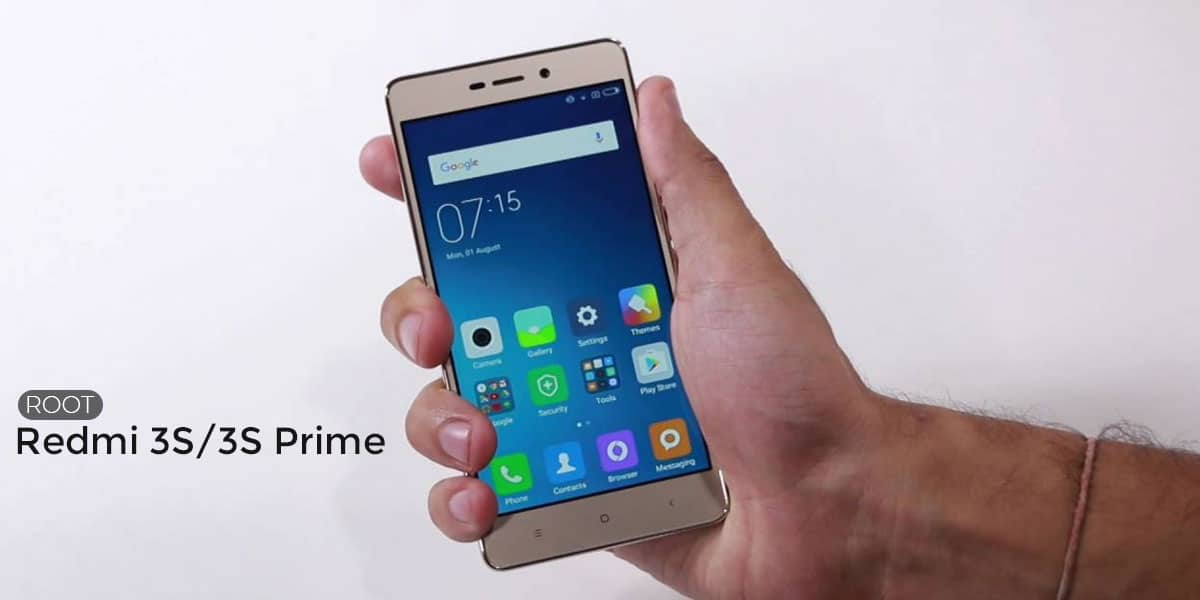
Redmi 3S/3S prime was one of the most sold device online. Both the devices have superb specifications and provide everything what an average smartphone user demands in the budget segment. They have a powerful processor, decent Display, Great battery life and pretty decent cameras.
But it is an entry-level device, and Xiaomi doesn’t make any promises regarding their OS updates. Still, there are ways for getting your device updates, you need to Unlock bootloader, Install TWRP recovery and root your phone. So after Rooting, you can install Custom ROMS and can get the latest Android version.
Pre-requisites
- A Windows PC and Mi Unlock Tool: Download
- ADB Fastboot Tool.
- USB Drivers.
- TWRP Recovery for Redmi 3S/3S prime: Download
- SuperSU.Zip (v2.78): Download
- Backup Data on the Device.
Rooting Redmi 3S/3S Prime
1. How to Unlock OEM on Redmi 3S/3S prime
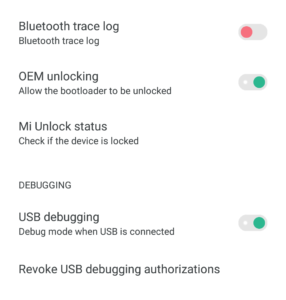
Step 1. Apply here: http://en.miui.com/unlock for Bootloader unlocking, enter your Mi account details associated with your redmi phone. Then enter the OTP, that has been sent to your registered mobile, to get the Unlock permission.
Step 2. Go to the Settings > About phone, then tap MIUI version 7 times to enable Developer options.
Step 3. Enable USB Debugging and OEM Unlock , Go to Settings > Additional Settings > Developer options.
2. How to Unlock bootloader on Redmi 3S/3S prime
Android is an Open source platform, which means one can modify the codes of it. So you might have a question that “Why Bootloader is locked?” Manufacturers of different android devices want to keep their android OS specific to a particular device because of which they lock the bootloader so that no one can modify it. Unlocking bootloader allows you to flash custom ROM, custom kernels and recoveries, etc. So to root Redmi 3s/3s prime you need to unlock the bootloader. Follow the procedure given below to unlock it.
Step 1. Unzip the MiFlashUnlock_1.1.0317.1_en.zip file
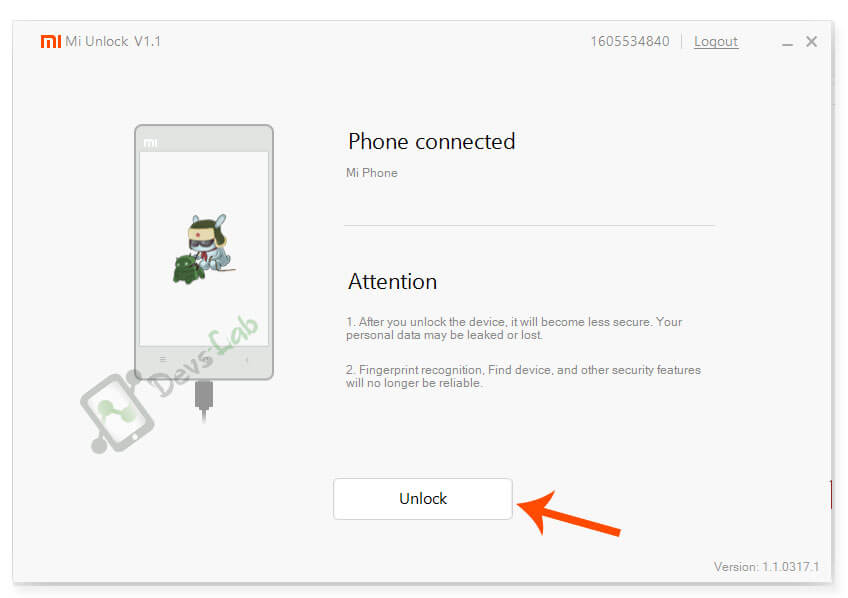
Step 2. Run the MiFlashUnlock.exe with administrator rights and sign in with your Mi Account associated with the device.
Step 3. Turn off your phone manually, and hold Volume down the key + Power button to enter Fastboot mode.
Step 4. Connect your phone to PC using USB cable and click on the “Unlock”.
Step 5. Once the unlock process has completed, just hit the reboot phone.
3. How to Install TWRP Recovery on Redmi 3S/3S prime
While installing system updates or to install a kernel or custom rom, it is required to boot in the recovery mode. A stock recovery is preinstalled on your device by the manufacturer but it does not allow any Custom ROM to install. This is the reason we require a custom recovery like TWRP in order to install a Custom ROM on a device. Now, follow the below given procedure to install TWRP recovery on your Redmi 3S/3S Prime.
Step 1. Download TWRP from the link and place it in the ADB installation folder. Also, Download Super su.zip and place it the Device storage.
Step 2. Shut down your phone, and hold Volume down key and Power button to enter Fastboot mode.
Step 3. Connect your Phone to PC using a USB cable.
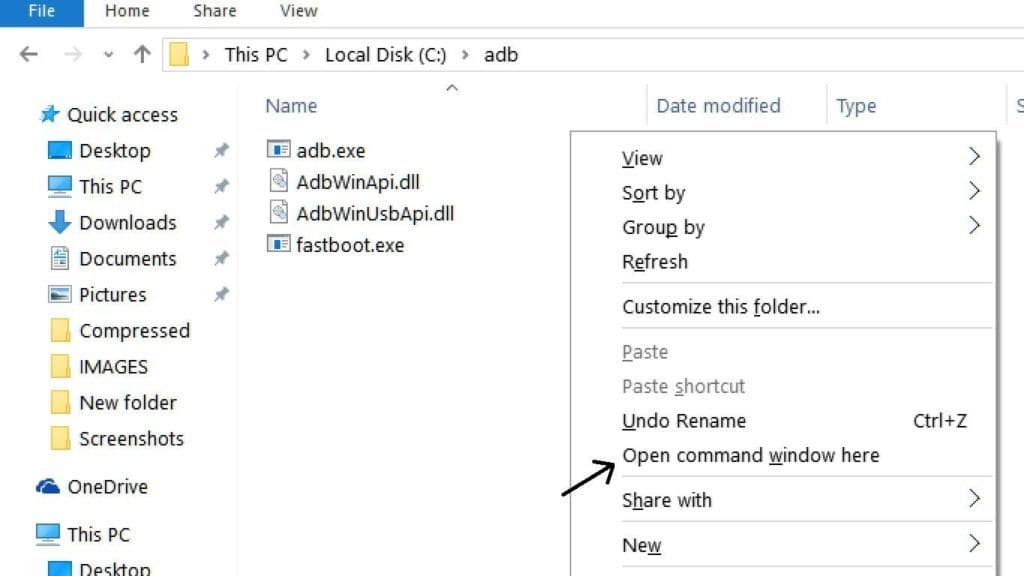
Step 4. Open ADB installation folder and Simultaneously Press the Shift key while right-clicking then Select Open command window here.
Step 5. Now enter the following command “fastboot flash recovery twrp.img”. This command installs the TWRP recovery.
Step 6. Now enter the command “fastboot boot recovery twrp.img” to boot into TWRP recovery.
Step 7. After the process, you will end up in TWRP recovery on your phone. At the first time, it will ask for the modifying system or keep it read-only.
Step 8. Press Read only and Now in TWRP make a backup of your current ROM, before allowing the modifications.
Step 9. Then reboot into recovery and Swipe to allow modifications, Go to Advanced settings in TWRP and Disable dm-verity to let your phone boot normally. Otherwise, the device may boot loop. (as reported by few users)
4. How to Root Redmi 3S/3S prime
Step 1. Reboot into TWRP recovery with an appropriate key combination. (Hold Volume up + Power in the fastboot mode)
Step 2. Press Install option in TWRP and locate to the Super Su.zip on your device.
Step 3. Confirm to flash SuperSU, once the flashing process is completed tap on reboot.
Step 4. First boot may take longer time so be patient until the devices reboot.
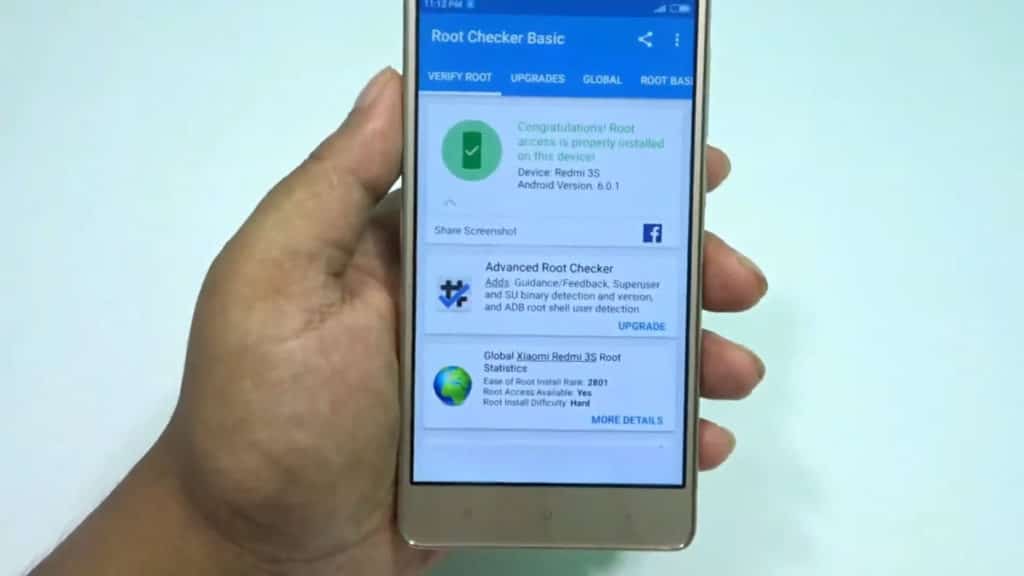
Step 5. Install Root Checker to confirm the root on your device.
Conclusion
So that’s it! I hope after following these methods carefully, you will be able to unlock bootloader, install twrp and root Redmi 3s or 3s Prime. If you get stuck in between please free to contact us or comment down below.

![[Android 11] LineageOS 18.1 for Xiaomi Redmi Note 4](https://devsjournal.com/wp-content/uploads/2017/09/LineageOS-18.1-for-Redmi-Note-4-768x384.jpg)

Thang poroblam please botloder on
Thanks for your tutorial,it is works!