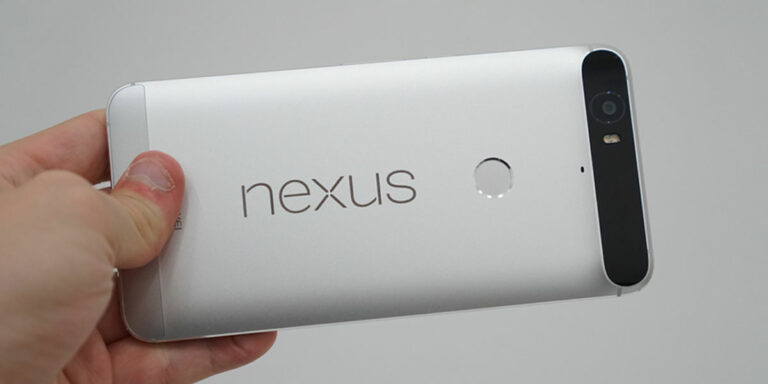
While the Huawei Nexus 6P was launched in 2015, it remains to be one of the most popular Nexus-branded Android smartphones even today. It features a large 6.0-inch display, a fingerprint sensor, and a USB-C port, features that are still very relevant to newer smartphones today. So, it’s not that hard to see why some users are still clutching on their Nexus 6P.
Unfortunately, the phone has already reached the end of its life – that means, it is no longer supported as far as software update goes. Plus, the phone is overrun by problems that make it merely unusable for the existing users today. To continue using it, you will have to install custom ROM specific for Nexus 6P. But before you could do that, you need to unlock the bootloader first. Today in this post, we will teach you how you can install Custom Recovery, and root your Nexus 6P smartphone.
Prerequisites
- Unlocked Nexus 6P bootloader.
- ADB USB Drivers
- Minimal ADB Package
- TWRP Recovery: Nexus 6P.
- Magisk (For Root): Download.
- Modified Boot.img: Download.
How to Enable USB Debugging & Setting ADB in Nexus 6P
Step 1. Enable USB Debugging mode in your device. (Settings>Developer options> USB Debugging). To enable Developer options, Goto Settings>About Phone>Tap on build number for 7 times.
Step 2. Connect your device to PC, extract ADB package zip file & launch command.bat
Step 1. Enable USB Debugging mode in your device. (Settings>Developer options> USB Debugging). To enable Developer options, Goto Settings>About Phone>Tap on build number for 7 times.
Step 2. Connect your device to PC, extract ADB package zip file & launch command.bat
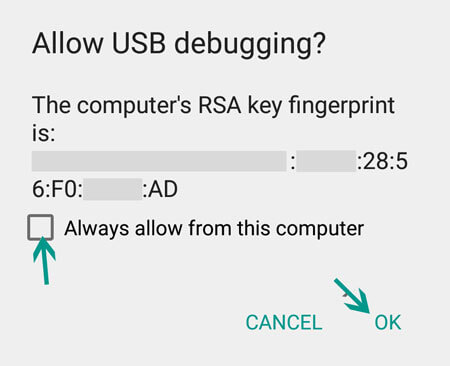
Step 3. Enter the below command. You might see a confirmation message in your device, similar to this:
adb devices
Step 4. Now, Switch off your Nexus device and then turn it on in Fastboot mode. To enter Fastboot mode on Nexus 6P, press & hold Volume Down and Power key.
Step 5. Connect the Nexus device with your PC.
Step 6. Place the downloaded Boot.img & TWRP recovery.img files in extracted ADB package folder.
How to install TWRP Recovery in Nexus 6P
Step 1. Launch command.bat file & type:
fastboot flash boot boot.img
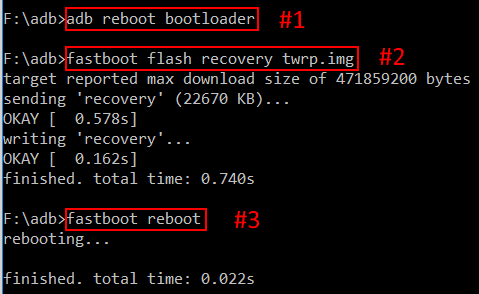
Step 2. Now to flash recovery image, type:
fastboot flash recovery <filename>.img
(Replace filename with the filename of the recovery image)
Step 3. Use the volume keys to scroll and power key to select the Reboot Bootloader option. Once the phone has booted back into the bootloader you can use the volume keys to scroll and the power key to boot into your newly flashed recovery. It’s now safe to disconnect your usb cable.
How to Root Nexus 6P using Magisk
1. Boot into TWRP, enter the wipe menu and format (not wipe) data. This will erase all user data from the device (This step is essential at the moment as TWRP is unable to decrypt the data partition, so in order to read and install from it a format must be performed to remove the encryption.)
2. Select Install & locate Magisk.zip file & Swipe to install.
3. Once you’ve installed Magisk you’ll have an option to wipe cache/dalvik and an option to reboot system. Wipe the cache/dalvik, hit the back button, and hit the reboot system button. That’s it.

I dont think this boot.img is working for my phone. Twrp seems to work but I can never boot back into the os
Is this the latest modified boot.img?