Lenovo launched its one of the highest selling budget smartphone, Lenovo A6000 in India. They also promised a guaranteed Android Lollipop 5.0 update before the mid of 2015. While, the update was delayed & brought tones of bugs & battery issues, Most of the users started complaining that Android Kitkat was much better in Performance, RAM Management, battery & gaming. Today we’re here with the most easiest & well explained article of unbricking your Lenovo A6000 & A6000 Plus.
Prerequisite:
- Lenovo A6000 Stock Firmware/ROM [21/4/16]
- Lenovo A6000 Plus Stock Firmware/ROM [21/4/16]
- ADB Drivers: Download.
- Qualcomm USB Drivers .7z: Download
- QPST 2.7.422.7z: Download
- A well functioning PC & USB Cable.
Note: We won’t be responsible for anything happening to your device during this process as you are the one who have decided to do this modifications. Please read & follow each and every step as mentioned below.
How to unbrick/downgrade Lenovo A6000/Plus
There are two methods to unbrick/downgrade your Lenovo A6000 which is by installing the Lenovo A6000 FIRMWARE using Lenovo Downloader and the second method is by installing the FIRMWARE using QFIL on your Lenovo Device which is based on Qualcomm Chip.
Method 1: Using Lenovo Downloader
Step 1. Extract the downloaded “A6000_S035_150507_8G_ROW.7z” file & Open tools folder.
Step 2. Install Lenovo A6000 USB Drivers & also install ADB Drivers.
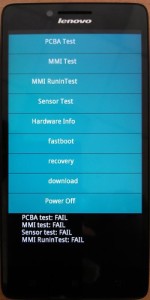
Step 3. Switch off your device. Press & hold Volup+Power button+Home. Release the button after 3 secs of vibration. (For those who have their device working & are downgrading to Kitkat, can directly get into download mode by setting up adb & type “adb reboot download”)
Step 4. You would see a screen similar to this:
For those who cannot Boot into Download mode
Most of the users brick their device after installing any custom ROMs or any Kernel. Many custom ROMs damage your device’s boot commands. For Eg: After installing the CM 11 ROM for Lenovo A6000 (Plus) you can’t get into Download mode. If have custom recovery installed, then flash any other custom ROM like MIUI. But, if you don’t even have Custom recovery follow this guide:
- Switch off your device. Press & Hold Vol Down+Power+Home.
- Release the button, once you see a screen which says: “Hold power button to restart” at the bottom.
- Follow How to Install TWRP in Lenovo A6000 through ADB from step 5.
- Now, flash the Lollipop firmware.
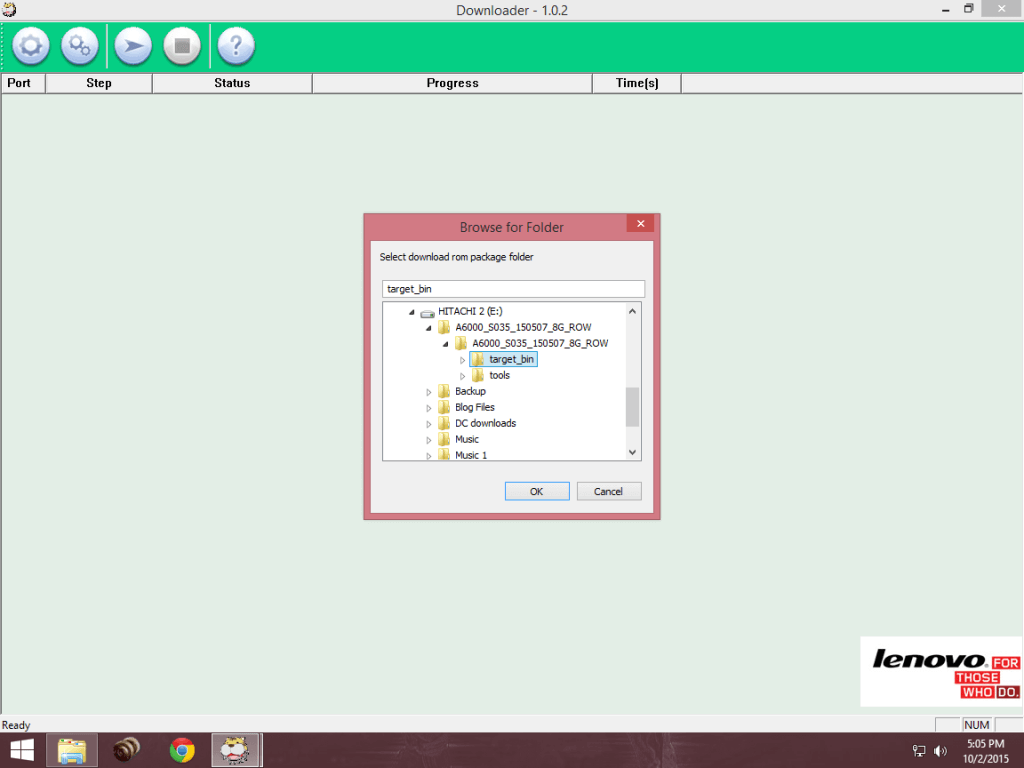
Step 5. Open “Downloader_Lenovo_V1.0.2” folder & launch QcomDloader.exe
Step 6. Click on the Single Gear icon on the top left corner & locate target_bin & click OK.
Step 7. Click on the Start/Play button. Wait for the process to complete. Please don’t shake or unplug the USB cable during the process as it would permanently damage your device.
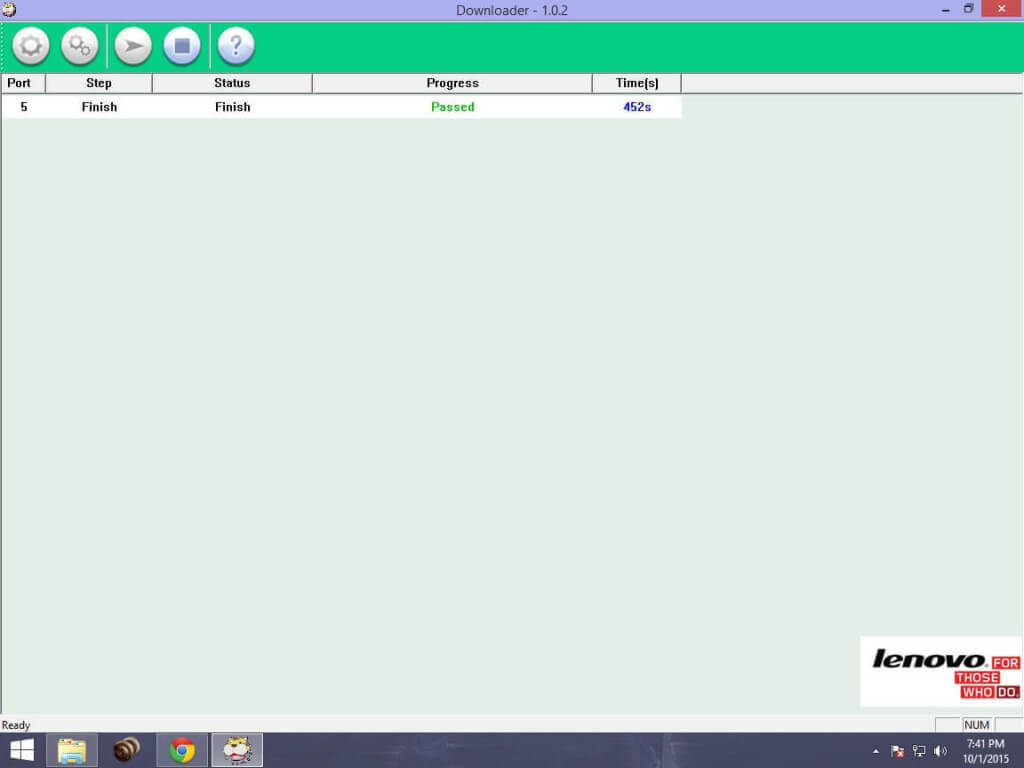
Step 8. After the completion of the process, you’ll see a Passed message. Time depends on your PC.
Method 2: Using QFIL
A. Preparing the Drivers & ROM
Step 1. Extract and Install drivers for QPST.2.7.422.msi and chips Qualcomm.
Step 2. Extract A6000_S035_150507_8G_ROW.7z and keep it in a folder
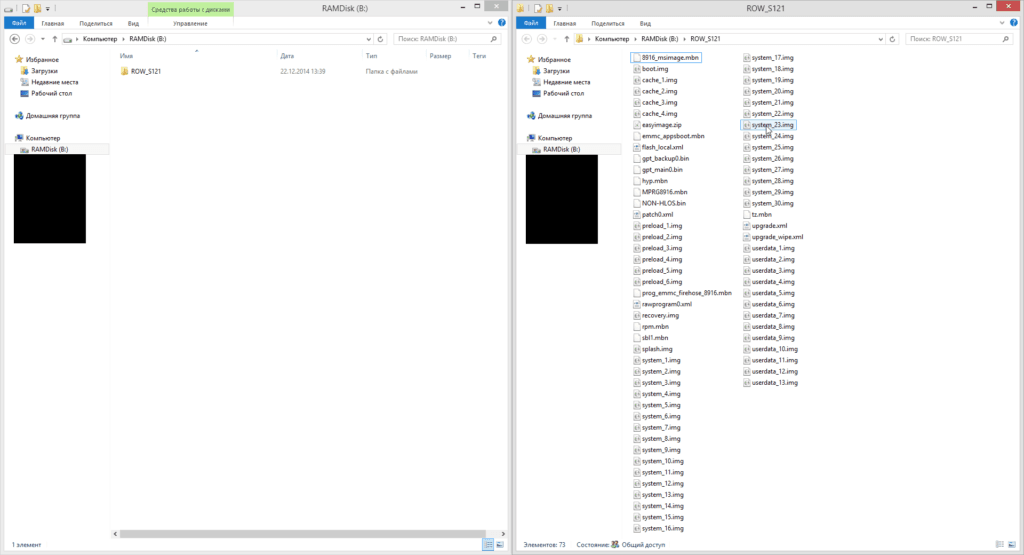
Step 3. Press the Volume key (Volume Up key) and connect USB-cable holding it (which is already connected to the USB 2.0 port of your PC) ,in the Device Manager device should appear Qualcomm Lenovo HS-USB QDLoader 9008

B. Flashing the Firmware
Step 1. Run QFIL (Start> All Programs> QPST> QFIL). In the QFIL window, fill the following fields:

In the Programmer patch specify the path to the file prog_emmc_firehose_89XX.mbn (in my case prog_emmc_firehose_8916.mbn), for this click on Knop «Browse», in the window that opens, specify the path to the folder with the firmware (in my case ROW_S121), then select the file prog_emmc_firehose_89XX. mbn and click “Open.”
Then click on the digging «Load XML …», in the window that opens, select one by one – first rawprogram0.xml and click “Open” and then patch0.xml and also click “Open”
Step 2. After filling the QFIL fields, make sure that the it sees the device as Qualcomm Lenovo HS-USB QDLoader 9008.

Step 3. Once you click on download button, wait for the process to end. It will boot into Android OS after restarting the process of filling in the successful firmware.

Conclusion
Now boot your device & enjoy the stable build unlike Lollipop. For A6000 Plus user, after completition, Press Volume up+Volume down & Power simultaneously to boot into stock recovery. Now flash the A6000 Plus ROM from “install update from sdcard”. First boot takes 5-7mins. If you have any other doubts, comment it below.



I unplugged the device while flashing stock rom what do i do now phone is not booting/charging except going to download mode i thing(cause it is connecting when i start it again but taking more than one hour but still flashing) Is there any other way to get my phone back to work… PLease Help me.